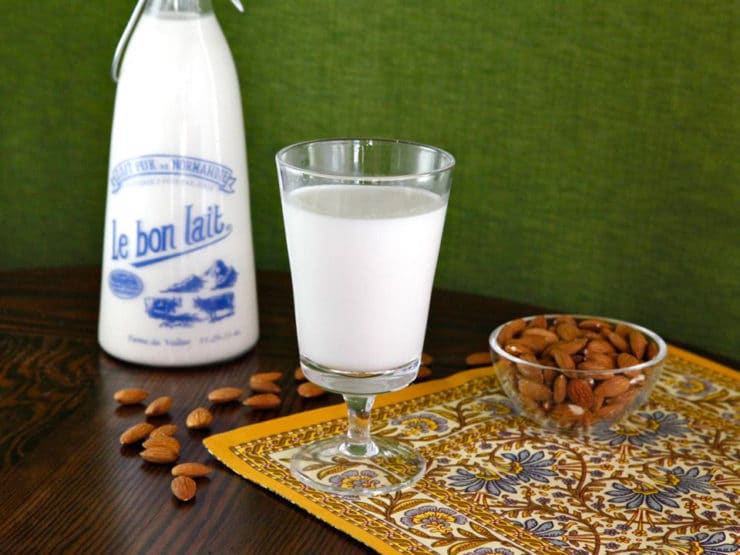
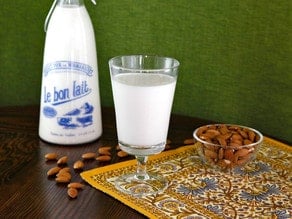
Creamy Homemade Almond Milk – Learn to make creamy non-dairy almond milk at home. Use in place of dairy milk in coffee, over cereal or on its own!
In response to your requests, I will be covering how to make several different dairy free milks over the next few months. This week I’m sharing how to make almond milk, which is probably the most popular nut milk out there. Sure, you can buy almond milk at the store, but making it yourself at home ensures that the milk is raw and full of its optimal nutritional power. When you make it at home, you also have total control over the ingredients. I don’t know about you, but I prefer knowing exactly what is going into my food… and subsequently into my family’s bellies!
Almond milk, in its most basic form, is made from filtered water and almonds. It’s a non-dairy milk, which means it contains no lactose. Almond milk is easily digested by most folks who are lactose intolerant (except for those who have a nut allergy… I’ll have an option for you coming up in a future post!). Because you’re making it at home, you have total control over the flavor– the sweetness level, the texture, the fat content and the overall taste. For those who keep kosher, it’s a terrific substitute for dairy milk in recipes that you would like to keep pareve. I prefer homemade nut milks to non-dairy creamers, which often contain chemicals and preservatives. No strange additives here!
Unlike dairy milk, almond milk is cholesterol free… in fact, consuming almond products on a regular basis can actually lower your LDL-cholesterol. Almonds are rich in monounsaturated fats, the same type of “good fats” that can be found in olive oil. These types of fats have been associated with a reduced risk of heart disease. Almonds are also a rich source of Vitamin E, magnesium and potassium.
In its pure unsweetened form, almond milk makes a fine substitute for plain milk. When using it on cereal or in my tea, I like to give it a touch of sweetness (throwing a whole date into the blender works great, or use honey, stevia or agave nectar). Adding a little vanilla and salt rounds out the flavor. Depending on what you plan to use your almond milk for, you can experiment and adjust the ingredients to taste. A nut milk bag will help you strain the milk to achieve a thin, grit-free texture; if you don’t have one and don’t want to order one, a fine mesh strainer, clean tea towel or multiple layers of cheesecloth will work just dandy.
How many almonds does it take to make almond milk?
This recipe calls for 1 cup of raw, unsalted almonds, which is about 100 almonds.
How long does homemade almond milk last?
Homemade almond milk will last for 3-4 days if kept in the refrigerator.
Is it cheaper to make your own almond milk?
Some comparisons have shown that the cost of making your own almond milk is around the same as buying store bought almond milk. However, making your own allows you to add your own flavors and doesn’t call for additional preservatives or additives, so for many this benefit makes the cost worth it.
Recommended Products:
We are a participant in the Amazon Services LLC Associates Program, an affiliate advertising program designed to provide a means for us to earn fees by linking to Amazon.com and affiliated sites. As an Amazon Associate I earn from qualifying purchases.
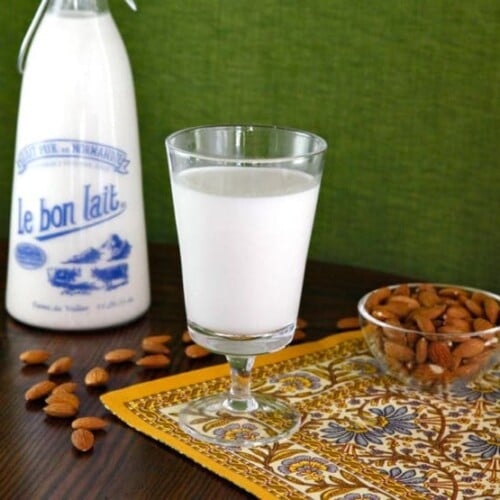
How to Make Almond Milk
Ingredients
- 1 cup raw unsalted almonds, skin-on
- 4 cups filtered water, plus more water for soaking almonds
- 1 1/2 teaspoons honey, agave nectar, maple syrup, or one whole pitted date (optional)
- 1 teaspoon vanilla extract (optional)
- Dash sea salt (optional)
NOTES
Instructions
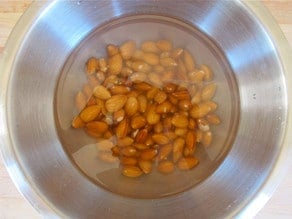
- Place raw almonds in a bowl and cover with cold water. Allow to soak overnight up to 48 hours, then drain and rinse. If soaking longer than overnight, change the cold soaking water every 12 hours.

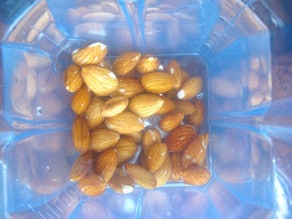
- After soaking, drain and rinse the almonds. Do not peel the almonds; according to my recipe testing, keeping the skins on actually helps to reduce the grittiness of the almond milk (counter intuitive, I know!). Combine soaked almonds and 4 cups of filtered water in a blender.For a whole milk texture, I use 4 cups of water to 1 cup almonds. For a thinner texture, feel free to add more water-- you can adjust the texture to taste. The more water you add, the lower in fat the milk will be per serving; however, you don't want to add too much liquid or it will turn watery. Best to add water in small batches till the texture seems right to you.

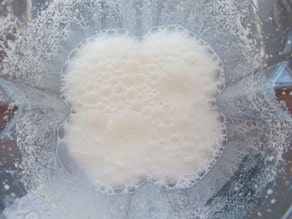
- Blend on low, then slowly raise the speed to high for 1-2 minutes till the milk is completely smooth and no chunks of nuts remain. If desired, add sweetener, vanilla and/or salt to taste, then blend again to combine (if using a date, make sure you blend till it's completely pulverized). Feel free to adjust the sweetness to taste.

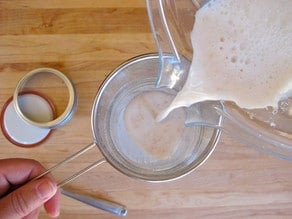
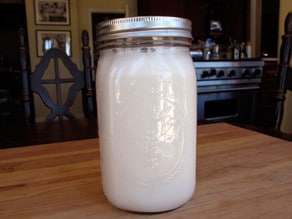
- Strain milk through a fine mesh strainer, tea towel, cheesecloth or nut milk bag into a storage container. A nut bag will work best for keeping your milk smooth and chunk-free. I usually strain the milk into a quart mason jar, which works perfectly with the 4 cup to 1 cup ratio of water to almonds.

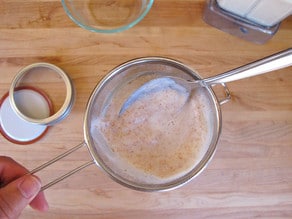
- If using a mesh strainer, you will need to agitate the solids a bit to help all the milk drip through. I don't scrape them (this can push the solids through the strainer), but I do gently stir and move the solids around to make room for the liquid to come through. Similarly, if using a nut bag, you will need to gently squeeze the bag till all of the milk seeps through.

- Transfer milk to the refrigerator and chill thoroughly. It should keep for 3-4 days if refrigerated. I usually shake mine a bit before pouring to make sure it's well blended.

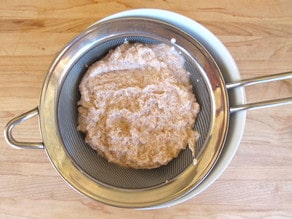
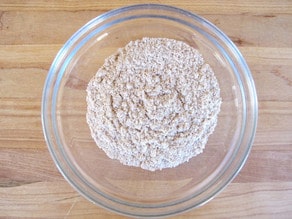
- Once you're finished straining the milk, you will have a small amount of leftover almond pulp. This can be discarded or dehydrated into almond flour and used as a gluten free breading for fish or chicken or mixed into baked goods. To do this, first adjust your oven to the lowest heat setting. Place the leftover almond pulp in a mesh strainer for about 30 minutes to allow any remaining liquid to drain off.

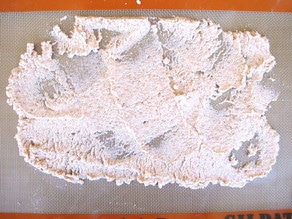
- With a rubber spatula, spread the pulp as thinly as possible onto a baking pan lined with parchment or a silicone baking sheet. Place in the oven at 200 degrees.

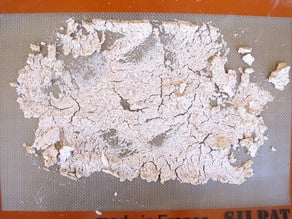
- Allow the paste to dehydrate for a few hours up to overnight. Check every couple of hours; when the meal hardens into a dry sheet, it's finished.

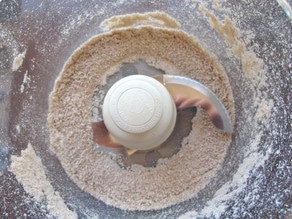
- Break up the dehydrated paste and pulverize using a food processor for 1-2 minutes. You can also use a fork, but a food processor will give you a much finer grind.

- You will be left with about ½ cup of almond flour.

- Use almond milk anywhere you would use regular milk-- in coffee or tea, on cereal, or as a milk substitute in recipes.

Nutrition



never made almond milk before and I was pleasantly surprised how sweeter it tasted, and that was without adding any sweetener. The only part I forgot to do was strain it, so today I had a gritty chocolate protein drink, oops…lol. I will never buy almond milk ever again. I loved how your recipe called to take off the skins, that would have been tedious. This was very simple, thank you!!!
Very glad it was helpful!
Thanks Tori:)
I made my very first Almond milk and I do like the taste but it is very watery .. is there a way to thicken it up a bit?
Thank you 🙂
Hi Sabrina, Tori’s assistant Ashley here. I don’t recall haven’t an issue with the almond milk being watery, though sometimes it can thicken up a bit as it chills in the refrigerator. There is some information online about heating the milk to thicken it, but we have not tried this method. I’m sorry I cant be more helpful!
You can use 1 cup almonds to 2 cups water.either way homemade is sooo much better than store bought.