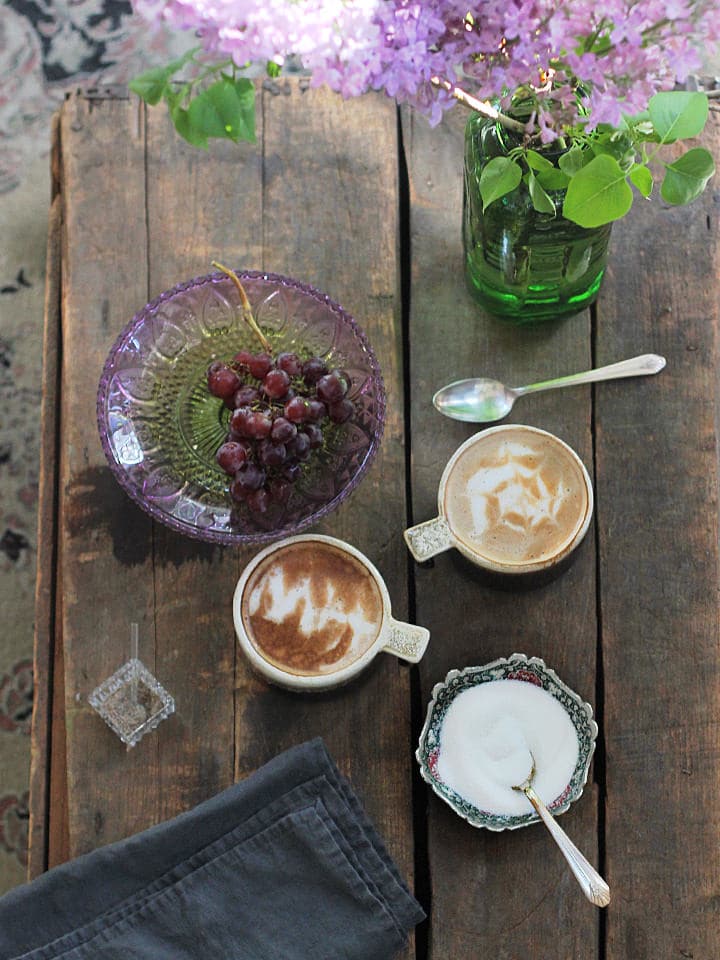
The Art of the Homemade Latte from ToriAvey.com contributor Brenda Ponnay
There are a million variables to a great latte. First there are the beans and how they are roasted, then the grind, the temperature at which you steam the espresso grounds, the timing, the water you use to make your espresso… the list goes on and on. Many coffee aficionados are happy to tweak and finesse every variable until they have created the perfect cup.
My personal obsession is the latte art that is created when you pour steamed milk over the top of your espresso. I’ve been working on perfecting it for two years now. And guess what? I have not perfected it! It is an on-going work-in-progress that I practice happily every day. I thought I’d share some of the tips I have learned along the way. My latte art is not as amazing as what you’ll get in a coffee shop, but it’s coming along.
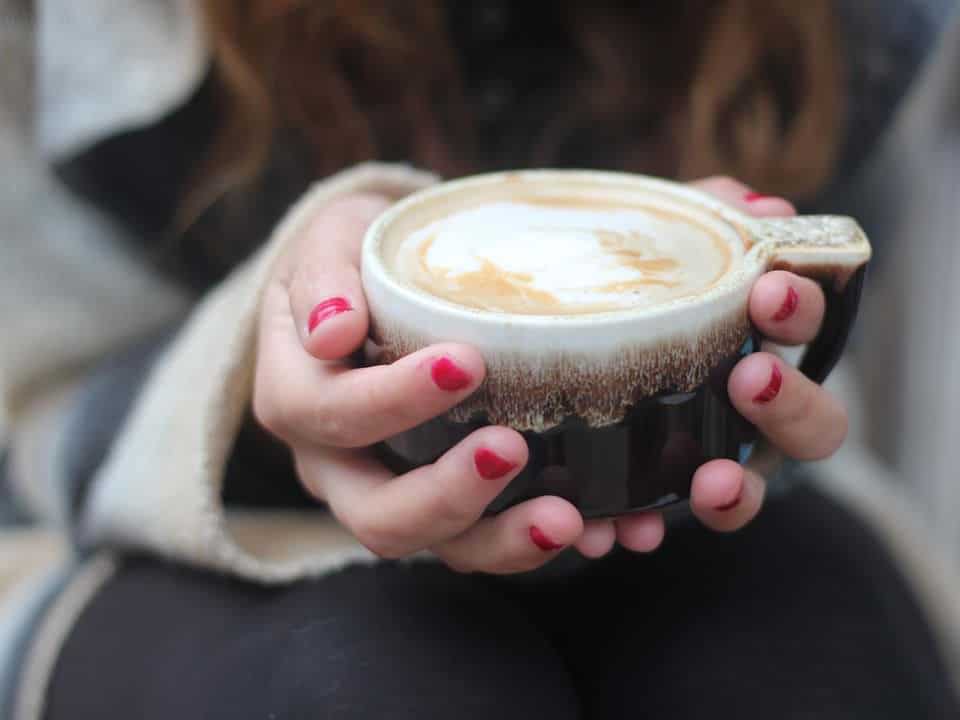
The first step to great latte art is finding a pretty cup. The cups I used in this post are vintage Pfaltzgraff Gourmet Brown Drip Ware from the 1970’s. I love their short, squatty shape and hook handle, and don’t even get me started on the handmade ceramic glazing, it’s so boho-gypsy! They just make me want to make a latte, curl up in a warm crocheted afghan and listen to Stevie Nicks on repeat, but maybe that’s just me. Lattes can be made in all kinds of cups, but you’ll want to keep their size around 5-6 ounces and wide in brim so that you have a big round canvas on which to create your art.
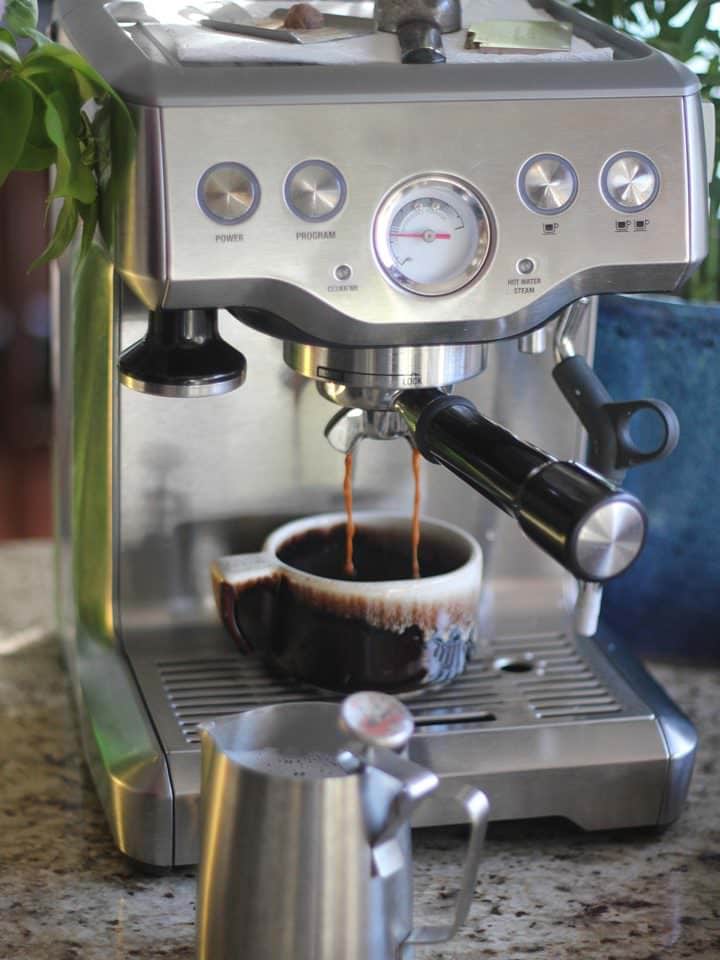
Next you’ll need a semi-powerful espresso maker with a steam wand. I had a cheap espresso maker when I first started out and I was never able to create anything more than clouds of foam that blobbed onto the top of my cup. To create latte art you really a lot of steam to aerate your milk so that you can create microfilm, which is basically the incorporation of air into the milk until it reaches the consistency of house-paint. You don’t want big bubbles. You want tiny, small ones.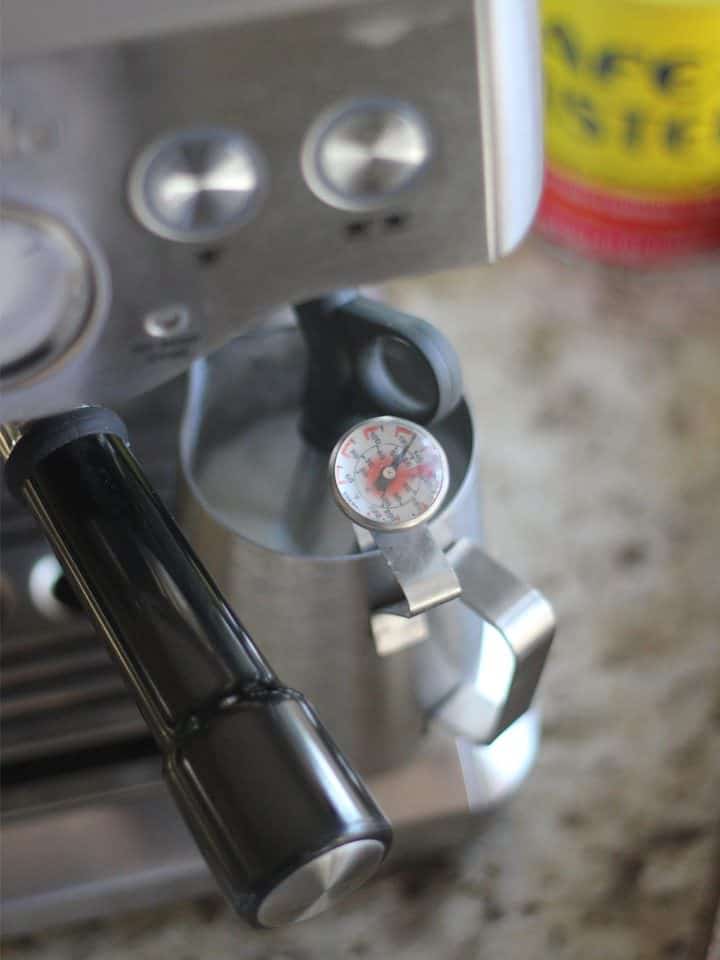
You’ll also need a thermometer with a clip attachment and a stainless steel frothing jug with a narrow spout. You can skip the thermometer and just go by the temperature of the jug (stop when t’s too hot to touch) but a thermometer helps a lot with timing.
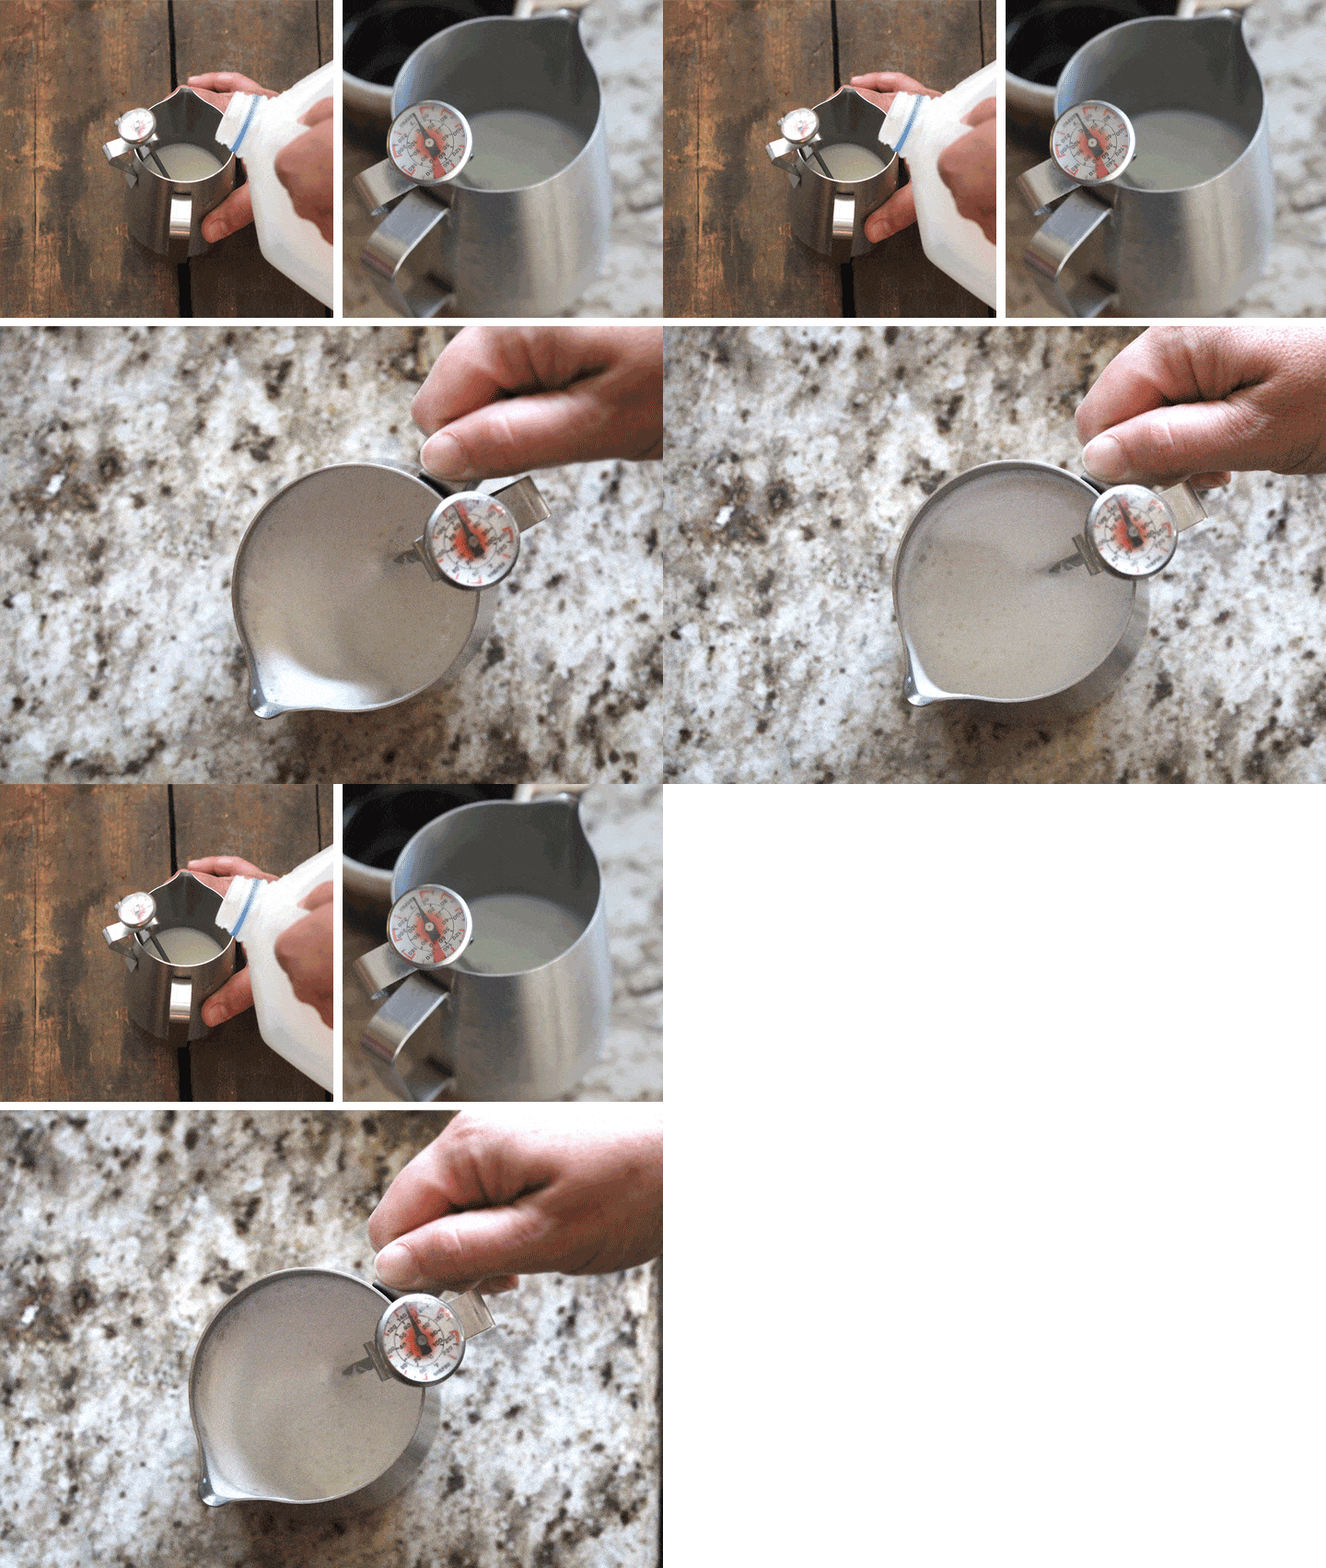
Now, let’s get started on the latte. First make your espresso however you normally would, I prefer two shots, and set it aside. The milk is the shining star in latte art.
Start by pouring cold milk into your jug. For a 6 oz latte you’ll need about 4.5 ounces of milk. I usually measure by pouring milk into my jug until it’s about half an inch from the spout protrusion.
Insert your steam wand below the surface of your milk and turn it on. This is where the steam wand power comes into play. If you have an espresso machine that has a pressure meter you’ll want your steam to be about 1 bar. I personally do not have a pressure gauge for my steam wand so I wing it, which may be the reason why my latte art is not quite as silky as the professionals. Nevertheless, I am still able to create less precise, more abstract latte art!
Steam your milk with the wand below the surface slightly at an angle so the milk swirls in a clockwise formation. Leave it there until you reach about 140 degrees Fahrenheit. Then lift the wand to the surface so that it creates a “pffff” sound, similar to the sound of ripping paper. Let it make that sound and count to four slowly (four seconds). Then put the wand back down and leave it there until your foam as reached 160 degrees. This might happen about the same time as your 4 seconds are up.
Many people say that steaming milk any hotter than 160 degrees gives it a burned flavor, but I’ve chatted with a couple of professional baristas who agree that when it comes to latte art, going slightly over 160 is okay.
Once your milk is steamed you’ll want to make sure your foam is properly groomed for creating latte art. Do this by banging the steam mug on the counter a couple of times to break down the big bubbles, and then swirling it around until the consistency is similar to paint.
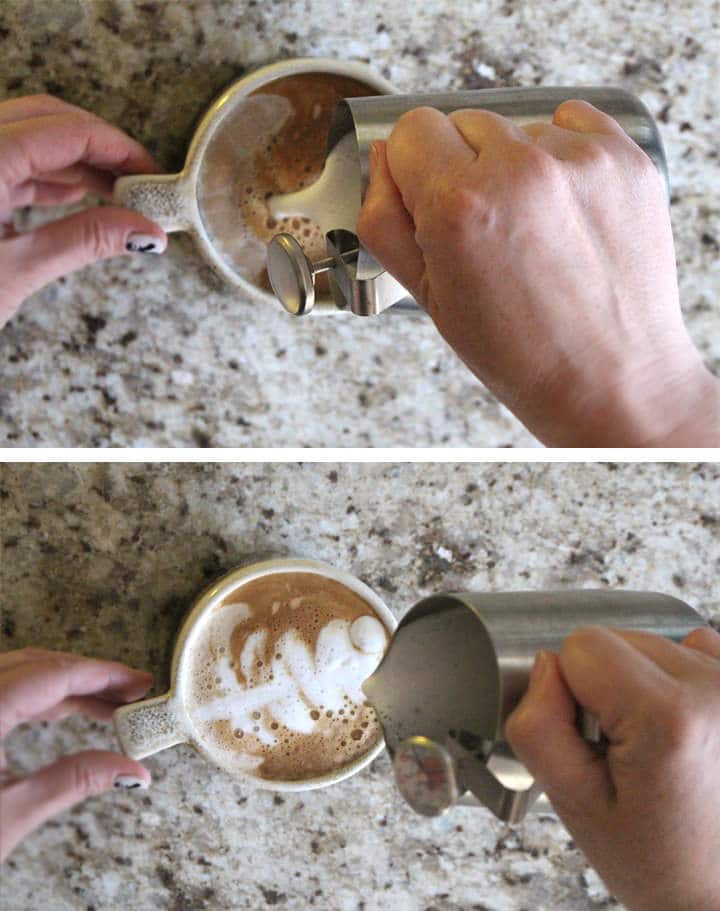
Now you are ready for the pour of your latte/foam/milk concoction. The pour is an art form in itself. Hold your jug above about 4-5 inches above your mug and slowly let it pour out in a narrow stream at the back of the cup. When the cup seems about halfway full start moving your jug back and forth very gently from your wrist. This creates the rosetta or leaf pattern (and yes, I know my art is far from professional level, but I’m a work in progress as I mentioned earlier). When you get to the back of the cup, move the jug in a quick straight line through the pattern to create the stem.
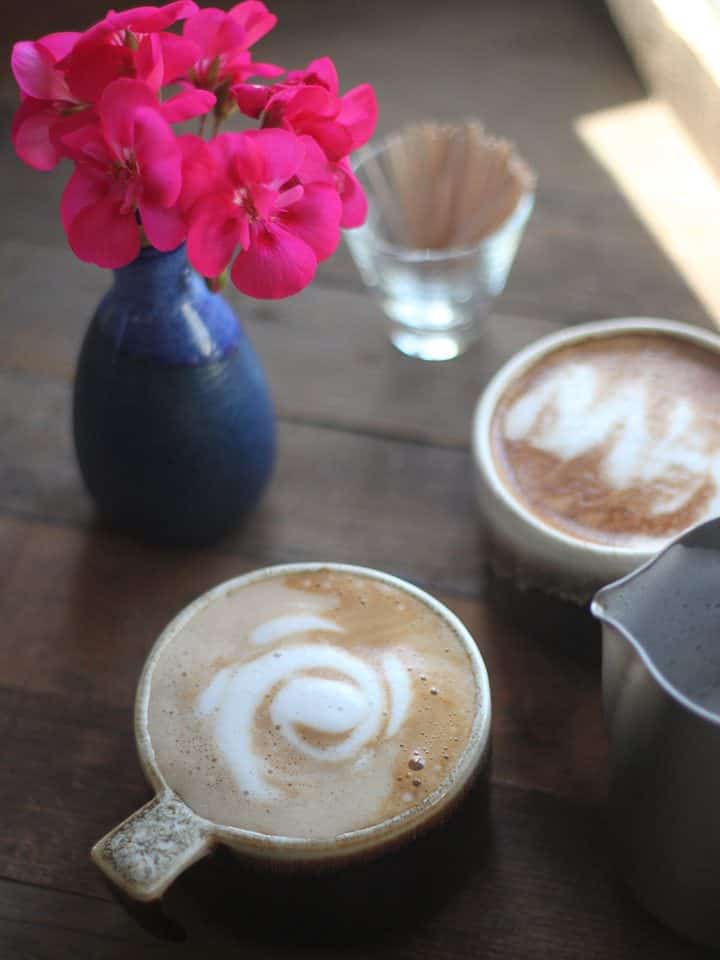
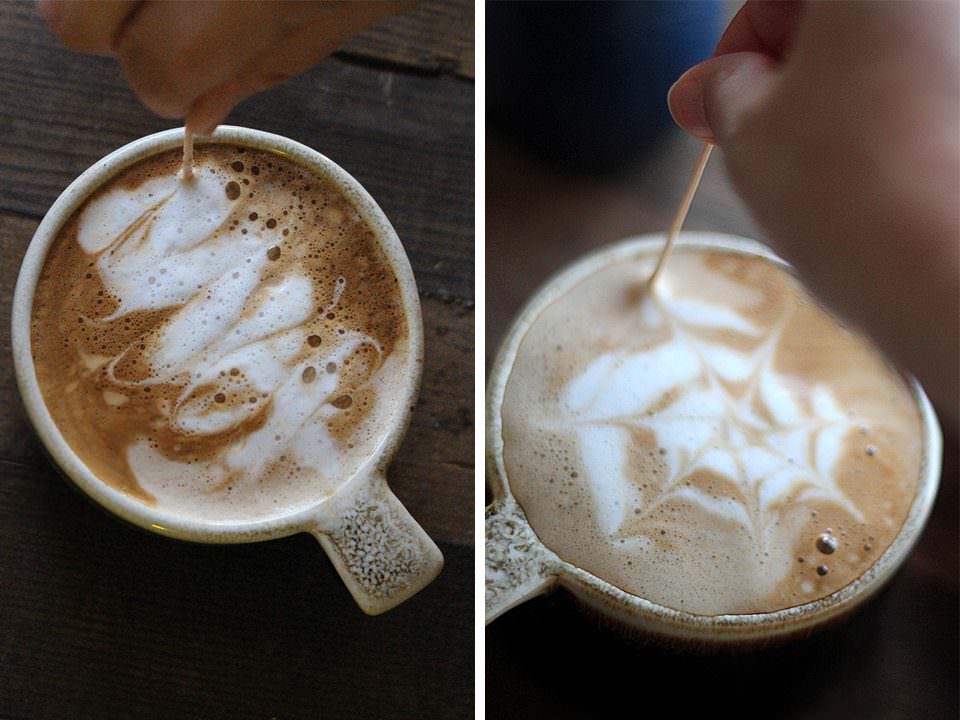
Most times my latte art does not create anything near a leaf or a rosetta shape, but that’s okay! That’s where some creativity can come in! If you pour your foam around in a circles you can create a rose shape that can then be pulled out with a toothpick to create a fancy star! You can even swirl your toothpick through a flop of a rosetta to create a series of hearts of funky stripes. I’ve been known to drop a plop of foam on one side and then I dip my toothpick into my espresso crema and draw a quick “x” mark so that my rosetta now looks like a dead fish. Of course, that is not very appetizing– but it’s a lot of fun!
Play around with your toothpick art and you’ll be surprised what you can come up with!
Another trick to creating latte art is to add spice. I love fresh nutmeg shavings on top or a sprinkling of cardamom. If you can’t dazzle the eyes you might as well try the nose! Plus it’s super delicious.
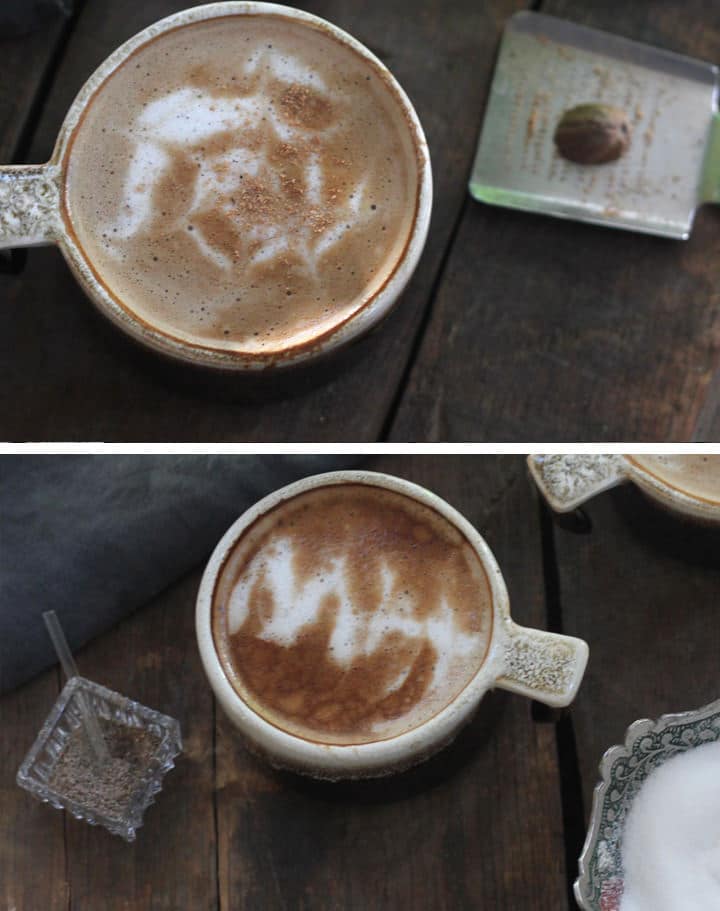
No matter where your latte art skill level lies, you’ll always end up with something drinkable. Then you can give it another try the next day! Pair your latte art with some yummy breakfast treats and it’s sure to bring a smile. Rosettas, leaves, hearts and swirls… it’s the little things that show you took some extra time to make your morning ritual something special.
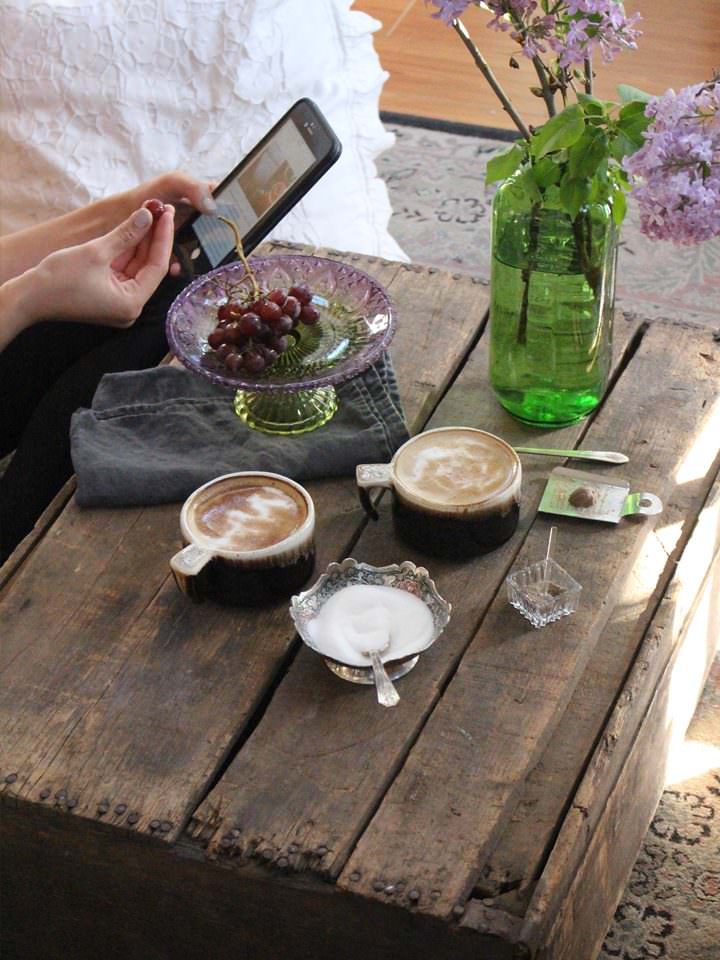
We hope you enjoy your lattes as much as we do!


Thankyou for posting this is such an informative article about the mysterys of steaming milk “just so” for the perfect coffee. Something I miserably fall down on. You’ve inspired me to go & buy a proper machine with steam wand etc & get experimenting at home instead of spending lots of money ever year on take out coffee. 🙂
This is great. I love your styling and staging.