Strained yogurt is a type of thickened yogurt that is regularly enjoyed throughout the Middle East and Mediterranean. It is eaten plain as a dip, and also used in cooking because it does not curdle at higher temperatures. The process of straining yogurt creates Greek yogurt (the popular, high-protein thickened yogurt sold in stores) and labneh (an even thicker yogurt that has the consistency of soft cream cheese). In this post I will show you how to strain yogurt at home; it’s a very simple process with delicious and healthful results.
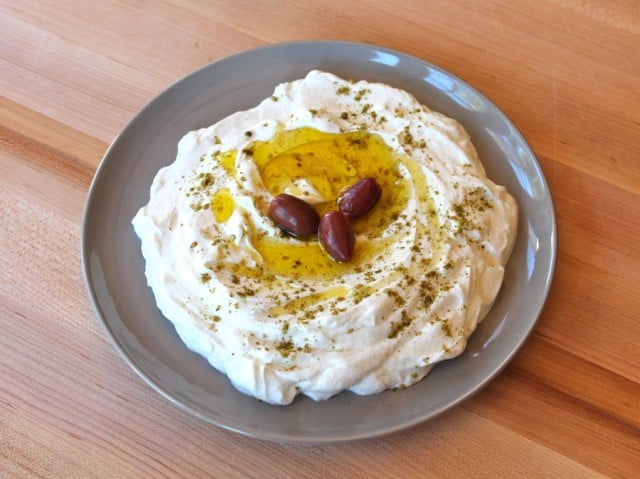
Yogurt has been a staple on the continent of Asia for over a thousand years. While we know that yogurt is ancient, the origins of the dish are a bit unclear. The word yogurt has a Turkish origin because the food found its way to Western Europe through Turkey and the Balkans. According to the Oxford Companion to Food, “Yogurt is one of the fermented milk foods whose origins are probably multiple. It is easy to imagine how, in parts of C. and W. Asia, unintended fermentation of milk could have produced something like yogurt, and that people would have noticed that this would keep for much longer than fresh milk, besides tasting good.”
The nomadic tribes of Western Asia stored milk in animal skins, where is would naturally coagulate and acidify. This was likely the way yogurt was discovered, a far cry from the colorful plastic tubs sold in grocery stores today.
I find straining yogurt to be a great cost-effective technique. Buy a large tub of plain yogurt and you’ve got several tasty possibilities! The process is super easy, and you probably already have the tools to do it in your kitchen. This blog will walk you through the process.
Here are a few things to keep in mind. Straining yogurt will reduce the volume of the yogurt because you’re removing liquid. If you’re thickening the yogurt to use in a recipe (like when a recipe calls for Greek yogurt or labneh), start with more yogurt than the recipe requires. The volume will be reduced by more than half depending on how long you strain it, so plan accordingly. If a recipe calls for ½ cup of strained yogurt, you might want to start with 1 ½ cups to be safe. It’s not an exact science, but err on the side of straining more to make sure you end up with the proper amount. You can always snack on the leftovers. 🙂
Save the liquid (known as whey) that collects in the bowl; it’s filled with nutrients, can be used as a milk substitute in baked goods (breads, scones, biscuits) or to add nutrition to smoothies and protein shakes. The whey will add a mild cheesy flavor to anything you’re using it in. Keep it refrigerated, and don’t use it if it’s been in the fridge for longer than 6 months or has an “off” smell.
Strained yogurt has a rich, creamy flavor that can be used to create dips, spreads, and parfaits. This naturally thickened yogurt is high in protein and calcium. It’s also lower in sugar and carbs than traditional yogurt, making it a good choice for diabetics and people on low carb diets. I much prefer strained yogurt to traditional yogurt– it’s a healthy treat you can feel good about. Enjoy!
Recommended Products:
We are a participant in the Amazon Services LLC Associates Program, an affiliate advertising program designed to provide a means for us to earn fees by linking to Amazon.com and affiliated sites. As an Amazon Associate I earn from qualifying purchases.
How to Strain Yogurt
Ingredients
- 2 cups plain yogurt - any fat content , more or less as needed
- 1/8 teaspoon salt , optional, or to taste - for labneh
NOTES
Instructions
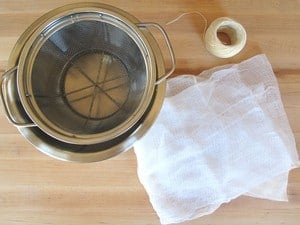
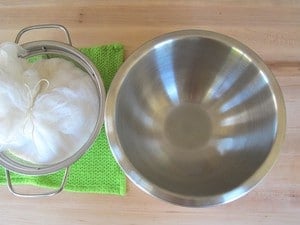
- Assemble the tools. Place your colander over your bowl.

- Cut the cheesecloth into 18-inch rectangles to form 6 to 8 layers of cloth. Line colander with the cheesecloth.

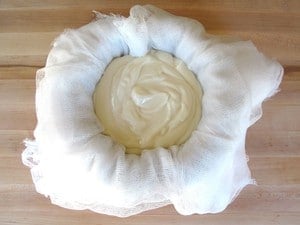
- Scoop yogurt into the middle of the cheesecloth.

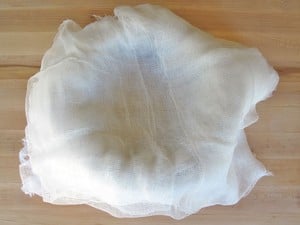
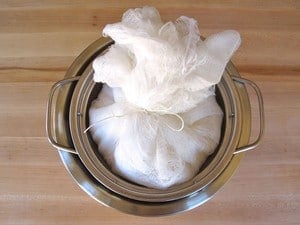
- Gather up the sides of the cheesecloth to form a bundle, and tie it at the top with the twine or string. Do not squeeze the bundle, just let it rest inside the colander. The bowl below will catch the excess liquid.

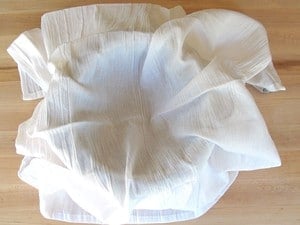
- If using muslin or a thin dish towel, line the colander with one layer of cloth and proceed with filling with yogurt and tying, just as you would with cheesecloth. Any thin, tightly knit fabric will work. I've even heard of people using a very clean pillowcase to line the colander. Don't use a thick kitchen towel, it will absorb too much of the yogurt during the straining process.

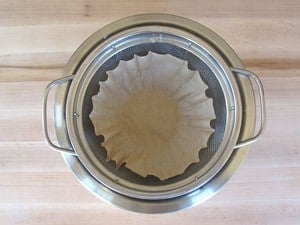
- If using a coffee filter, line the colander with the filter. You want the base of the colander covered with a single layer of filter. Depending on what type of filter you use, the size of your colander, and/or how much yogurt you want to strain, you may need more than one filter to achieve this.

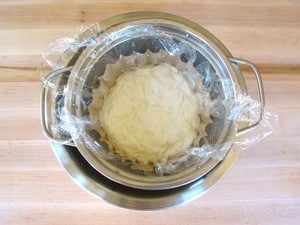
- Place the yogurt in the middle of the filter(s). Cover the yogurt surface with plastic wrap (plastic touching the yogurt).

- Place the colander, bowl, and yogurt inside the refrigerator and let the excess liquid strain into the bowl through the colander. Check after 1 hour to make sure the liquid that is dripping into the bowl is thin and not too white. It should be slightly milky, with no chunks of white in it. If the liquid has a lot of white stuff in it, your cheesecloth is not thick enough, which means you’re losing yogurt instead of liquid. Wrap a few more layers of cheesecloth around the bundle. If the liquid is clear, you're good to go.

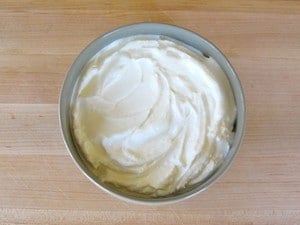
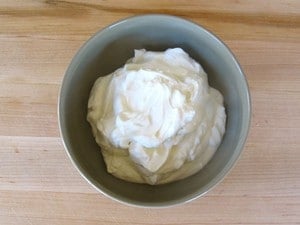
- The longer you strain the yogurt, the thicker it will be. To make plain yogurt into Greek yogurt, strain overnight (10-12 hours) to 48 hours. Check consistency every 12 hours and stop straining when you reach the consistency you like.

- To make plain yogurt into rich, thick labneh cheese* (aka yogurt cheese), let is strain for 48-72 hours. Stir in salt as desired; a little salt really brings out the "cheese" flavor. Try 1/8 tsp for 2 cups of yogurt, adjust to taste. You can also strain kefir in the same way you strain yogurt; it will take a bit longer to thicken than yogurt because it has a higher liquid content. You can even strain Greek yogurt to thicken it and make the flavor more potent (I do this when I make tzatziki sauce).

- *Note: I use the term “cheese” here loosely. Strained yogurt does not actually produce cheese in the traditional sense of the word; labneh (aka yogurt cheese) is simply a thickened form of yogurt.

Nutrition

tried this recipe?
Let us know in the comments!
Note: More or less yogurt can be strained as needed; 2 cups will strain to roughly 3/4 cups thickened yogurt. Nutrition facts above are for 2 cups whole fat yogurt.




You rock! I had to go dairy free and can’t find dairy free Greek yogurt for recipes. I’m looking forward to making dairy free Greek yogurt! Thank you for your instructions
I made this to the lebneh level, and it’s soooooo good! I put olive oil rosemary (instead of sumac) with a bit of salt and it was delicious too.