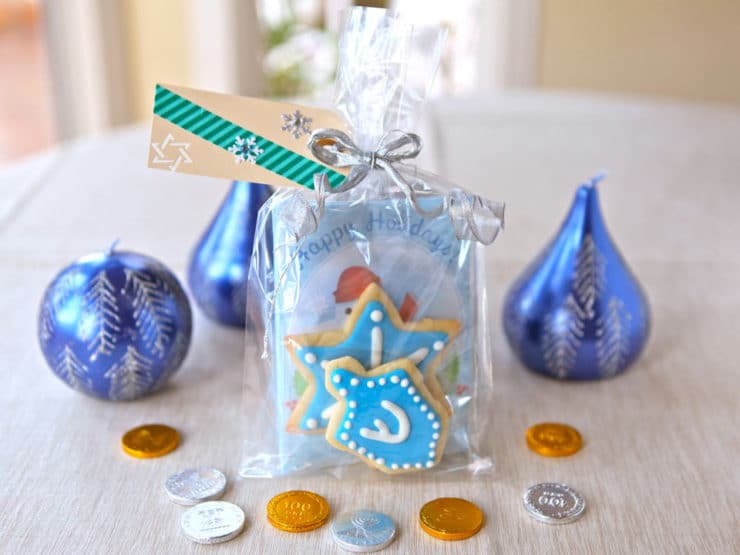
I spent a lot of time last week teaching myself how to make Hanukkah Holiday Sugar Cookies with Royal Icing. They turned out so lovely, I decided I wanted to figure out a way to package them as gifts. I combined them with these Homemade Hot Cocoa Pouches and came up with a really neat gift bag idea. These Homemade Cookies and Hot Cocoa Gift Bags would be perfect holiday hostess gifts or giveaways for your Hanukkah candle lighting party.
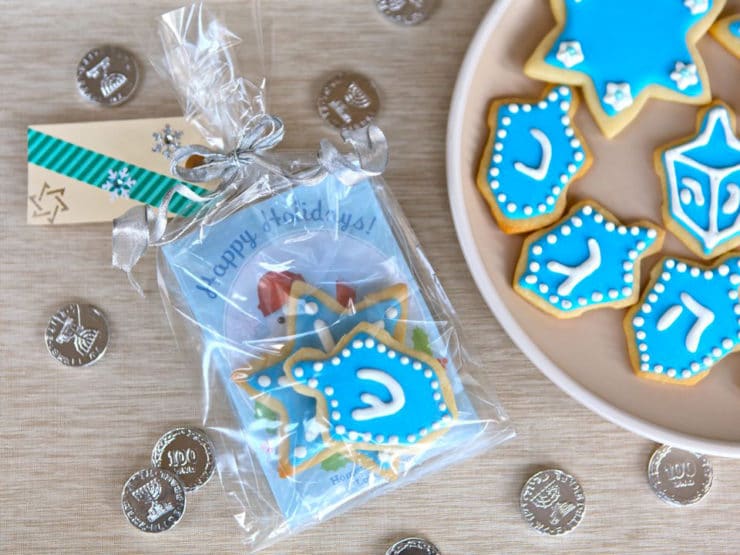
You can switch up the theme depending on which holiday(s) you celebrate… there are hot cocoa pouch designs for both “Hanukkah” and “Happy Holidays.”
Before you start, you’ll need to bake and decorate your holiday cookies, then leave them to dry completely– the icing must be completely dry before you assemble the bags. I’ve linked up all the recipes and tutorials you’ll need below. Have fun!
RECIPE AND TUTORIALS YOU WILL NEED FOR THIS CRAFT:
Homemade Hot Cocoa Pouches
(Includes recipe and free printable pouches)
How to Decorate Sugar Cookies with Royal Icing
RECOMMENDED PRODUCTS
We are a participant in the Amazon Services LLC Associates Program, an affiliate advertising program designed to provide a means for us to earn fees by linking to Amazon.com and affiliated sites. As an Amazon Associate I earn from qualifying purchases.
Homemade Cookies and Hot Cocoa Gift Bag
You will need:
- Treat-sized cellophane bags (I used 5″ x 11″ size)
- Smaller cellophane bags (large enough to fit cookies) or clear plastic wrap
- Homemade Hot Cocoa Pouches and homemade hot cocoa – printable and recipe here
- Decorative ribbon and/or twine
- Tags
- Decorative elements – stickers, colorful tape, etc.
- Holiday cookies with Royal Icing – recipe and tutorial here
- Scissors
First, make your homemade hot cocoa, assemble your pouches, and fill them. Instructions provided here. Seal the pouches with a sticker or decorative tape.
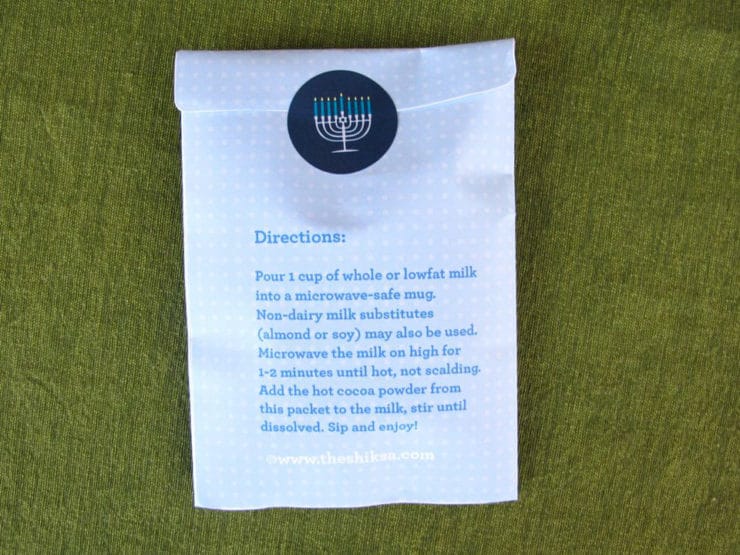
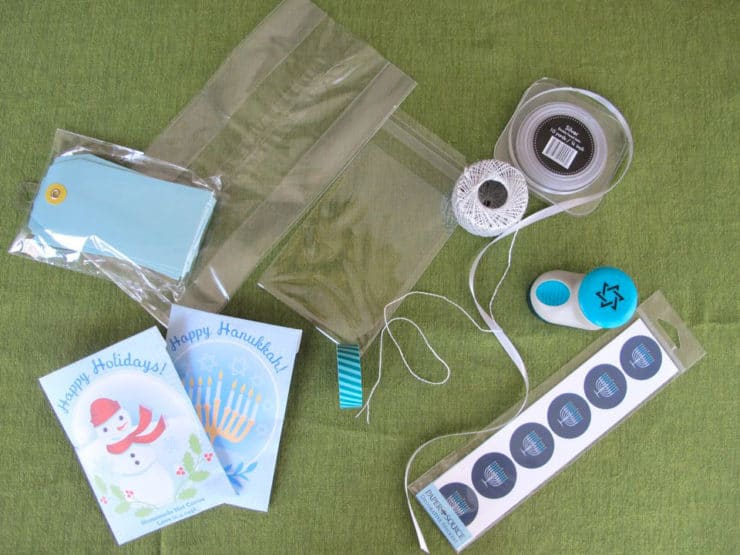
Assemble your gift bags and supplies.
Place the hot cocoa pouches into a cellophane bag – use 2-3 pouches per gift bag.
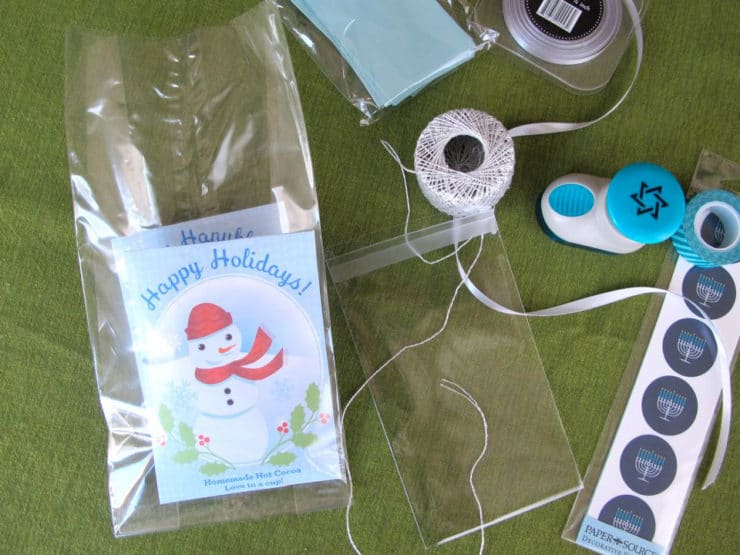
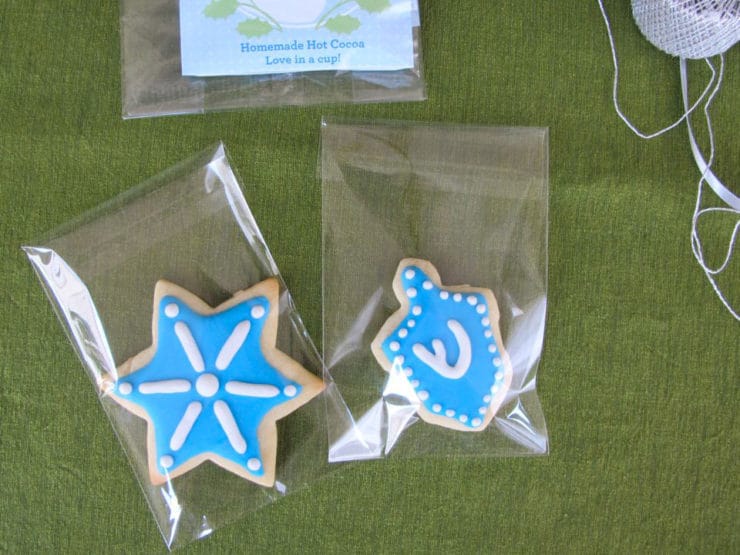
Slip your decorated cookies into smaller cellophane bags, or wrap them in clear plastic wrap. This will keep them from transferring grease spots to the hot cocoa pouches. If you’re using smaller bags, make sure that your cookies will fit into the small bag, and that the small bag will fit into the larger one. Measurements will vary based on the size of your cookies.
Use a separate bag or plastic wrap for each cookie, so the icing doesn’t crumble and the cookies are protected.
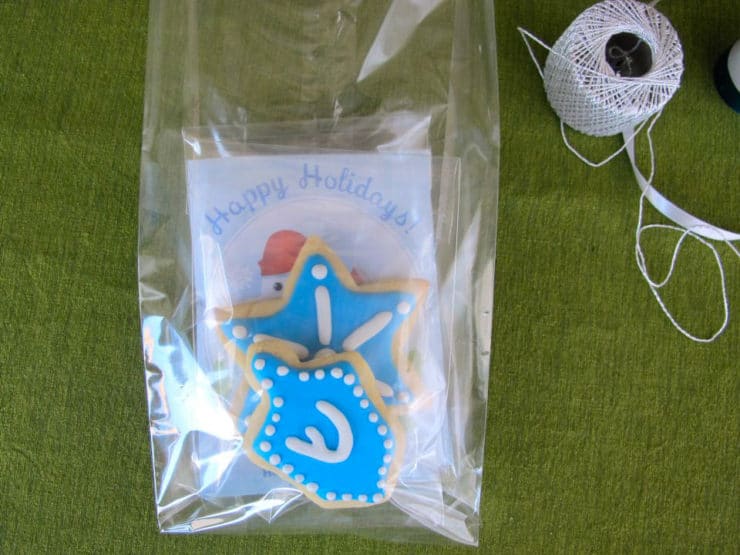
Slip the cookies into the cellophane bag in front of the hot cocoa pouches, so that the pouches are a background for the cookies. Use 1-2 cookies per gift bag.
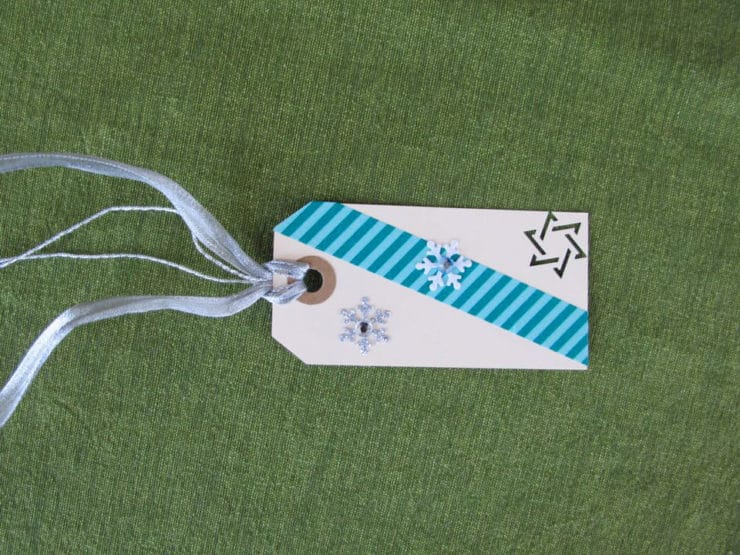
Make decorative tags. Elements can be found at any craft store. I bought the stickers and tags you see here at Paper Source, then decorated them at home. Slip the ribbon or twine through the a hole in the tag.
Twist the cellophane bag closed, then tie it using the ribbon and tag to secure.
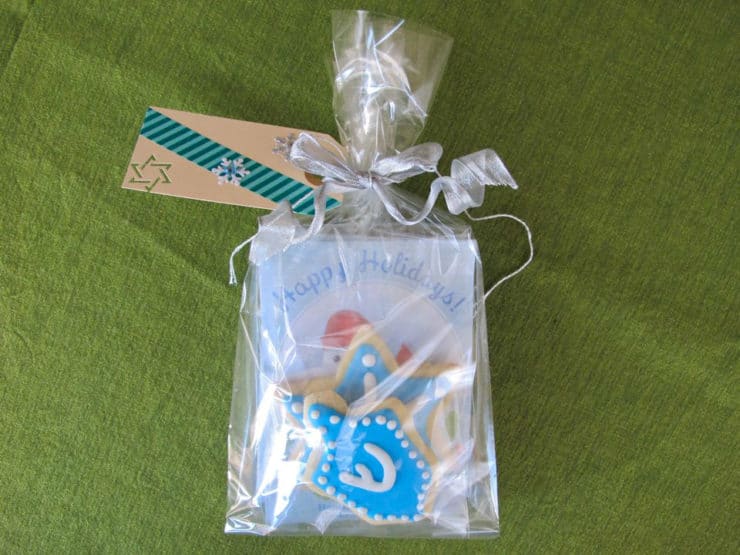
Repeat for remaining gift bags. You can also add more elements to the bags if you like, including gelt coins, pretty paper shreds, small dreidels, candy or wrapped treats. Use your imagination!
These bags make a lovely giveaway or hostess gift for holiday parties. You can change the theme depending on which holiday you celebrate.
Cute, right? Happy holidays! To learn more about the Jewish holiday of Hanukkah, click here.


Leave a Reply