Brenda Ponnay, author of the Secret Agent Josephine blog, is a regular contributor to ToriAvey.com. Her craft blogs are kid and family friendly; each project will help children learn the deeper meaning of the Jewish holidays. Today’s craft: Homemade Hanukkah Wrapping Paper
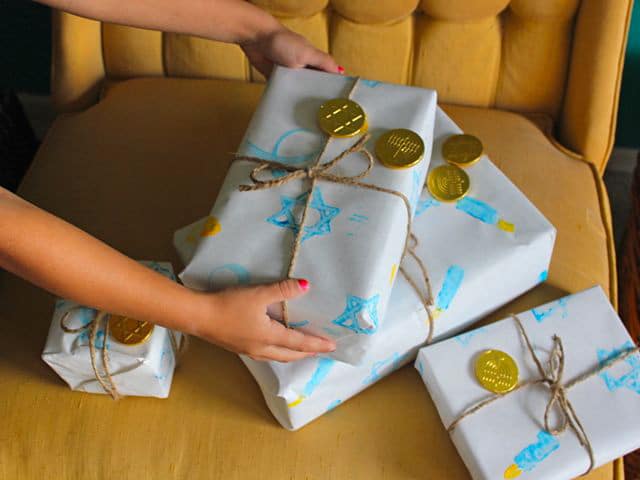
Homemade gifts are a great way to get creative and save money at the same time. Homemade gifts are a personal, “from the heart” way to show someone you care. Even if you don’t have time to make your presents, you can add a personal touch to your gifts with homemade wrapping paper! You can make this Homemade Hanukkah Wrapping Paper using the simplest and most affordable of ingredients… potatoes! They’re not just for latkes anymore. 🙂
This homemade potato stamp wrapping paper craft is perfect for a rainy day. It allows kids to get creative with their Hanukkah gift giving. If you don’t celebrate Hanukkah, you can easily switch the stamp and paint colors to suit your holiday of choice. Kids will relish the opportunity to be artistic and involved in the gift-giving process. Here’s how!
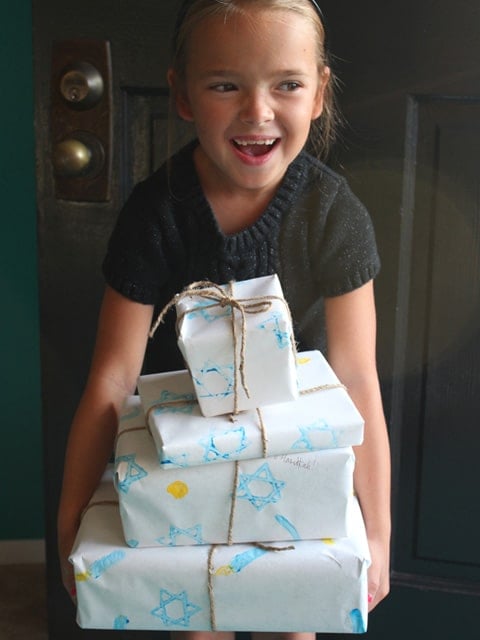
Homemade Hanukkah Gift Wrap
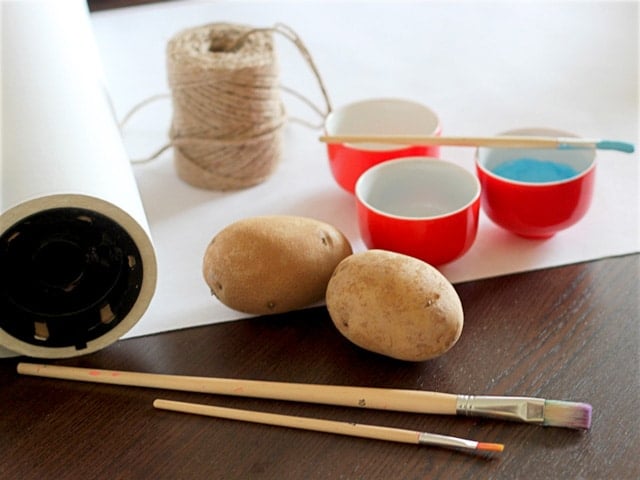
You will need:
- Butcher paper or a roll of white craft paper
- Blue and yellow paint (acrylic paint works best)
- Potatoes
- Paint brushes
- Jar of water
- Wet wipes and paper towels for cleanup
- Twine or ribbon (optional, for wrapping gifts)
Assemble your supplies. First, you will need to create your potato stamps. Making a potato stamp is pretty easy, depending on your carving skills. SAFETY NOTE: Adults should make the stamp, since it involves cutting a slippery potato with a sharp knife.
Slice your potatoes in half, then use a small, sharp paring knife to carve your shapes. It’s easiest to trace a shallow line with the paring knife first, then carve deeper once you have a guide established.
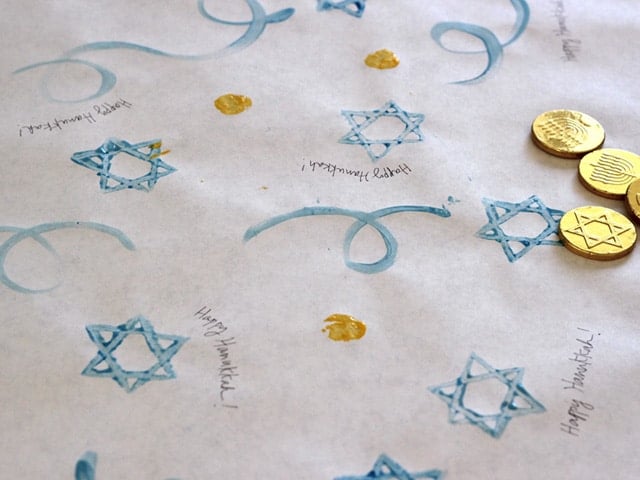
A Star of David can be made by cutting two triangles lightly as a guide, then carving out the inside edges carefully. You can leave the Star of David solid, to make the stamp easier to carve.
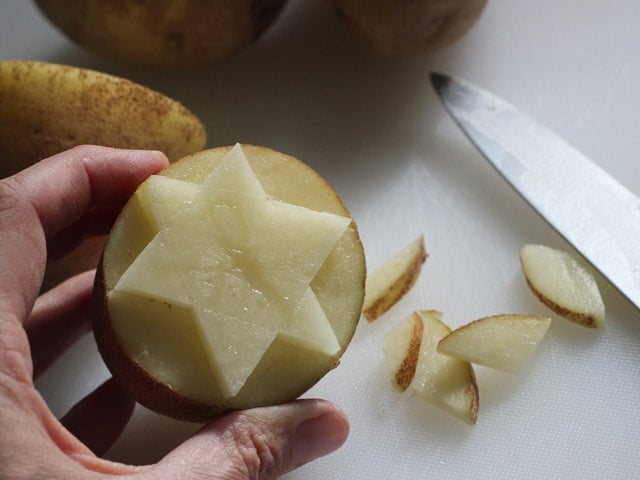
Or, if that sounds complicated, you might want to try a simple candle and flame shape.
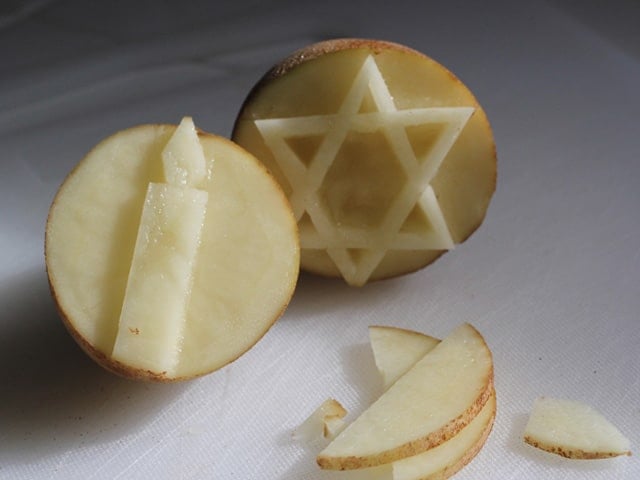
Now that you have your stamps carved, it’s time to get the kids involved. Lay out your paper on a smooth, solid table or floor surface and set up your paints. You can lay down a layer of newspapers to protect your table or floor from accidental paint spills, if desired.
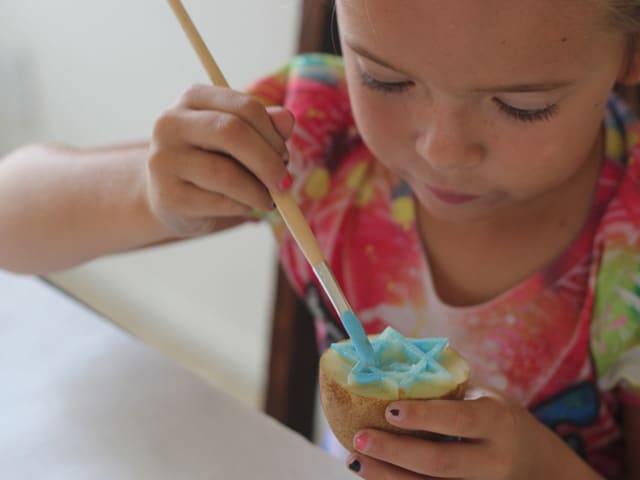
Be sure to have wet wipes on hand for sticky fingers. A jar of water for used brushes and some paper towels to blot brushes dry will be handy, too.
When painting with kids: you can’t alway control what they paint, but you can control the color palette. Using blue and yellow paints will give a seasonal Hanukkah feel to the paper.
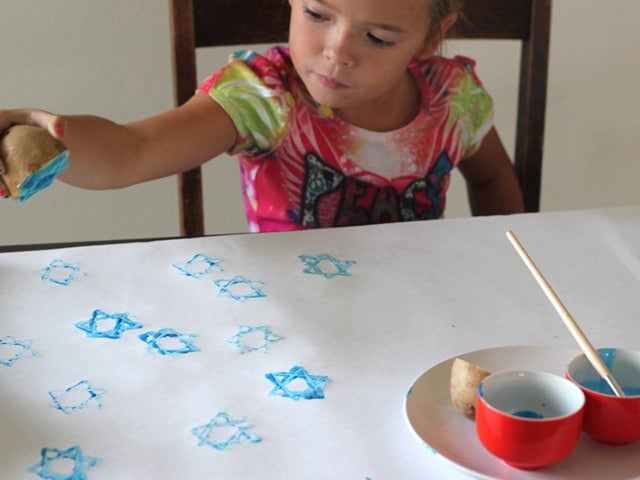
Best to use one color first, then clean brushes and switch to another color, so the two colors don’t run together and create green. If you’re using two colors on one stamp (like the candle flame), make sure you reserve one brush for blue and one for yellow to keep the colors from mixing as much as possible.
Let kids paint the surface of the stamp, then use the potato stamp to make impressions on the paper.
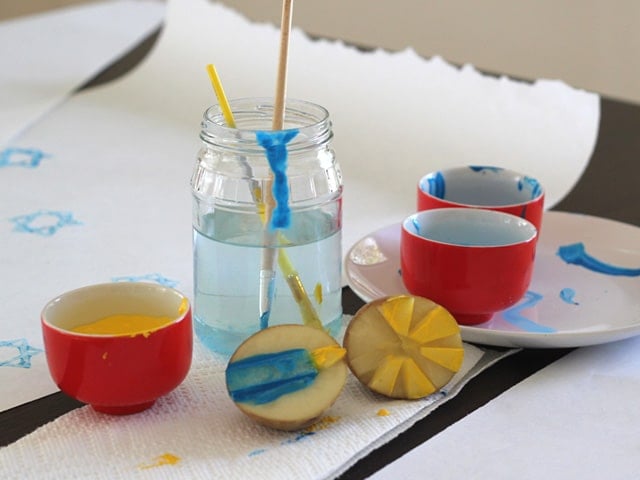
Stamping is so fun and easy. In between each stamp, reapply paint to the stamp with a paint brush. You can let kids dunk the potato in paint, but I’ve found that brushes slow the process down a bit so they can enjoy the craft more– it also slows messes down and makes things less sloppy looking.
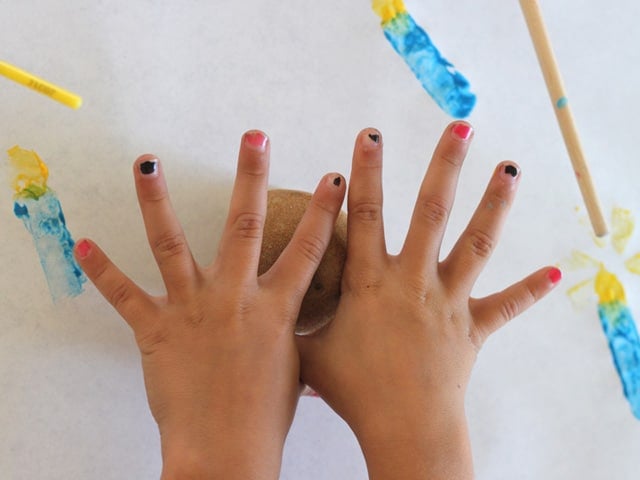
When you are done stamping, set the paper aside to dry.
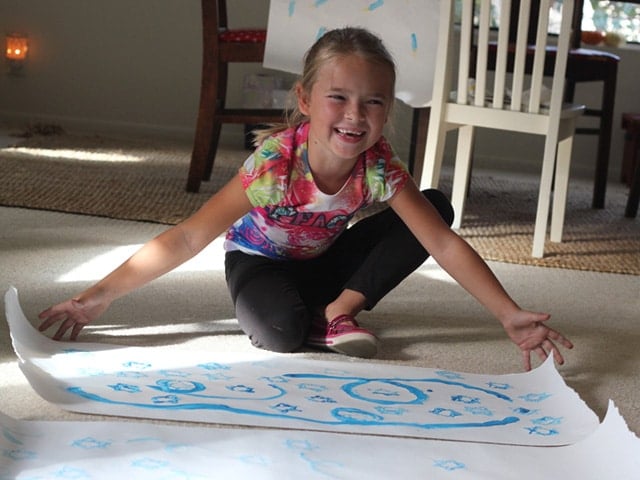
When the paper is dry, feel free to add flourishes with a pen, like writing “Happy Hanukkah!” or “Chag Sameach!”
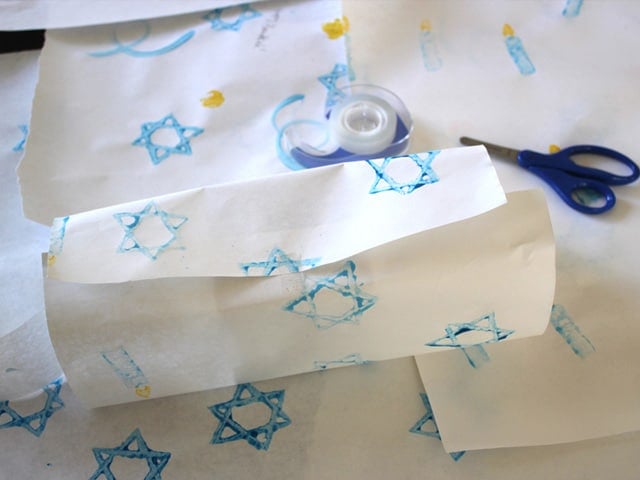
Wrap your presents just like you would with any other wrapping paper. Add some twine or ribbon and you’re ready for eight crazy nights of gifting!
Happy Hanukkah! To learn more about the Jewish holiday of Hanukkah, click here.


such a great idea, and fun for the kids to get involved. such sweet girls… Happy Hanukkah
Sher