Ever wondered how to cook brisket, from choosing the right cut to slicing and serving? The most important thing to remember when it comes to brisket is to cook it low and slow. With a good recipe and the proper technique, brisket becomes tender and juicy, the perfect centerpiece for a holiday meal. Let’s talk brisket!
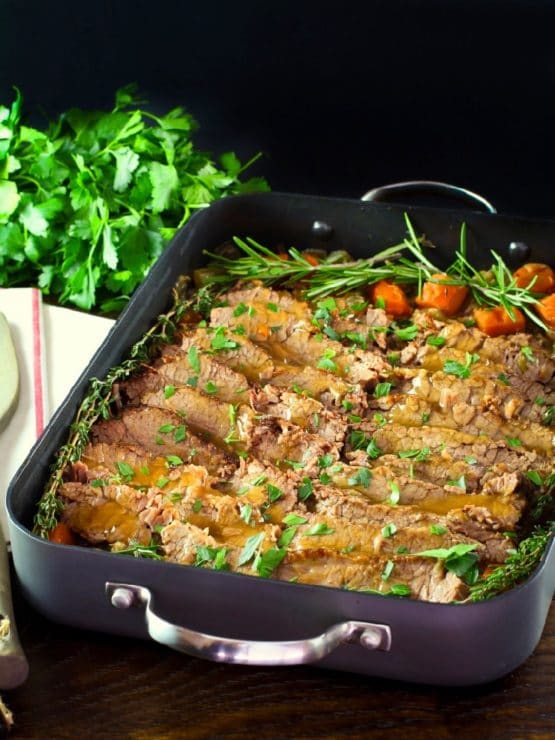
Brisket is a time-honored cooking tradition for the Jewish holidays; barbecued and smoked brisket are both popular in Texas and throughout the South. Passover, Rosh Hashanah, and other Jewish holiday gatherings often feature a meat dish as the center of the meal.
Traditionally, the meat of choice at a Jewish holiday table is the brisket cut, because it’s a kosher cut that can feed a lot of people (more bang for your buck). It’s a great choice for any occasion where you have a lot of people to satisfy, whether or not you’re celebrating a holiday.
So, have you ever tried to make a brisket? Have you ever failed miserably? I’ll admit it… I’ve been there. This notoriously tough cut of meat can be difficult to master. Through the years I’ve learned many pointers for cooking a delicious, tender brisket. It does take a bit of practice, but with a few helpful tips and a great recipe, you’ll be brisket-cooking like a pro!
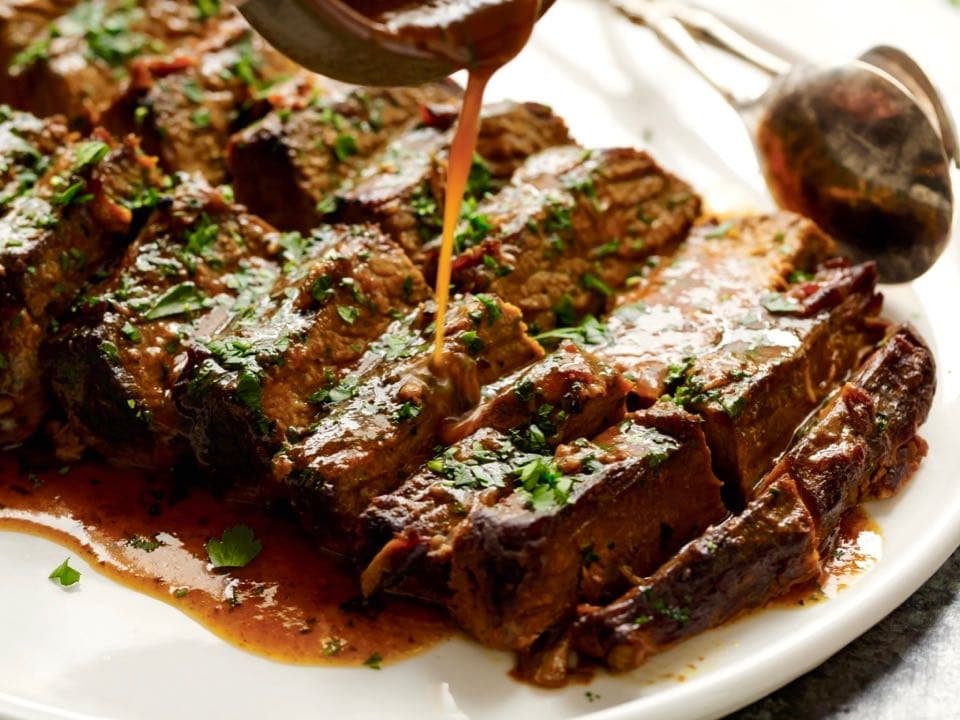
BRISKET COOKING TIPS
1) Pick a great cut of meat. The higher quality the meat is, the tastier your brisket will turn out. I buy organic, hormone-free meat whenever possible. Choose a cut with plenty of fat; the more fat there is, the more tender the end result will be. For special occasions when you are cooking brisket, fat is key.
2) First Cut vs. Second Cut. Readers often ask me what cut of brisket is best – first or second cut. I generally recommend first cut, untrimmed. The first cut is easiest to find in supermarkets; it has a flat shape and a thin layer of fat. Second cut will also work – it is shaped like a point, and has a lot more fat.
2) Get the right size brisket for the amount of people you will be entertaining. Generally, butchers recommend calculating about ½ pound per person, uncooked weight. I always get at least two pounds over the recommended amount, which allow for guests taking larger portions, and will hopefully leave you with some nice leftovers.
3) Don’t trim the fat. Many recipes call for trimmed brisket, but I always leave my brisket untrimmed. The extra fat makes more cooking liquid, which keeps the brisket moist during the long, slow cooking process. Without the fat, the brisket will cook up dry with a cardboard-like texture, and will require a lot of sauce to make it palatable.
4) Grass fed brisket needs extra attention. I am a big believer in choosing grass fed, organic meat from responsible farms. If you choose to go this route, know that it can take a very long time to make a grass fed brisket cook up tender. Grass fed brisket is naturally lean, and it will take a longer time for the connective tissue to break down.
If using a grass fed cut, consider using a slow cooker on low setting. If using the oven, lower the recipe temperature to 250 degrees Fahrenheit and let it cook a few hours longer than the recipe states. This will give the brisket ample time to break down and become tender.
Some grass fed briskets I have cooked have taken 14 hours or longer to become really tender. Be patient, it will eventually get there! Check liquid levels periodically to make sure it doesn’t dry out.
If the recipe has additional vegetables or herbs, add those about 4 hours before the end of cooking so they don’t get over-done. If using a grass fed cut, definitely consider making a day or two ahead to give yourself ample time to cook and prepare.
5) Kosher brisket is pre-salted, so salt with care. It’s best to cut back on the salt in most brisket recipes unless they are specifically written for kosher salted brisket. Generally, if using a salted brisket, I opt to cut back the salt in the recipe by about a third. You can always salt more to taste at the end of cooking.
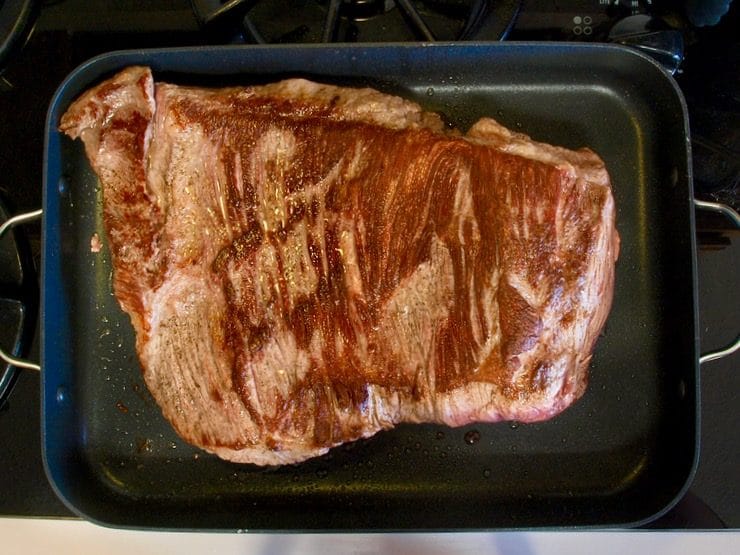
6) Make sure your roasting pan or slow cooker is big enough for your brisket. It’s okay if the meat initially looks scrunched in there, traveling up the sides… it will shrink a LOT during cooking.
A heavy roasting pan with a lid, or a covered Dutch oven, will be very helpful for cooking your brisket and keeping it moist. Here is a high quality roasting pan option, a cheaper lighter version, and a fantastic Dutch oven.
If you don’t have a pan with a lid, make sure you cover it tightly and completely while it cooks. I use a layer of parchment paper followed by a layer of aluminum foil; the parchment keeps the foil from direct contact with the brisket. In addition to the potential health concerns surrounding foil, aluminum can break down during slow cooking when it touches acidic sauces containing tomato or vinegar.
7) Running short on oven space? Use a slow cooker! Aka a crock pot. A large-capacity slow cooker is a great alternative for those who are short on oven space, or trying to keep the temperature in the home from getting too hot.
I have some recipes specifically crafted for the slow cooker, including my Savory Slow Cooker Brisket and my Slow Cooker Honey Barbecue Brisket.
8) Consider making your brisket in advance. If you have the time and foresight to plan ahead, make your brisket a day or two ahead– the meat will improve with time. I like to prepare the brisket the day before I serve it, then put it in the refrigerator overnight. This saves prep time on the following day, and the flavors deepen overnight, which makes it taste even better.
Make Ahead Brisket Instructions: Make sure the brisket cools for about 20-30 minutes before putting it in the refrigerator. Place the brisket and cooking juices/sauce in a glass or ceramic baking dish. Cover it with plastic wrap (not foil, which can react if there is any acid in your sauce). Do not slice it. Cover brisket in the meat juices to let it marinate.
When you are ready to serve the brisket the next day, take it out of the refrigerator and skim the hardened fat that has risen to the surface of the sauce. Discard the fat pieces.
Take the brisket out of the sauce and slice it cold. Place the slices back in the baking dish and spoon the sauce over the sliced meat.
Cover the meat tightly with a layer of parchment, followed by a layer of foil, then warm it in the oven at 350 degrees F for 45-60 minutes, checking periodically to make sure it doesn’t get dry. If you don’t have a lot of cooking liquid, you may want to add some water or broth. You can cook the meat even longer to make it more tender if you wish.
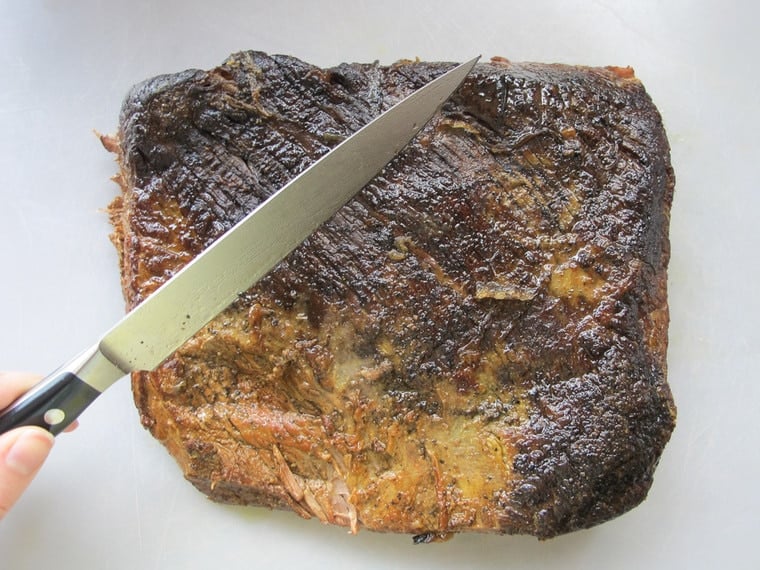
9) Slice against the grain. Briskets have a distinct graining to the meat – if you look at the lines in the meat, they will generally be running in one direction. The key with getting a clean slice is to cut against this grain.
First, cut any large fat caps off of the brisket. Place the knife at a 90 degree angle from the direction of the grain line, and slice in that direction. This will ensure that you get clean slices which don’t shred or fall apart too much. Be sure to use a high quality chef’s knife, and keep it sharpened!
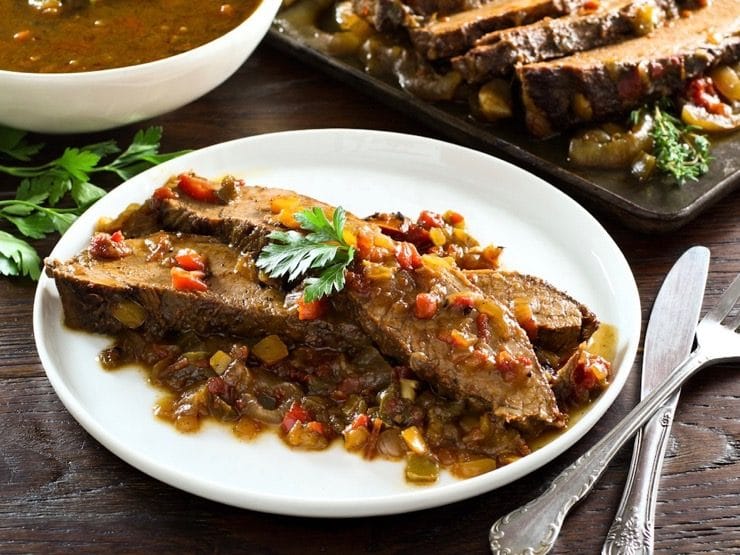
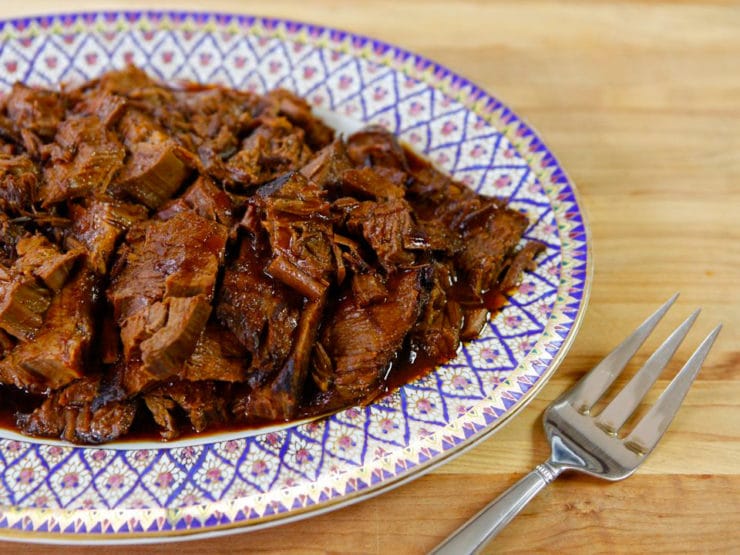
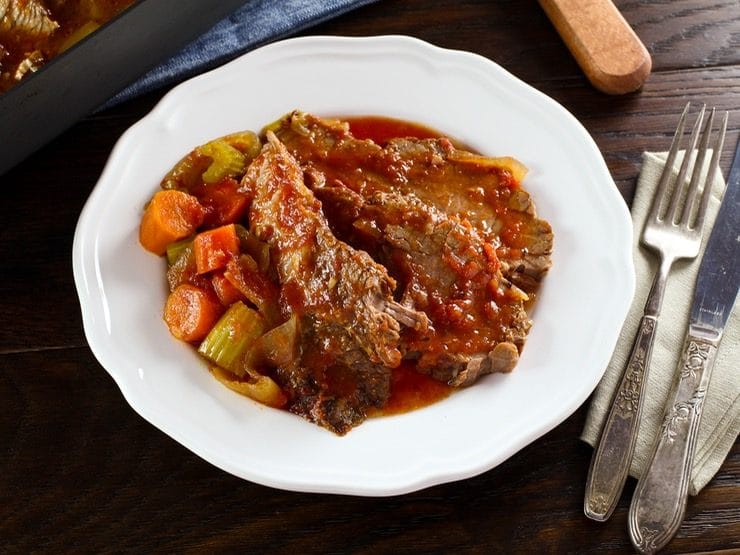
10) Choose a tasty and time-tested recipe. This is the most important tip of all, especially if you are new to brisket! Below you will find some of my favorite brisket recipes, all tried, tested and true. Read the user comments to learn more about these recipes and how they work in a home kitchen.
BRISKET RECIPES
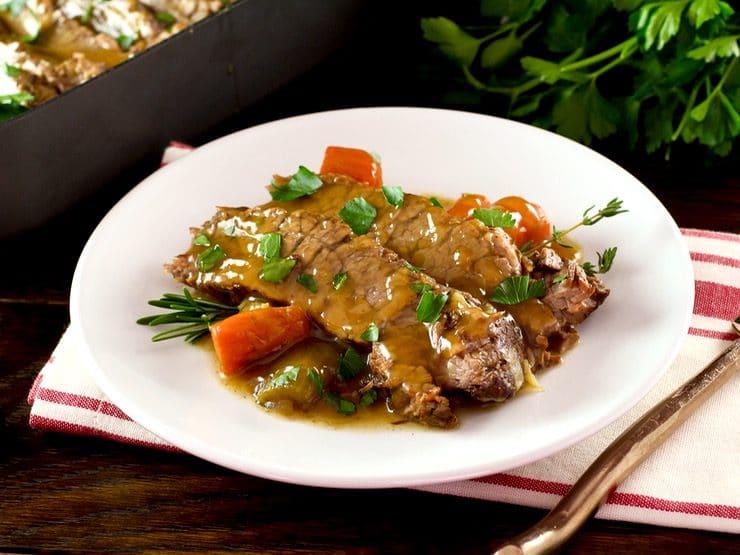
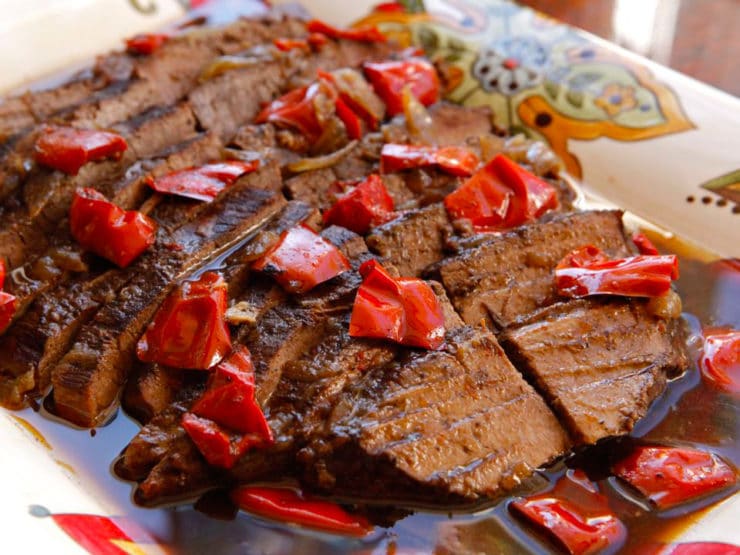
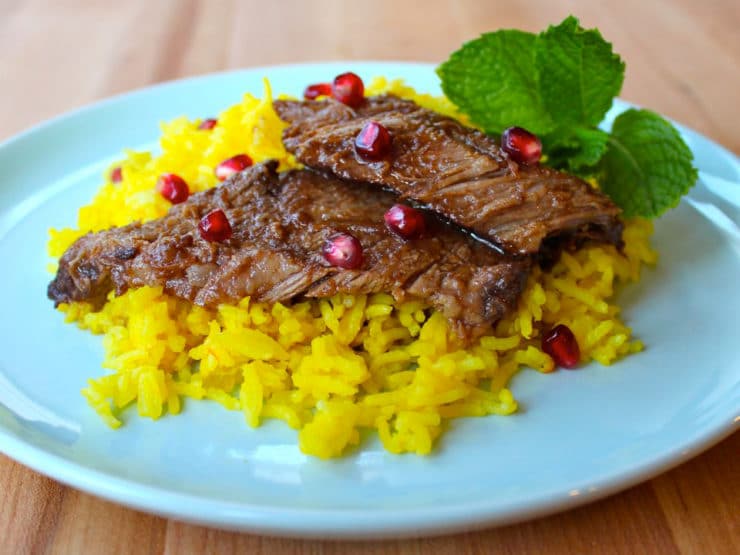
Slow Cooker Honey Barbecue Brisket
We are a participant in the Amazon Services LLC Associates Program, an affiliate advertising program designed to provide a means for us to earn fees by linking to Amazon.com and affiliated sites. As an Amazon Associate I earn from qualifying purchases.


Thanks for writing this! I’ve been grilling all year and looking forward to it again this weekend! Excited to try burgers for my next family reunion.
I like what you have described in your receipts. I have smoked many briskest sand your right on target. It’s been a long time, but it’s time to renew my pleasures. 👍
Going one better on your suggestion to cook the brisket a day in advance. I always cook mine weeks ahead, according to all the good practices you mention: timing, seasoning, temperature, etc. The best part is that it freezes beautifully, ready to heat and eat. A huge piece of work, done!
And did you know that Jewish immigrants were the first to smoke brisket in the United States. From Wikipedia (the article is well sourced) : By the early 1900s smoked brisket appeared on Jewish deli menus across Texas.[The first mention of smoked brisket appears in newspaper advertisements in 1910 geared towards the Jewish community of Texas, Watson’s Grocery in El Paso and Naud Burnett grocery store in Greenville both sold smoked brisket in their Jewish deli counter, alongside other foods such as smoked whitefish salad and chopped liver. In 1916, Alex and Moise Weil (of French Jewish descent) advertised smoked brisket alongside pastrami in an advertisement for their grocery store in Corpus Christi.[2
That works too! Interesting history, thanks for sharing. 🙂
I really differ with you concerning the cut of brisket. Most like the “lean” flat or first cut. I must say, the is it not what should be purchased. I like the one with a “deckle.” This has the requisite fat on the brisket to make it juicy and tasty. A flat first cut is more expensive and not worth it. The one with a deckle is what one should buy.
I agree with you that fat equals flavor, however the second cut tends to have so much fat that you end up with less servings of meat in the end. I typically ask the butcher for first cut but to leave the fat layer intact, rather than trimming it. When I’ve gone with second cut I have found that the meat is often swimming in fat, but the servings come up short. That just might be our particular butcher, though. To each his own!