Brenda Ponnay, author of the Secret Agent Josephine blog, is a regular contributor to ToriAvey.com. Her craft blogs are kid and family friendly; each project will help children learn the deeper meaning of the Jewish holidays. Today’s craft: Homemade Passover Seder Plates
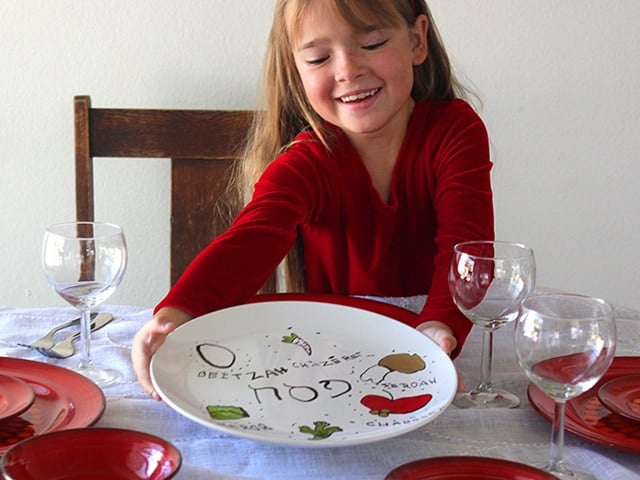
Here’s a Passover craft that is sure to get your kids excited about the holiday– painting their very own Seder plate! Imagine how proud your kids will feel knowing they helped decorate the most important plate at the Seder table. It’s easy to do, and we’ll show you how!
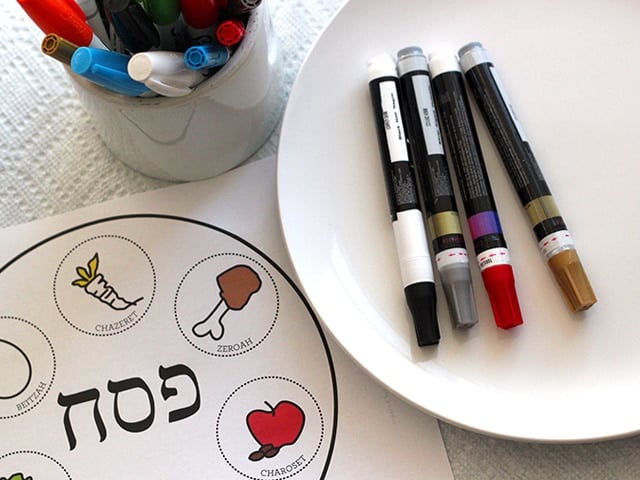
Here are the supplies you’ll need:
1. nontoxic enamel paint markers in your favorite colors (these can be purchased at most craft stores)
2. a clean, dry, round ceramic plate – white is best
3. a clean work space
4. an oven
5. Seder Plate Printable Guide
You’ll start with a big, round white plate. Make sure it’s clean and dry. Your ink won’t mix well with any moisture, so make sure it’s thoroughly dry.
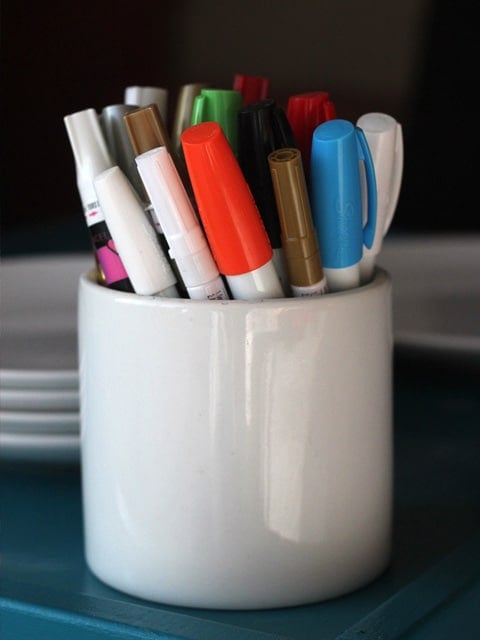
Gather your paint pens. Keep in mind, these paint pens aren’t that messy if you use them properly, but they are permanent. Use them with caution. Cover your work area with newspaper or butcher paper. Make sure your clothing isn’t something you mind getting stained, just in case.
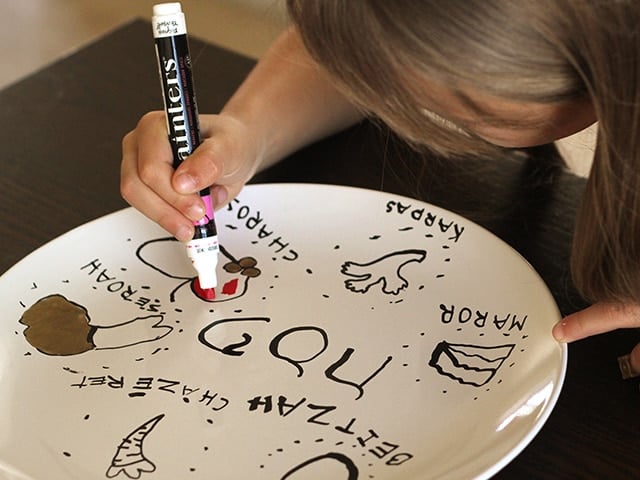
Now you’re ready to paint! Make sure you shake your pens before you uncap them, and follow the directions on how to push in the pen nib on a test piece of paper to prime it.
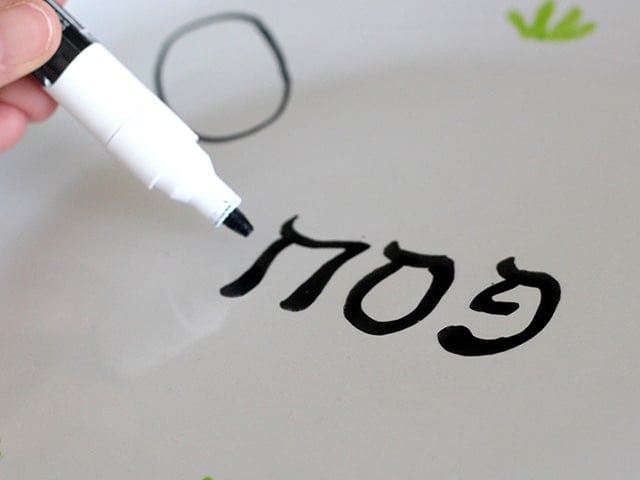
You can print out this handy printable as a guide if you need help knowing what goes where:
Either copy it by sight or flip it over backwards, trace the lines with a pencil and then re-trace them onto your plate for a guide. The graphite should transfer onto your plate. Just make sure you trace the backside of the printable and not the front so you don’t accidentally transfer everything backwards onto your plate.
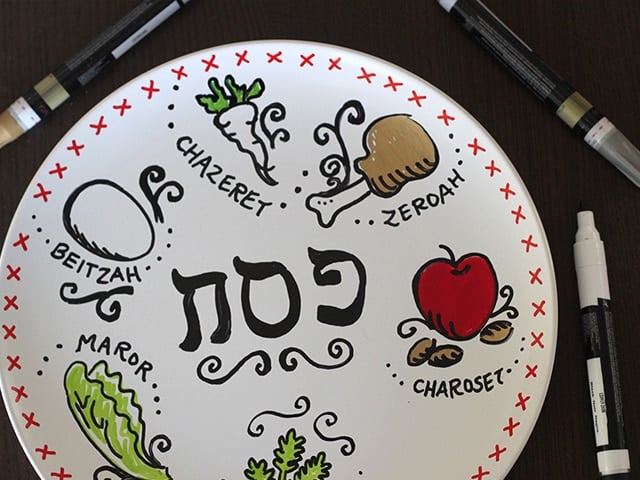
A handy tip when painting with these kinds of opaque paint pens is to lay down your color “filling” strokes first. Then, when they are dry, outline your shapes in black. For example: paint the leaves of your maror (or lettuce) first, then add the detailed outlines later after the green has dried. You can do it the other way around, of course, but you’ll find that the opaque colors will blot out the black outlines if you make a mistake and go outside of the lines. You can always retrace the black if that happens, though.
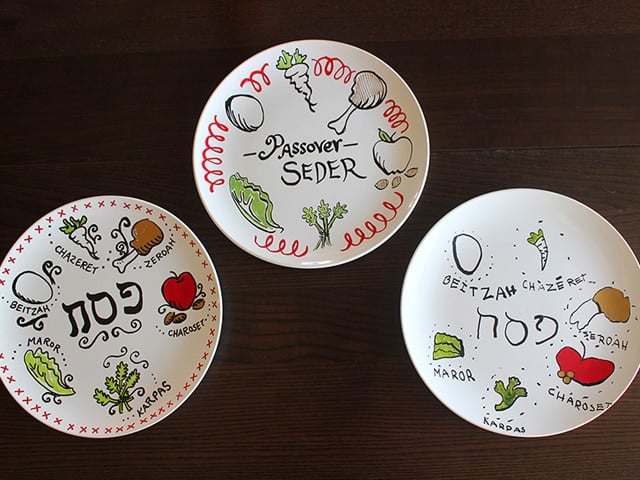
Go ahead and get creative with your decorations. Add some x’s or dots around the edges of each design, or some curly-ques between your blessings. Whatever you do, just have fun with it. If you make a mistake, don’t sweat it too hard. You can carefully dab the paint with some acetone nail polish remover and a q-tip to remove the mistake, let the area dry thoroughly, and then try again.
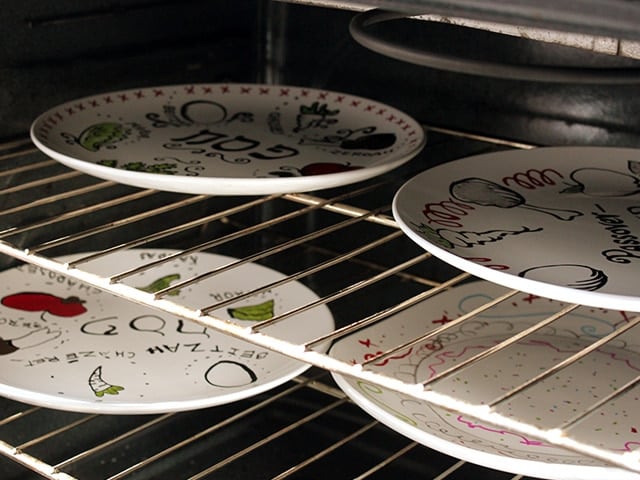
When you are done decorating your plate, pop them in the oven at 350 degrees for 30 minutes to set the paint. Let the plate cool completely, give it a gentle rinse in cool water with a mild detergent, and then you are ready set your Passover table!
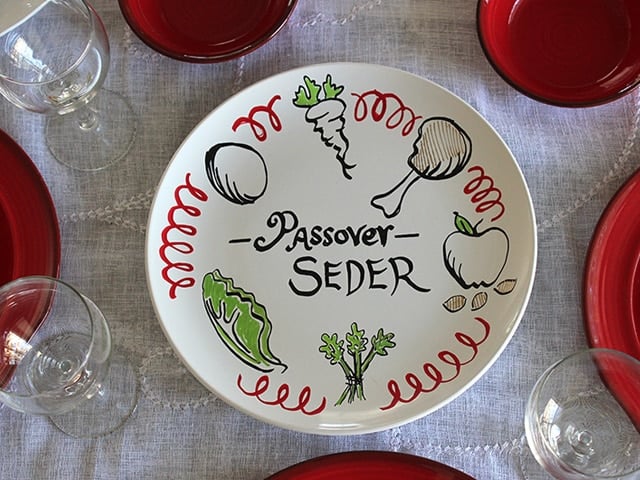
After you’ve used your Seder plate, make sure to wash it gently by hand. No dishwashers, sorry. But it’s definitely worth the extra care! After all, you only use the Seder plate a couple of times a year. Caring for it properly will make it last for a long, long time. Your family will have a totally unique Seder plate that you’ll never find in any department store!
To learn more about the Passover Seder Plate Blessings, here is a printable that provides a brief explanation:
To learn more about the Jewish holiday of Passover, click here.


Darling girl!
Loved this idea! Used it this weekend to make my own seder plate and it was such fun! http://escapeeatenjoy.com/2014/04/06/prepping-for-passover/
Looks like a great craft! Thanks so much for sharing.
Just wanted to check what type of ceramic plates. Can they be regular ones from the Dollar Store or Walmart or are they a specific type from a particular store?
Thanks in advance!
Any white ceramic plate is fine as long as it’s clear, dry and round. Flat plates (without ridges) will give you more room to decorate; they sell this kind at Cost Plus World Market for a reasonable price, just in case you can’t find them at the dollar store or Walmart.
Thanks for all the great tips! I wanted to make a plate for upcoming seder in our new home and this will be fantastic.
I made my own seder plate as you explained how to do here. I did a shout out to you and linked back to you! Thought you may like to know! Have a blessed day! http://becomingblameless.blogspot.com/2014/03/new-easter-tradition.html
Pretty! Nice job. 🙂
I LOVE this! I was going to purchase one but this will truly be ORIGINAL!! Thanks for the idea! I’ll link back to you when I feature this on my blog!
I am just beginning my conversion to Judaism myself, and was a bit overwhelmed by all the ritual objects I would eventually want to acquire. This is such a fun and inexpensive way to have a Seder plate of my own! I’m so excited to make these with my kids next Passover! Thank you for the idea!
You’re welcome Sarah! I think this is a great way to make an affordable Seder plate, and it’s more meaningful too because it will be personalized to your family. 🙂
I wanted to let you know that I featured this in my “What I Bookmarked This Week” post on Saturday. Stop by and see!
These are adorable! Most of the seder plates you find at stores are so tacky and ugly. Love these so much!
This is a great project thank you for the idea. For years now, I’ve been searching for a fun way to enhance children’s seder experience. I think they will love the idea of having their very own seder plates.