If you are interested in creating homemade pickles, jams and preserves, then you might be curious to learn how to can these recipes at home for extended shelf life. It’s actually a lot simpler than you might think, and can be accomplished without purchasing lots of expensive specialty canning tools. The boiling water canning method is great for two main reasons– it ensures that potential contaminants are killed, and that there is enough heat to create an airtight seal, preserving the food long term.
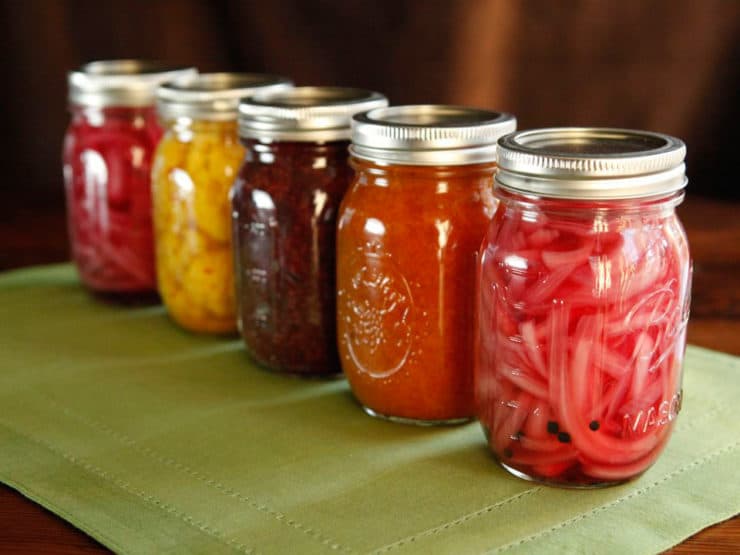
Canned foods are practical, economical, and make great homemade gifts. You only need a few basic tools to can at home, which you may already have on hand. If not, I recommend this relatively inexpensive canning kit, which has all of the tools you’ll need to can your own high-acid foods at home. Of course, you’ll also need some canning jars, which come in several different sizes. When canning, I tend to use quart (large) and pint (standard– I use this size the most). If you’re reusing jars, you will need some fresh canning lids, available in regular and wide mouth- the lids can only be used one time safely.
In its most basic terms, canning is a way of preserving food by sealing off exposure to contaminants. Human methods for stopping food spoilage have changed quite a bit since medieval times when raised pies with thick, sturdy crusts were used to preserve the foods baked within. In 1861, French scientist Louis Pasteur shared his knowledge of microorganisms and their effect on food, and canning became the method of choice for extending the shelf life of food products.
Home canning was also a way of ensuring that there would be food on the table during the winter months and times of scarcity. Before supermarkets were stocked with fresh produce year-round, folks looked forward to seasonal crops like spring strawberries and autumn apples. When these foods were canned at the height of their season, they could be enjoyed at any time without a loss of flavor.
At the turn of the 19th century, Nicolas Appert developed a system of bottling and canning that was approved by the French government and eventually used in America. Fruits, vegetables, soup and even meats were placed in wide-mouth jars and closed with a cork stopper, then sealed with a strange mixture of lime and cheese. The jars were then heated in a water bath. While it’s a bit different than how we do things today, I think it’s pretty remarkable that the technique has not changed all that much in the past 200 years.
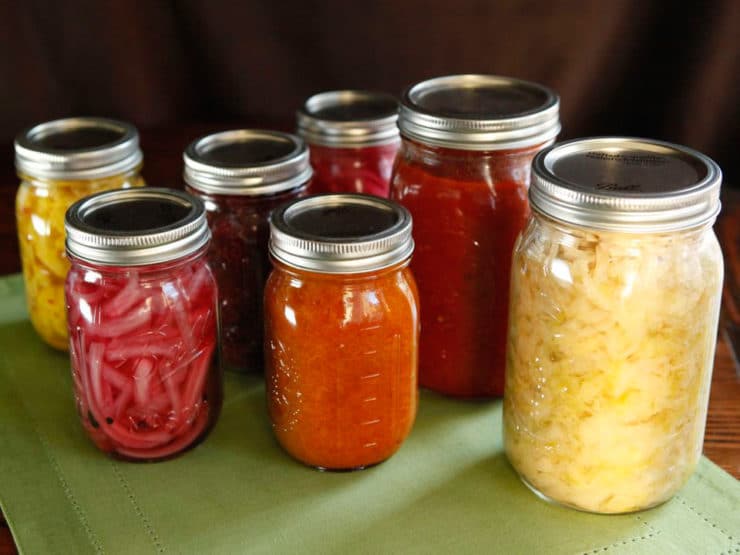
In this post, I will walk you step-by-step through the current, USDA-approved food safe boiling water canning process. The number one fear in home canning is botulism, an organism that can grow in improperly canned foods. Botulism is very dangerous and can cause a deadly case of food poisoning. While scary, it’s important to note that botulism has trouble growing in a highly acidic environment.
If you stick with high acid foods, like most jams, jellies and pickles, there is very little health risk as long as you follow the proper sterile canning procedure outlined below. It is easy to tell when canned foods have spoiled. You will know immediately based on smell and sight. If it seems questionable, then don’t eat it – simple as that.
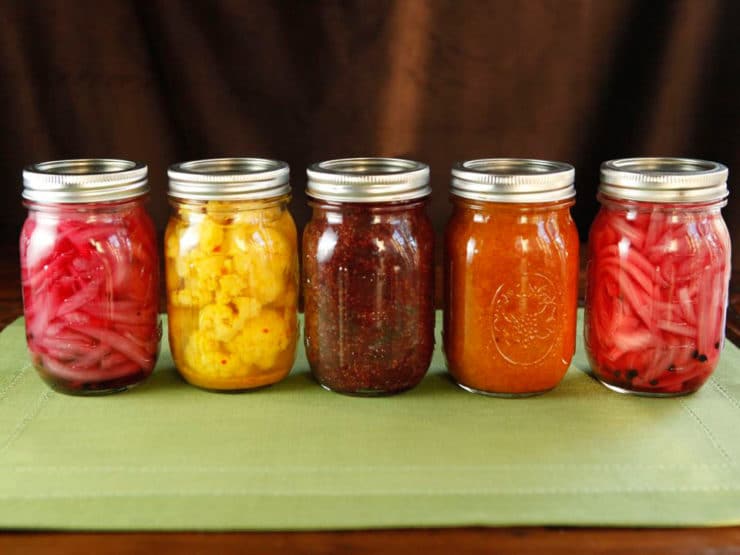
The boiling water process outlined below is suitable for high-acid foods like fruits, fermented foods containing lactic acid, and vinegar pickles. If you are canning a lower acid food, you will want to refer to this post: Pressure Canning Method. Lower acid foods like vegetables and meat should be processed using a pressure canner, unless their recipe includes vinegar, lemon juice or citric acid (such as the cauliflower pickle pictured in this blog).
Tomatoes are tricky– their acid is on the low side, and while they can safely be canned with boiling water, you should add lemon juice or vinegar to the recipe to increase acidity. When making a simple tomato sauce or canning cooked tomatoes without any additional acid, I err on the safe side and use a pressure canner.
If you want a definitive list of which foods are considered high acid and low acid, I recommend getting a copy of the Ball Complete Book of Home Preserving.
Now that I’ve got a canning tutorial on the blog, I am inspired to share all kinds of unique seasonal homemade preserves and pickles with you! What kind of homemade preserves would you like to see on the blog?
Recommended Products:
Canning Jars – Quart
Ball Canning Lids – Regular and Wide Mouth
Canning Books (linked in “Research Sources” below)
We are a participant in the Amazon Services LLC Associates Program, an affiliate advertising program designed to provide a means for us to earn fees by linking to Amazon.com and affiliated sites. As an Amazon Associate I earn from qualifying purchases.
Ingredients
- 3-piece canning jars includes jar, flat lid and ring
- Canning pot - any large pot will work as long as it's deep enough to fully submerge the jars with an extra couple of inches at the top
- Round rack that will fit into the bottom of your canning pot. This will lift the jars away from the direct heat of the burner and allow water to circulate more easily, decreasing the chance of breakage
- Jar lifter
- Small saucepan
- Magnetic lid lift optional
- Tongs
- Wide mouth funnel
- A few clean kitchen towels
- Heat-safe measuring cup
Instructions
- Before you start, make sure your hands and all of the tools you'll be using are very clean.
- Remove the lids and rings from your jars. If you are re-using jars that you’ve had around the house, be sure that you aren’t using any with cracks or chips. Keep in mind that canning lids can only be used once, so don't reuse old ones-- buy fresh lids before you begin.
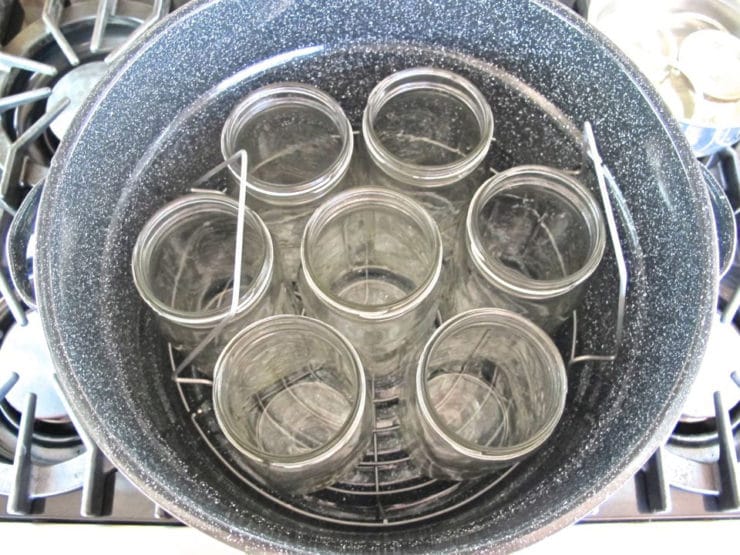
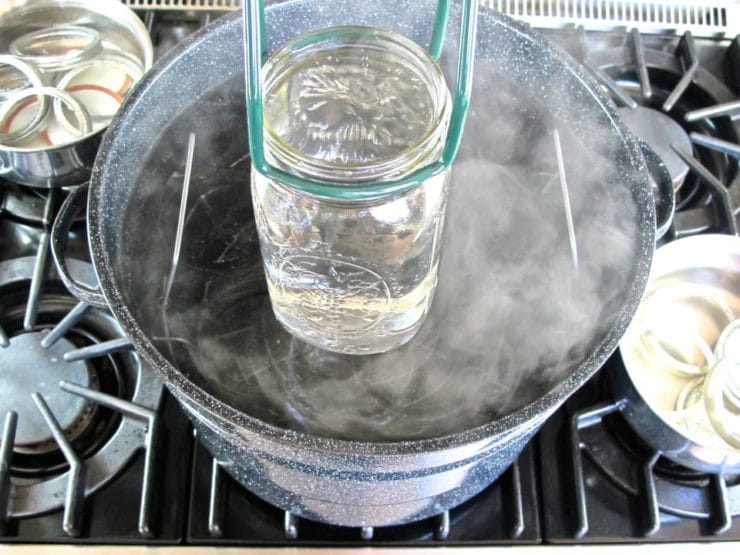
- Place a round rack into the bottom of your canning pot, then place your canning jars on top of the rack.

- Fill the pot, and jars, with enough water to cover. Bring to a boil.
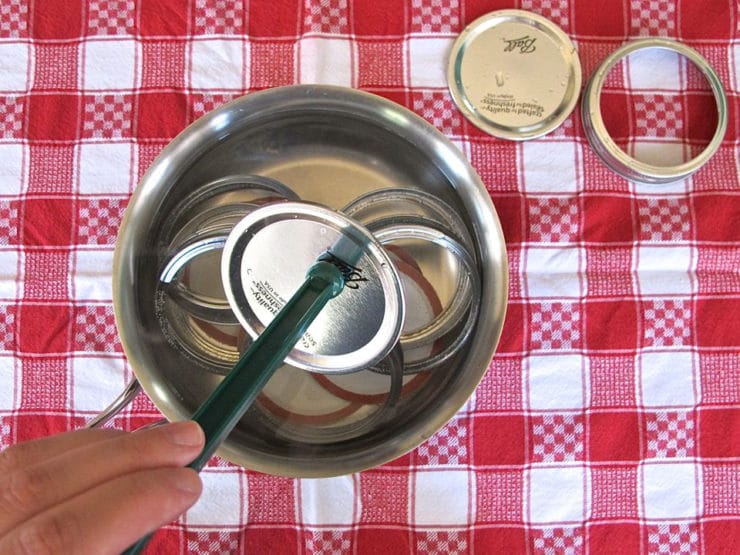
- Place the lids into a small saucepan. Cover with water and bring to a low simmer. This will soften the sealing strip around the edge of the lid.
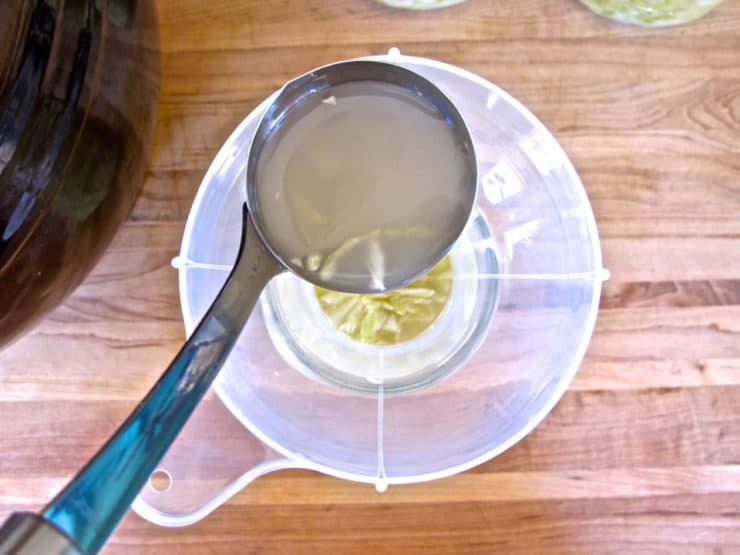
- While your jars and lids are sterilizing, prepare the product that you will be canning. When your recipe is complete, carefully remove the jars from the water using a jar lifter (take care not to burn yourself with the hot water!). Pour the water from the jars back into the canning pot. Set the jars on a clean towel. Keep the canning pot water at a simmer; you'll need to boil the jars again once they've been filled.

- Using a wide mouth funnel, carefully fill the jars with your product. Depending on what you will be canning, you will need to leave 1/2 – 1/4 inch of space at the top of the jar. Most recipes will specify what is necessary, but as a general guideline, most jams or jellies will need 1/4 inch, while pickles and thicker products will need 1/2 inch.
- Clean the rims of the jars with a damp paper towel or clean kitchen towel. If you’re dealing with a sticky product, you can use a bit of distilled white vinegar.
- With tongs or a magnetic lid lifter, remove the lids from the simmering water and place on a clean towel.

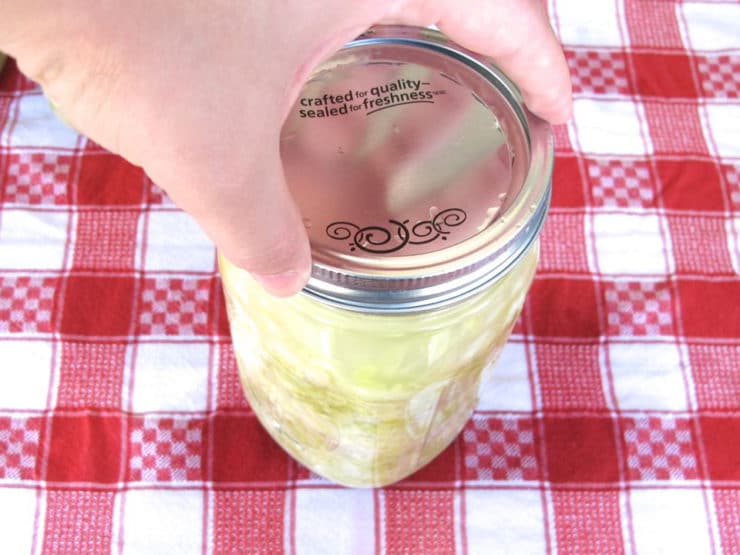
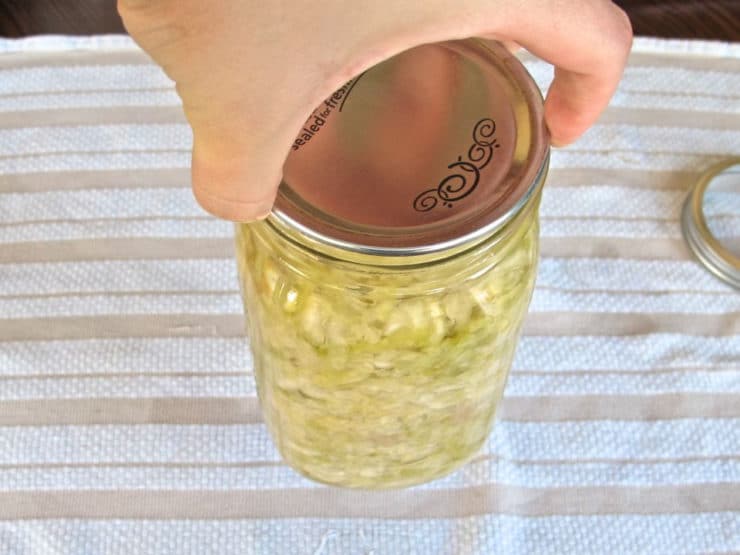
- Place the lids with warm seals directly onto the jars and seal with the round bands using just your fingertips so that they are secure, but not too tight.

- Carefully lower the jars back into your canning pot of boiling water using the jar lifter. Remove any water as needed with a heat-safe measuring cup to prevent overflow.

- Start your timer once the water has returned to a boil. Cook time will vary depending on your recipe.
- As soon as the timer goes off, quickly and carefully remove the jars using the jar lifter. Place them on the clean towels to cool. You should hear a “ping” sound shortly after you remove the jars from the water. This is a good sign. It means that the seal has formed. You will also notice that the lid becomes concave once the seal has taken hold.
- Allow your jars to cool for 24 hours. Remove the round outer bands from your lids and test your seals by lifting the jar by the flat lid a few inches from the countertop. The jar should lift without any separation. Jars with good seals can be kept in a cool dark place for up to a year.

- A broken seal doesn’t mean that your product has gone bad, it just has a shorter shelf life. Those jars should be placed directly into the refrigerator and used within two weeks or until the product has spoilage, whichever occurs first.

Research Sources:
Davidson, Alan (1999). Oxford Companion to Food. Oxford University Press, USA.
Kingry, Judi and Devine, Lauren. Ball Complete Book of Home Preserving. Robert Rose, Inc. Toronto, Ontario, Canada.
McClellan, Marisa, (2012). Food in Jars: Preserving in Small Batches Year-round. Running Press, Philadelphia, PA.
USDA Complete Guide to Home Canning. National Center for Home Food Preservation, n.d. Web. 03 Sept. 2013.



Tori ,
I’ve been canning jams, fruit and the occasional pickle for years. Would love some of your recipes.
Shirley