Do you know how to truss a chicken? It’s easy. Truss me. 🙂
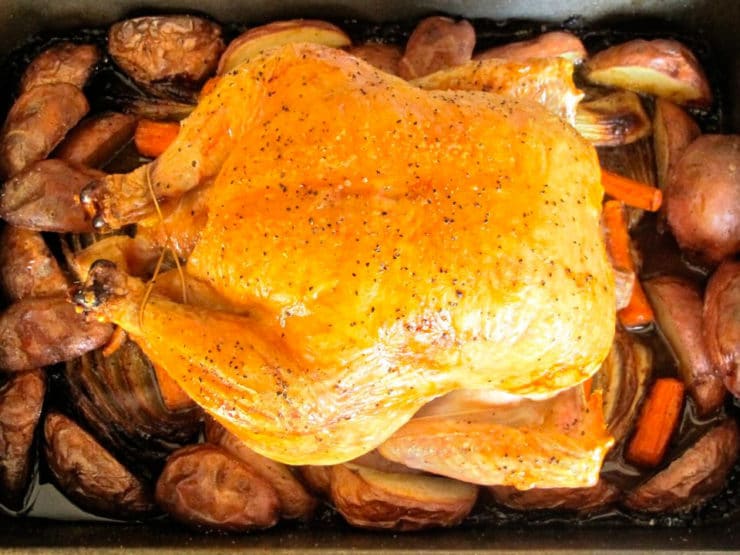
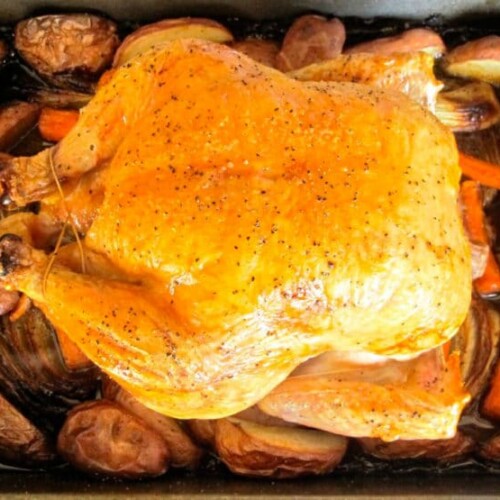
Trussing a chicken helps it to cook more evenly. It also gives the roast chicken a nicer shape. Trussing is a simple process. Different cooks have different methods; this is the way I was taught. It works like a charm! Once you’ve got the steps memorized, it will take you less than 2 minutes to truss a chicken.
I find that a trussed chicken is more juicy, and it’s easier to get consistent results when the chicken is trussed versus untrussed. Try it out the next time you roast a chicken, and see if you notice a difference in your roast chicken. You can thank me later.
How to Truss a Chicken
Ingredients
- 1 whole chicken
- kitchen string
NOTES
Instructions
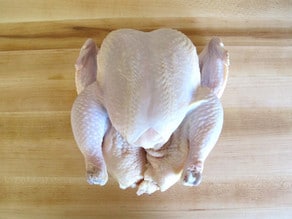
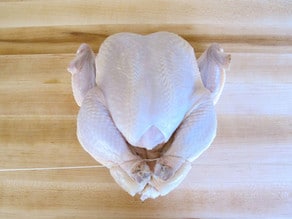
- Place your chicken on a flat kitchen surface, breast side up, cavity facing you. If you plan to stuff the chicken, do that prior to trussing. Tuck any excess fat or skin back into the cavity. Cut a 3 foot piece of kitchen string.

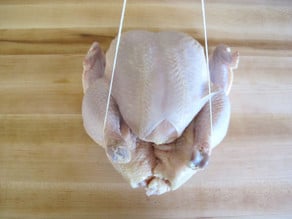
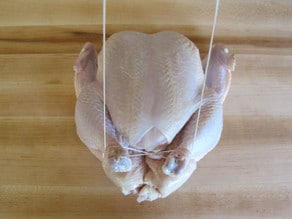
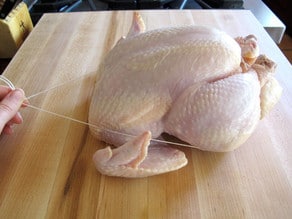
- Loop the string underneath the bottom of the chicken, pulling up an equal amount of string on either side of the drumsticks.

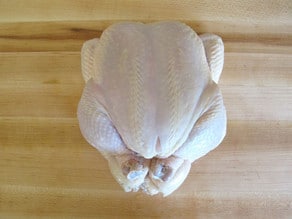
- Pull the string ends down between the two drumsticks and cross the strings in an X formation. Pull the ends underneath the two drumsticks and up on either side.

- Pull tightly to bring the ends of the two drumsticks together.

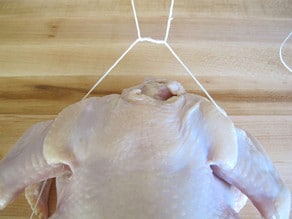
- Guide the two strings under the thighs and over the wings. Hold the string ends together at the top of the chicken.

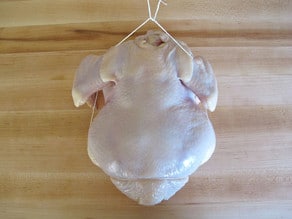
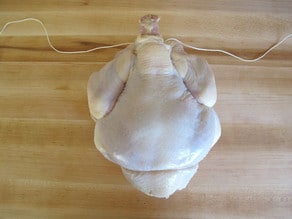
- Loop one string under the other, in the same way you would if you were just starting to tie your shoes. Holding the strings snug so they stay tight, flip the chicken over, breast side down.

- Loop that string two more times to start a knot.

- Pull the string ends so the knot closes in front of the neck, pulling the neck backwards towards you. Pull the knot tightly till you hear a creaking sound as the chicken tightens.

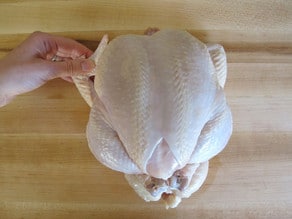
- Cut the excess string ends off and discard. Flip the chicken breast side up again. Pull the wing tips up and tuck them back behind the neck area of the chicken.

- Pull the skin of the breast down as far as you can to cover the breast meat. Tuck the skin into the cavity.

- Proceed with roasting.

Nutrition

tried this recipe?
Let us know in the comments!
Note: Nutrition facts above are for 1 whole chicken.
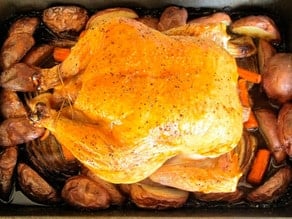


I made this for my parents wedding anniversary dinner and they absolutely LOVED it! Thank you so sooo much. The recipe was easy to follow because explains everything so clearly for an inexperienced cook like me! I was surprised at how much my parents enjoyed this since they have very traditional Korean pallet. (although my mum did have to finish off with a bite of kimchi hahaha) I’ll be saving this recipe for many other times to come! And I’m definitely sharing the link to this page with my friends 🙂 Thanks again. Merry Christmas!
Wouldn’t have gotten it without the pictures, they’re a big help.
I will be referring to this again for sure! One of my fall goals is to make a whole roasted chicken. I’ve never done that before and am on a mission. This will come in very handy!
Have never Truss a chicken but wondered how it was done. Thank for this tutorial.
wow nice tutorial… learned a lot thanks =)
Ok very cute…I already know how to truss but I still truss you! ROFL!!!
Great tutorial and a very cute little chickie!
One of my favorite dinners!