My easy spanakopita recipe is Greek-inspired, flavorful, and quite simple to prepare. In this post, I share a bit about the origins of spanakopita, as well as tips and techniques for capturing an authentic Greek flavor and texture. While my easy version of this recipe relies on store-bought phyllo, making phyllo from scratch can improve the flavor even more. My Greek friend Aglaia Kremezi shares her tips and a homemade phyllo recipe, for those who want to challenge themselves and make it the traditional way.
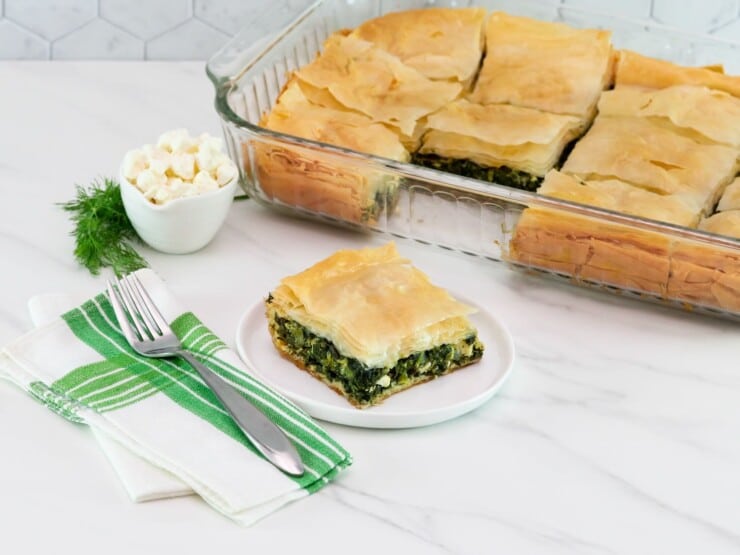
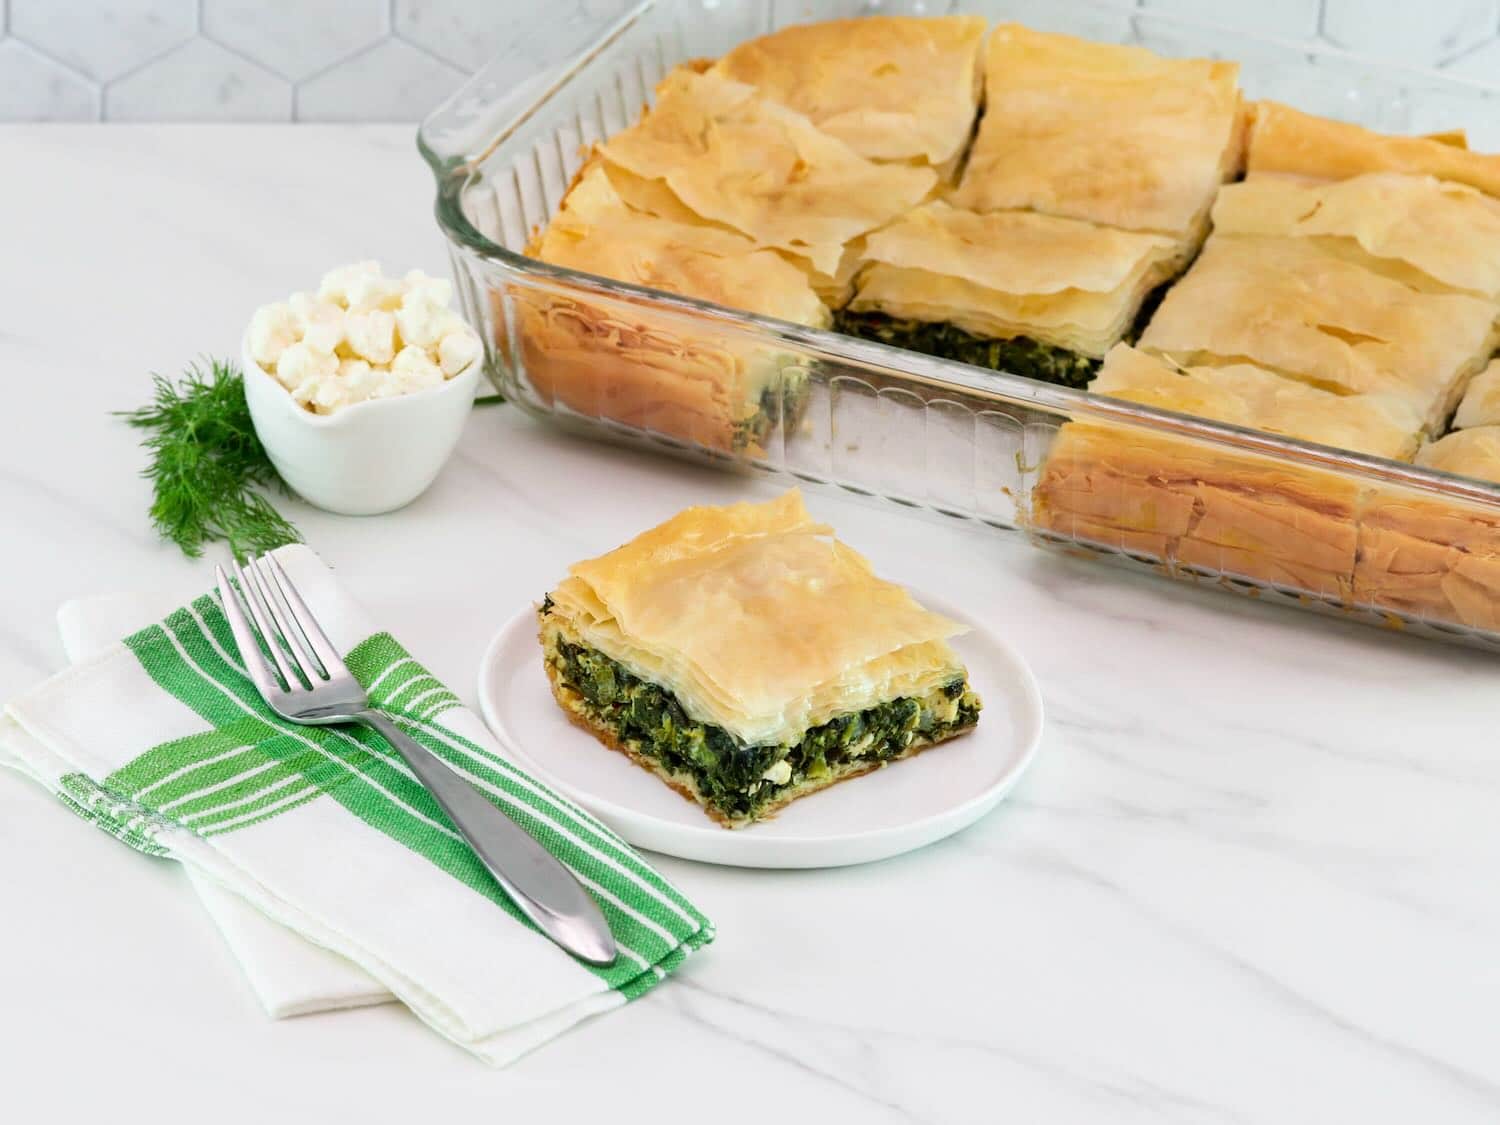
Even if you’re not too familiar with Greek food, chances are you’ve heard of spanakopita. This Greek spinach pie with layers of crispy phyllo dough is a Mediterranean classic, and it’s irresistible. It’s also incredibly versatile; it can be served just about any time of day, as a side dish, main dish, or as part of an appetizer or mezze spread. Spinach and feta cheese are the most common filling ingredients. However, you can change the flavor by using different fresh herbs, cheeses, and alliums – for example, substituting leeks for green onion. In Greece, these pies are made with a variety of seasonal greens that grow all over the islands.
Using Homemade Phyllo Dough for Spanakopita
My version of easy spanakopita uses the convenience of store-bought phyllo pastry dough from the freezer section. Most home cooks will want to go this route, as making the dough from scratch takes some practice – it’s an art form. However, it’s worth doing if you want the best flavor. According to my friend, Greek cooking expert Aglaia Kremezi, authentic spanakopita can only truly be made with from-scratch phyllo dough.
Making phyllo from scratch is a simple but time-consuming process, and requires far more effort than the store-bought variety. However, Aglaia insists (rightfully so) that a true Greek spanakopita experience must include handmade phyllo. You can learn more about Aglaia’s recipe for phyllo in the notes section below, and see it made in action here. I recommend watching the whole video if you’re interested in authentic Greek cuisine. Nobody does it better than Aglaia!
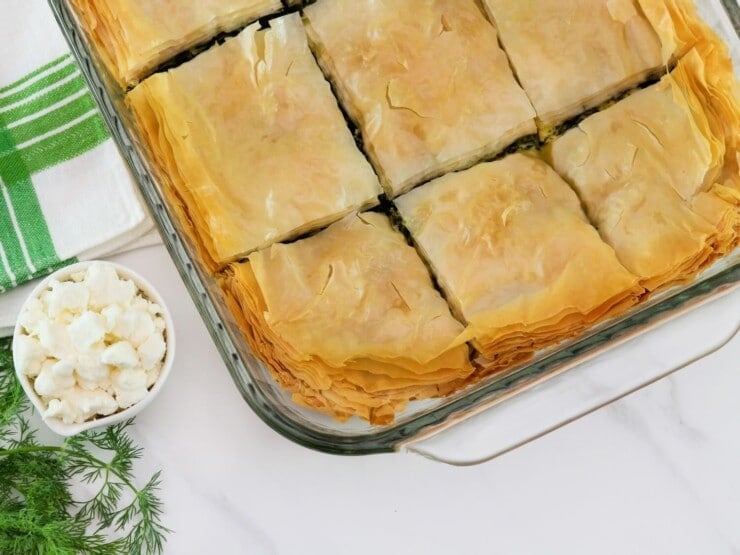
While I would love to make homemade phyllo every time I bake this pie, it is simply too time-consuming to do so on a regular basis. That’s why I like this easy spanakopita. Yes, homemade is always best – but shortcuts are sometimes welcome, too. Whether you choose to make this pie the traditional way or the easy way, may you enjoy it in good health!
A Brief History of Spanakopita
For centuries Greeks have enjoyed various types of baked pies, known as “pita.” Fillings vary based on what fresh seasonal produce is currently available. They can be made savory or sweet. Crusts are comprised of various flours, including barley, millet, oat, rye, and combinations of these. Spanakopita and other savory pies made with thin, flaky dough came into fashion when Greece was under Ottoman rule. Phyllo (occasionally spelled filo) dough comes from the Greek word φύλλο (f´yllo), meaning “leaf.” What a lovely descriptor for the thin, crispy signature qualities of this delicate dough.
Easy Spanakopita
Ingredients
Filling Ingredients
- 3 tablespoons olive oil, divided
- ½ medium onion, chopped (1/2 cup)
- 2 garlic cloves minced
- 24 ounces frozen chopped spinach, thawed and well drained (2 1/2 cups thawed drained spinach, packed)
- 1 bunch green onions, chopped
- ¼ cup fresh dill, chopped
- 2 large eggs, cracked
- 10 ounces crumbled feta cheese
- ½ teaspoon fresh cracked black pepper
- 1/2 tsp Aleppo pepper
Crust Ingredients
- ½ cup extra virgin olive oil or more as needed
- 1 package phyllo dough, thawed (about 16-20 sheets – you may not need the whole package) – OR homemade phyllo dough sheets (recipe in notes section)
NOTES
1/2 teaspoon salt
2 tablespoons vinegar
1/3 cup olive oil, plus more for brushing the phyllo
3 tablespoons vodka (optional)
About 1 cup water, as needed
Cornstarch for rolling the phyllo Place the flour, olive oil and vinegar in the bowl of a standing mixer with dough hooks and pulse a couple of times, then as the mixer runs add slowly water on the side, enough to get a soft dough that is not sticky. Let rest at least 30 minutes before rolling. We usually divide it into 4-5 pieces and work well on the counter each piece, adding a little more flour as needed, to get a soft, silky, and very elastic dough that rolls easily. Then we roll with plenty of CORNSTARCH. In this video, shot some years ago by the Culinary Institute of America, you will see Stamatia, my assistant, who is THE expert in phyllo rolling and has taught me and my husband. I had to work with Stamatia to finally master the technique that very much depends on repetition to make thin and perfect sheets so fast.
Instructions
Instructions
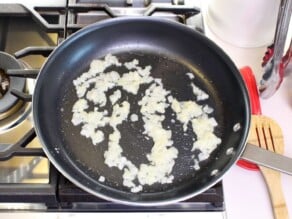
- For the "easy" version of this recipe (delicious and simple, but less authentic), use frozen phyllo dough. Defrost your phyllo dough – you may need to start this process a day ahead. If you're making phyllo dough from scratch, allow ample time to make, rest, and roll out the dough sheets. Instructions are provided in the notes section.Preheat the oven to 350 degrees F.Before you start, make sure thawed spinach is very well drained by pressing it firmly several times in a mesh colander over the sink. Removing excess liquid is key to making the pie not soggy.In a sauté pan over medium heat add 1 tbsp olive oil. Once hot, add onion and cook until tender, about 5 minutes. Add garlic and cook for 30 seconds more, or until fragrant. Remove from heat and cool to room temperature.

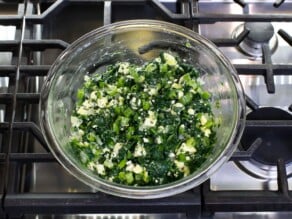
- In a mixing bowl combine the onion and garlic along with the remaining filling ingredients and the remaining 2 tbsp olive oil, mix well. Set aside.

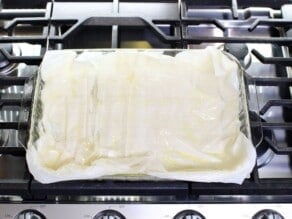
- Lightly brush the inside of a 9X13-inch baking dish with olive oil.Remove phyllo dough from package and lay it gently on a flat surface. Place a clean damp tea towel over the dough, covering it completely. This will keep it soft and pliable for the recipe. If you don’t cover it, the dough will dry out quickly and break easily.If using 13×18 size sheets of phyllo dough, trim 1 1/2 inches from two of the edges (a short edge and a long edge). If using 9×13 size, overlap the pieces as you layer them to make sure you get good coverage on the bottom and sides for the lower crust.Lay phyllo one sheet at a time in the pan, covering the bottom of the dish, with dough coming up the sides. Lightly brush each sheet with olive oil. To spread the olive oil evenly, flick the oil lightly with your brush around the sheet, then brush gently to spread (it doesn’t have to fully coat the sheet).

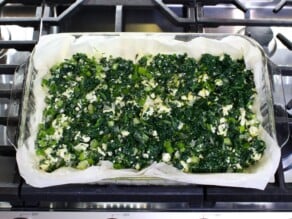
- Once you have stacked 8 sheets, spread filling into the pan over the top of the sheets.

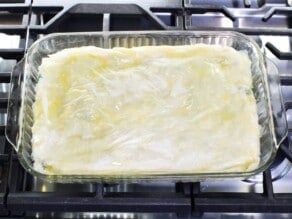
- Repeat stacking and brushing with the remaining sheets of phyllo and oil, stacking 6-8 sheets on top of the pie. Brush the top liberally with remaining olive oil, using more as needed – having the top well oiled will give it a nice crunch and a golden sheen.

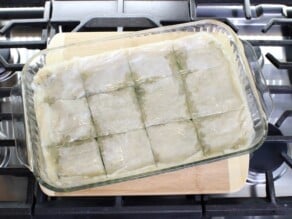
- With a sharp paring knife, trim excess dough off the edges so the pastry is flush with the inside of the pan. Use the same knife to score the top layer of phyllo into 12 squares. Be sure not to cut all the way through the bottom crust, or you’ll risk having a soggy pie.

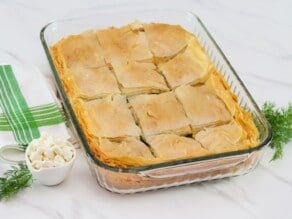
- Bake for 40-50 minutes, or until the top phyllo crust is golden brown all over. Cool until warm but no longer hot, about 30 minutes. Cut squares along score marks. Serve warm. This pie is also great at room temperature. Refrigerate leftovers for up to 4 days.

While it looks delicious, I noted that the oil used to prep the pan and the oil used to brush each sheet is not included in the ingredients, and it’s likely not included in nutrition. Can this be verified?
It does appear under “Crust Ingredients” – and yes, it is included in the nutritional calculation.
Thank you so much for sharing recipe with us, Tori.
I used to watch my Sephardic Nona make what she/we called “pita de espinake” (in her Monastirli pronunciation and accent) in her kitchen in Los Angeles (’round the corner from Canter’s, btw).
I would watch her stretch her homemade phyllo dough on the outside edge of the small metal-rimmed round Formica-topped kitchen table so quickly and skillfully…you could almost see through the dough.
She didn’t have any special bread flour, just used regular white flour (and tons of love) in those days. Her pita de espinaka(e) was fantastic, but so was my Aunt Betty’s!
I am going to have to try your recipe, since I haven’t made it for decades.
Thank you for reminding me of some lovely smells, tastes and memories, Tori.
I can feel the love in your recipes and you beautiful notes along with your recipes.
Thank you for spreading the Joy!
What wonderful memories Bethy, thank you so much for sharing!