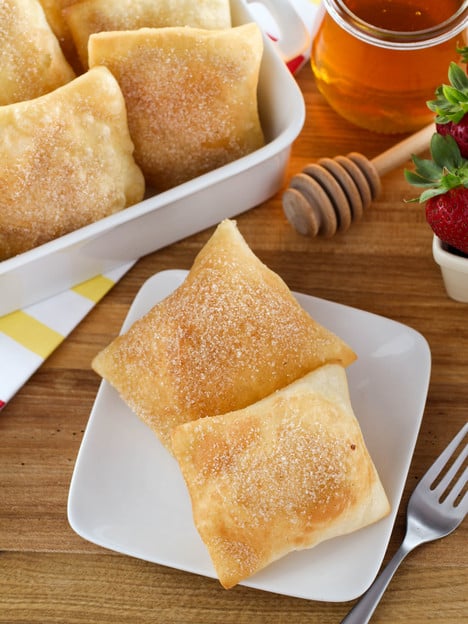
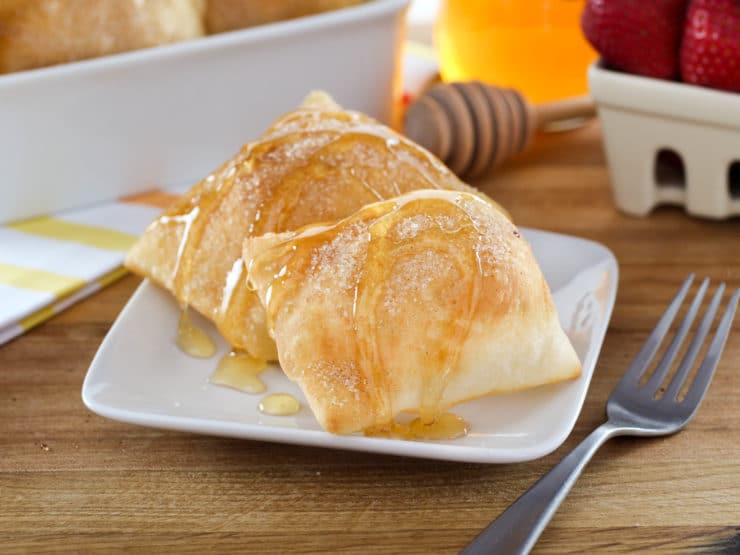
Sopapillas – Fried Pastry Topped with Cinnamon Sugar and Honey. Time-Tested Recipe.
My friend Kelly Jaggers is back with another wonderful family recipe! Her nostalgic memories behind this recipe, beautifully expressed, make it taste even sweeter. ~ Tori
The year I finished elementary school my family and I moved to Corpus Christy, Texas. We bought a pretty little house in a quiet suburban neighborhood. I was worried about making friends and fitting in, as most kids do at that age, but I sort of hit the jackpot. Across the street from our new house lived a large family with three children around my age – two girls and a boy – and we hit it off from the start.
I spent a lot of time across the street playing with the neighbor kids, and their mother would often invite me to stay for dinner. She was an AMAZING cook. My favorite day to go over and play was Sunday as that was the day their mother would do her baking for the week. She was originally from Mexico, so she would make her family piles of corn and flour tortillas, torta bread, and sopapillas for that evening’s meal. It did not take long for my Sunday visits to become a regular thing, and she never turned me away. In fact, she would often send me home with stacks of fresh tortillas and piping hot sopapillas, which my parents and younger brother always loved.
My mother was VERY keen to have her tortilla and sopapilla recipes, but our neighbor never shared. Not above a little intrigue, my mother asked me to spy on our neighbor while she was baking. I was to see what she used so we could attempt to replicate her recipes. I did my best, but back then I was no culinary pro, so we never got the recipes quite right. Eventually we moved to Dallas and my days of espionage were at an end.
Time passed, and some years later I entered culinary school with the goal of becoming a baker. During one class our teachers decided to combine the baking and cooking classes for a joint meal. The cooks made big pots of spicy chili, and the bakers made fresh, puffy sopapillas. I was thrilled to see if the sopapillas we made were anything like the ones from my memory. We mixed, rolled, and fried, and the results were very good. Not quite as good as my memory, but close.
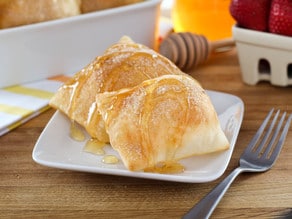
I took the recipe home and did some thinking. I remembered from my spy days that my neighbor mixed a little milk into her dough, and she always used lard in her recipes. Knowing these two things I tried the recipe again. I mixed, rested, rolled, and fried. Once ready I dusted the sopapillas with cinnamon sugar and drenched them in honey. One bite and I was transported back to her bustling kitchen in South Texas, teetering on a bar stool and trying to learn her secrets. I took some to my mother, and she agreed. These were the ones!
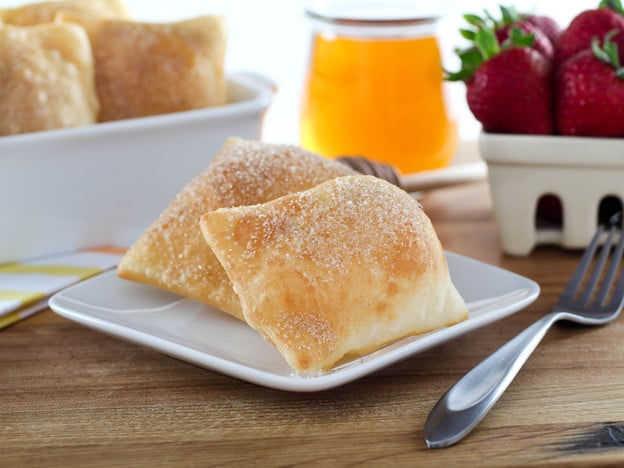
The trick to a perfectly puffy sopapilla is to start flipping the dough in the hot oil after about 3 seconds of frying. The light agitation will encourage the air in the dough to expand evenly, leaving you with a golden brown pillow. Lard gives these the best possible flavor, but you can also use vegetable shortening and get good results. These are best when they are warm from the oil, but if you have extras you can reheat them in a 250°F oven for about 5 to 10 minutes. Try stuffing these with your favorite taco fillings, fajita meat, or serve these with sweetened whipped cream and fresh berries for a fun change of pace.
And if you were wondering, I also solved the tortilla mystery and will be sharing that recipe with you in the weeks to come!
Food Photography and Styling by Kelly Jaggers
Recommended Products:
We are a participant in the Amazon Services LLC Associates Program, an affiliate advertising program designed to provide a means for us to earn fees by linking to Amazon.com and affiliated sites. As an Amazon Associate I earn from qualifying purchases.
Sopapillas
Ingredients
- 3 cups all purpose flour
- 2 teaspoons baking soda
- 1 teaspoon sugar
- 1 teaspoon kosher salt
- 3 tablespoons vegetable shortening if you're not keeping kosher or vegetarian, you can also use lard
- 3/4 cup water heated to 110 degrees F
- 1/2 cup whole milk heated to 110 degrees F
- Oil for frying, peanut or corn oil preferred
- 1/2 cup sugar for dusting
- 1/2 teaspoon cinnamon for dusting)
NOTES
Instructions
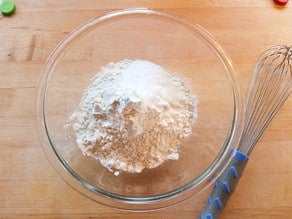
- In a large bowl add the flour, baking soda, sugar, and salt. Whisk until the mixture is well combined. Add the shortening and, with your fingers, work in the fat until it is completely rubbed into the flour and no large chunks remain. The mixture should look a little like sand.

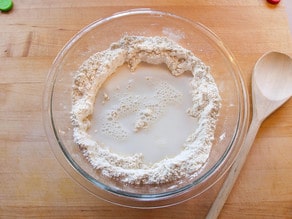
- Make a well in the center of the flour and add the warm water and milk.

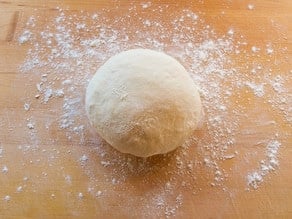
- Mix with a wooden spoon until the dough forms a shaggy ball, then turn out onto a lightly floured works surface and knead until the dough forms a smooth ball, about 5 minutes. Alternately, once the fat is rubbed into the flour you can add the flour, water, and milk to the work bowl of a stand mixer and, using the dough hook, mix for about 8 minutes, or until the dough is smooth and clings to the hook.

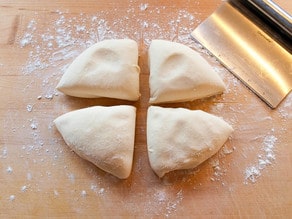
- Cover the dough with plastic wrap or a damp towel and allow it to rest for 30 minutes. You can also wrap in plastic and chill for up to one day in the refrigerator. Once rested, divide the dough into 4 pieces.

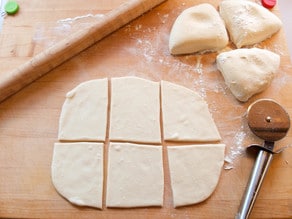
- Roll each piece out until it is about 1/8-inch thick. Cut the dough into 6 rough squares. Transfer the pieces to a parchment lined baking sheet and cover with plastic while you roll and cut the remaining pieces of dough.

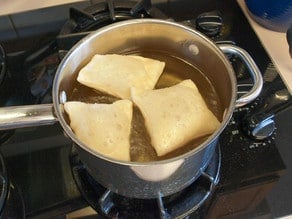
- Fill a deep pot at least four inches deep with oil, making sure the oil is at least three inches from the top of the pot. Heat the oil to 360°F. Add the sopapillas to the hot oil 2 or 3 at a time. After 3 seconds use long tongs or frying chopsticks to carefully turn the sopapillas frequently until they have fully puffed, then fry them until they are golden brown on both sides, about two minutes per side.

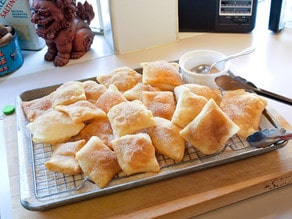
- Drain on a rack over a paper towel lined sheet pan.In a small bowl mix together the sugar and cinnamon until well combined. As the sopapillas come out of the hot oil dust them lightly with mixture.

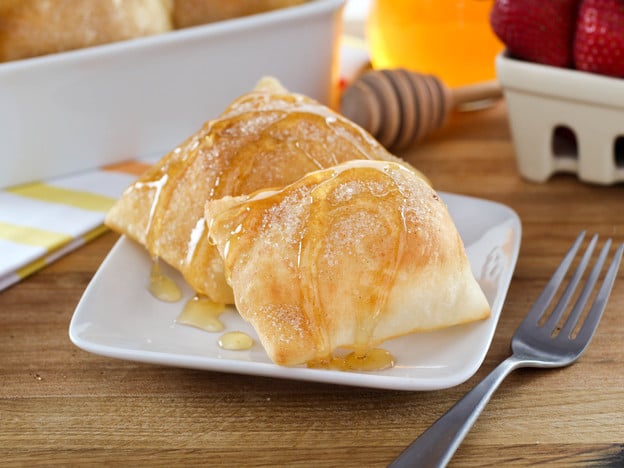
- Serve warm with a generous drizzle of honey.

Love this recipe. For me it’s easy and simple to make.
Omgooosh these are my favorite things to make and eat. I used a super basic recipe. They were nice Lil pillows. Rather bland. I thought It could have more baking powder. I cut some dough from yesterday and they didn’t rise.
I’m going try this recipe, and find out what is the perfect 1/8 heat was right so any advice?
I tried this recipe, but it didn’t work well. The sopapillas were totally flat. They didn’t puff up at all. I thought I would just try this for a change. I’m going back to my standard sopapillas recipe. Sorry Tori.
Hi Tim, sorry to hear that. This recipe is a contribution from Kelly Jaggers, other readers have had a good experience with it. Sorry you didn’t!
Sopapillas recipe question: are these made with baking soda or baking powder – just confirming since most recipes I read are made with baking powder- not baking soda
I want to take these to a potluck. Would it work to reheat them in the oven?
This is my first time attempting sopapillas, and this was a fun experience! The recipe is simple and I enjoyed the images that went with!
Some tips I found useful when making these:
•Try not to overflour your dough or surface. I kept adding small amounts of flour when kneading to prevent sticking which helped, but then did a bit too much on a refloured surface when rolling out. That resulted in flat (but still edible) ‘pillas. To fix I used a very small amount of water and rubbed it on the squares, then fried and they turned out nice and puffed. Not too wet though or the dough will be too sticky and your oil will pop.
•Make the squares small. After a couple nice ones, a couple weird ones, and a long, claw-like flat one, I tried cutting the rest around 3×3, which made more squares but provided a more consistent puffiness.
•Watch the oil – too hot resulted in flatter ‘pillas, and too cool gave me eye-shaped ones that were unconsistently cooked. This may sound obvious to some but maybe not to others. Rise to 360°, drop stovetop to a lower setting (I went from a high med-high to med/med-high).
•Use two squares pressed together to make a crisp yet softer ‘pilla. I wanted to see what would happen if I doubled the ‘pilla, so I took two squares and lightly pressed the edges together, trying not to press in the center. If it touches, it touches. It made a crispy outside and a more soft inside.
Anyway, this was neat to do on lazy Saturday afternoon. And tasty. Very tasty. Thank you, Kelly!