Brenda Ponnay, author of the Secret Agent Josephine blog, is a regular contributor to ToriAvey.com. Her craft blogs are kid and family friendly; each project will help children learn the deeper meaning of the Jewish holidays. Today’s craft: Rosh Hashanah Napkin Rings
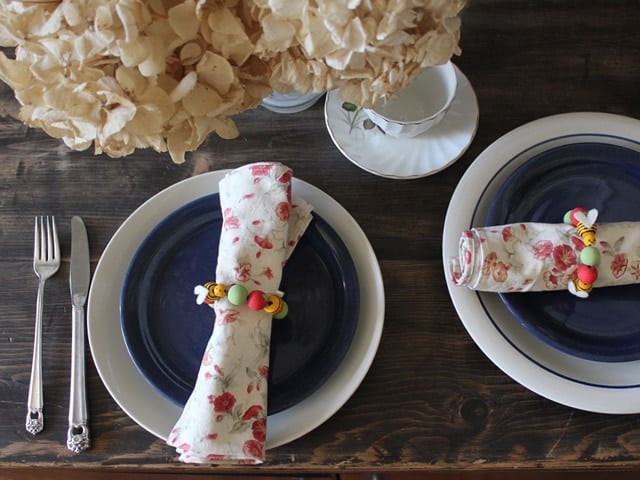
For Rosh Hashanah, it’s traditional to serve apples dipped in honey to signify our hope for a sweet new year. This year, I thought it would be fun to create a family-friendly craft inspired by the apples and honey tradition. I decided to make homemade napkin rings out of wooden beads, painted to look like apples and honey bees. It turned out to be an easy, cute, and inexpensive craft. It’s a nice way to get the whole family involved in the spirit of the holiday. Kids will be proud knowing they helped contribute to the holiday table.
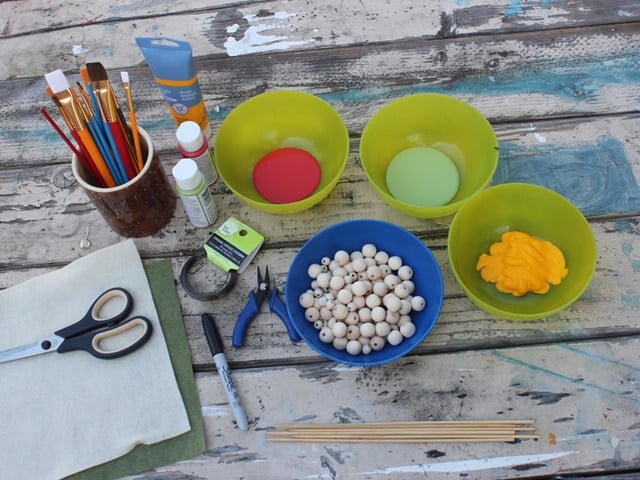
To create these Rosh Hashanah Napkin Rings, you will need:
- Water-based acrylic paint in apple and bee colors – yellow, red and/or green
- Wooden beads: larger 1-inch size beads and smaller 1/2-inch beads for the bee heads (9 large beads and 3 small beads per napkin ring)
- Paint brushes
- Beading wire
- Needle nosed pliers that can cut wire
- 1-2 black sharpie pens
- A few scraps of white and green felt for bee wings and apple leaves
- Bamboo/wooden skewers
- Scissors
- Glue
- Paper towels or baby wipes for clean up
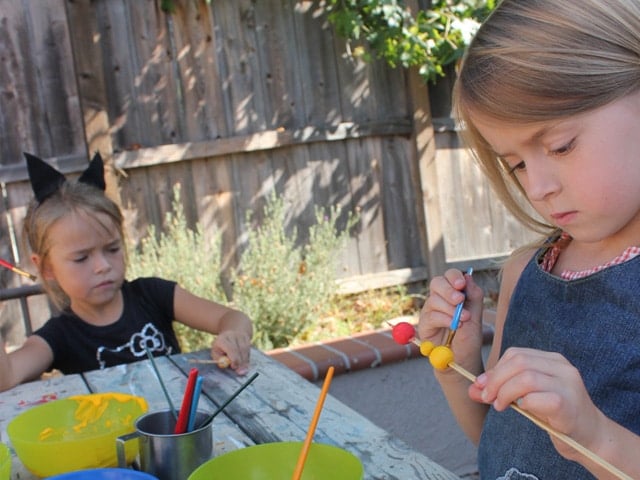
You will need 9 large beads and 3 smaller beads for each napkin ring you want to make. Divide the large beads into three equal groups, and paint each group with a different color– one group red, one group green, one group yellow. Paint all of the smaller beads yellow.
For example, if you were making only one napkin ring, you would paint 3 large beads red, 3 large beads green, 3 large beads yellow, and 3 small beads yellow. That will give you a total of 12 beads per napkin ring.
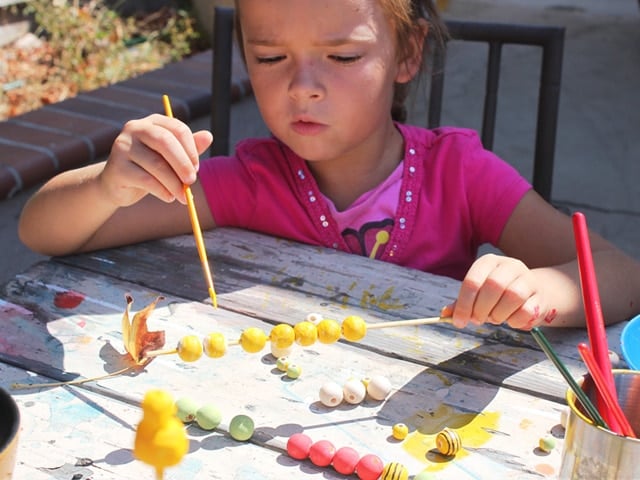
As we painted the beads, we found the easiest way to handle them was the line them up on a bamboo skewer (file any sharp edges on the bamboo skewers to protect young children). Using a skewer helped keep messy fingers to a minimum.
Dividing the beads by color, one color per skewer, will help make the painting process easier, particularly for young, less coordinated fingers.
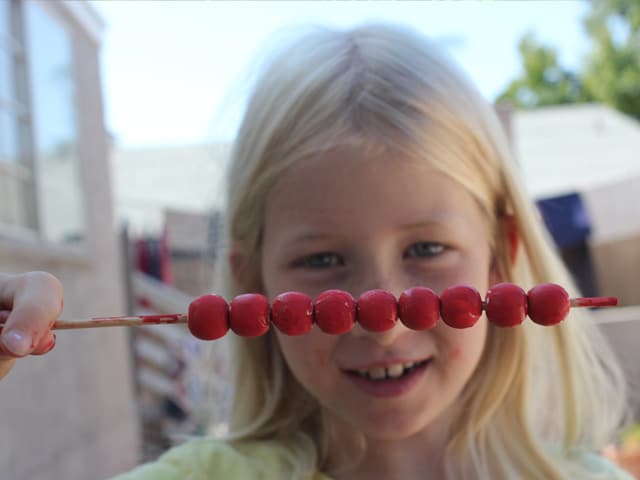
Don’t forget to soak your brushes in water when you’re not using them, that way they won’t dry out. Wash them thoroughly when changing from one color to the next.
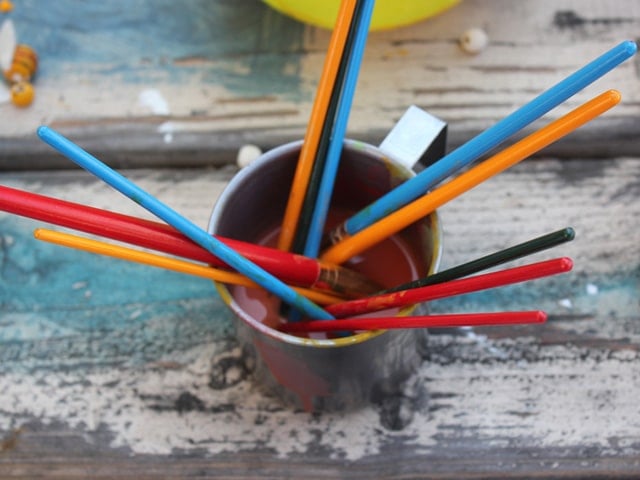
After painting the beads, set them somewhere safe to dry completely. Use a drying rack, or keep them on the skewer and stick it in a glass of rice or coffee beans.
Once the beads are dry, draw bee stripes onto the large yellow beads with the black Sharpie pen. Make sure the paint is totally dry before you start drawing, or you’ll ruin your pen. You can also paint small green leaves onto the top of each apple bead, if you’d like.
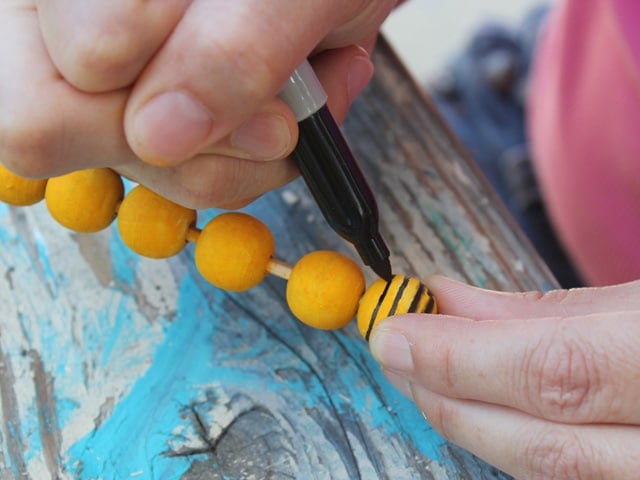
Glue the smaller yellow beads to the top of the larger striped yellow beads to create bee bodies.
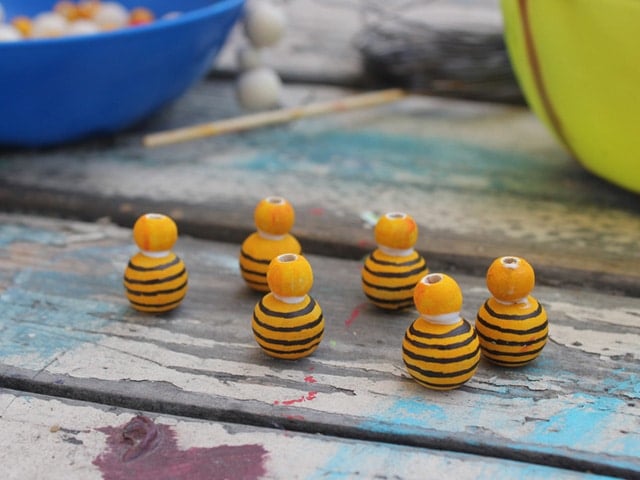
At this point, you can use the felt scraps to create bee wings. Cut tiny hearts out of the white felt for wings. Glue them onto the bees and let the glue dry completely. When the glue is dry, use the Sharpie marker to draw eyes and smiles on the little bee heads.
Next, you want to cut and shape your beading wire into napkin rings. This part should be completed by an adult or older child who can handle sharp objects. Cut the wire into lengths of about 6 inches each, using one length of wire for each napkin ring. Beading wire is pretty easy to bend and shape with your hands, but you’ll need some help turning one end of the wire into a small spiral shape. Creating a small spiral will help keep the beads in place when you string them. It will also give you a place to attach the loose end of the napkin ring when you finish the craft.
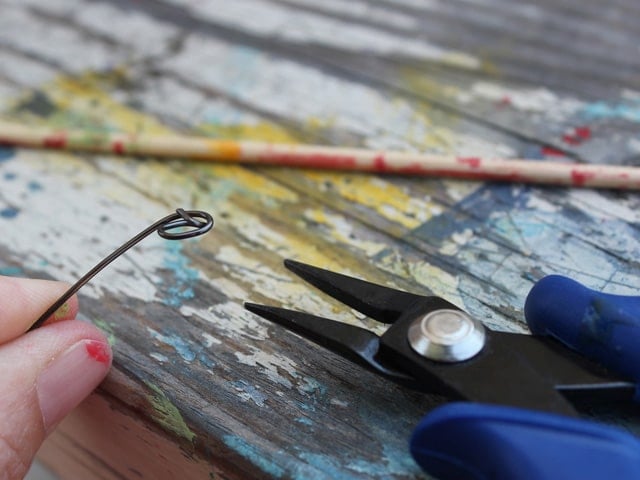
To create the spiral, use needle nosed pliers to bend one end of the wire into a short spiral shape. This little circle of wire will hold the beads, like a knot, and will also keep sharp ends from scratching anyone.
If you’d like to make a more elaborate wire end to your napkin ring, wrap one edge of the wire around a skewer to create a spiral corkscrew. Don’t wrap it too tightly, or it will be difficult to remove from the skewer– just use the skewer as a guide.
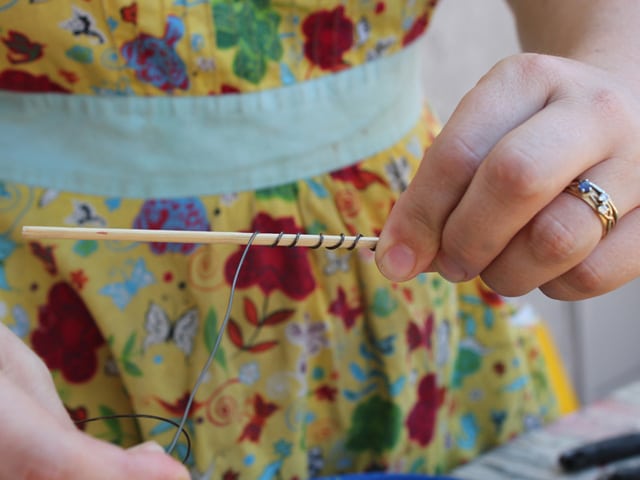
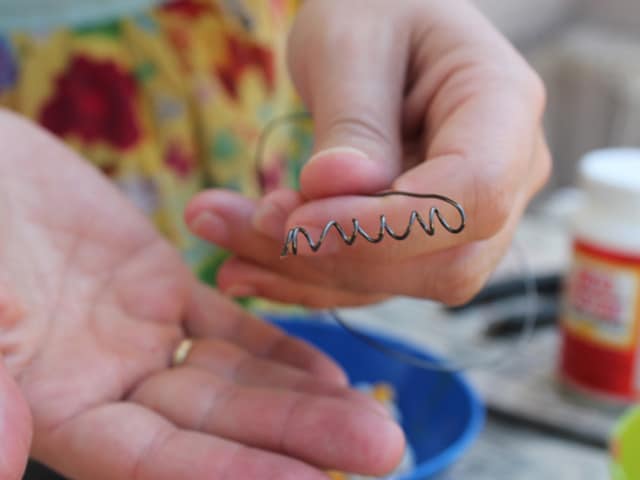
When you release the wire from the skewer, it will look like a curly vine. Scrunch up the coil to create a knotted look.
Next, string your beads onto the wire, starting with the straight end of wire and moving the beads up towards the closed spiral. Make sure your glue is totally dry before you start stringing the beads.
When you are finished stringing, use the pliers to cut off any excess wire, reserving 1/4 inch at the end of the wire. Use the pliers to wrap the loose 1/4 inch end of the wire around the spiraled end to close and finish the napkin ring. Make sure to close any sharp edges with your handy pliers.
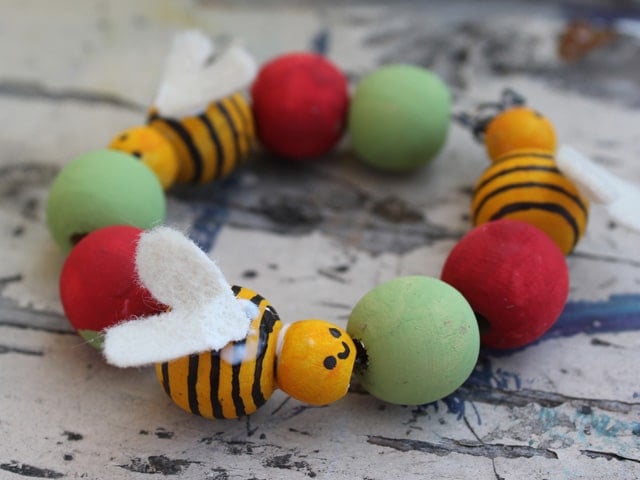
Repeat the process for each napkin ring until you have enough to set the table, and voila! You’ll have a beautiful set of Apple and Honey Bee Napkin Rings for Rosh Hashanah.
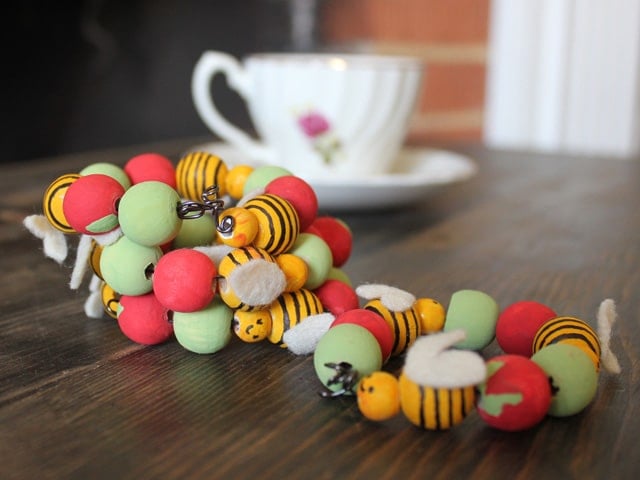
These lovely homemade napkin rings will make a fun, personal, and lovely addition to your Rosh Hashanah table. Shana Tova!
If you are not familiar with the Jewish holidays, this printable document will help you explain Rosh Hashanah to your child. It also explains why apples and honey are an important symbol in the Jewish New Year tradition.
To learn more about the Jewish holiday of Rosh Hashanah, click here.
For more Rosh Hashanah crafts, click here.
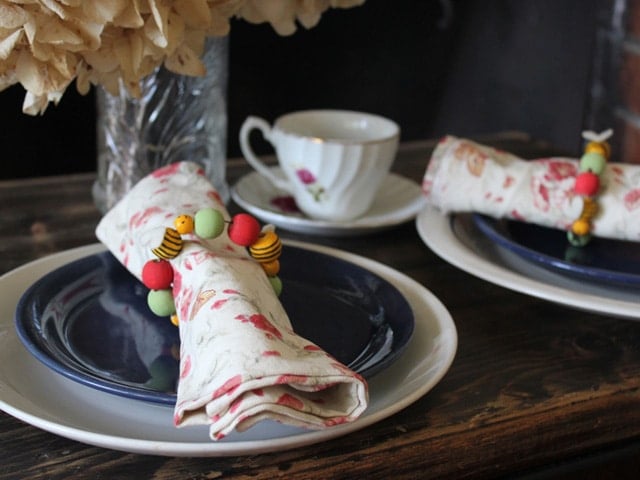
My daughter (9 years old) and I just finished these for Rosh Hashanah!! I would have to say the finished product is soooo CUTE! I am not a crafty person however these were easy enough for the both of us. We split the process up into 3 days, working on them a little each evening. Total success, we hope to have them for many future Rosh Hashanah! Mahalo for such a cute idea.
thanks
I also teach religious school — 4th grade. And like Lora, I read this blog post too late for rosh hashanah, but these are sure looking a lot like our notorious, neighborhood sukkah bees. Thanks for the inspiration.
I am a religious school teacher in a conservative synagouge. i LOVE this idea! While I’ve missed the oportunity to use this for Rosh Hashanna this year, I see potential for Sukkah decorations with these beads painted to look like fruit and bees! Thank you for sharing this wonderful idea 🙂
Very cute way to involve the kids!
absolutely darling idea!