Ever wondered how to make perfectly cooked, crispy and delicious potato latkes? Having trouble getting your latkes to stick together and fry up light and crisp? This post and video will walk you through the whole process, with links to time-tested recipes that produce amazing latkes every time!

I celebrated my first Hanukkah several years before I converted to Judaism. I had studied Judaism in college, but I didn’t have any practical experience when it came to Jewish food or holiday traditions. Meanwhile, my husband-to-be was as Jewish as they come. He was born and raised in Israel by two Jewish parents and a rabbi grandfather. He grew up spinning dreidels and eating sufganiyot (Hanukkah jelly doughnuts). I grew up singing Christmas carols and hanging stockings by the chimney with care. My first attempt at cooking latkes was a minor disaster. Luckily, I’ve learned a thing or two since then. I thought it would be fun to put some of my most helpful tips into a post, so you can avoid the potato pancake pitfalls that I’ve experienced along the way.
This post will give you specific tips for making amazing crispy latkes. If you’re looking for recipes, scroll to the end of this post, where I’ve linked to some fabulous, time-tested options. Before we dive in, here are a few facts about latkes.

LATKE FACTS
– Latkes are traditionally cooked on Hanukkah, along with other fried foods, to commemorate the miracle of the menorah oil in the Jewish Temple (see my Hanukkah page for more details).
– Latkes are made from shredded potatoes, eggs, onions and salt. Matzo meal, flour or breadcrumbs are often added to help bind the ingredients together. Herbs and spices are sometimes added for flavor.
– Sephardic Jews traditionally fry their fritters (like bimuelos and keftes) in olive oil because Hanukkah occurs at the end of the olive-pressing season. Olive oil was treasured in Biblical times, so using it to fry latkes gives the dish a deeper significance. Ashkenazi Jews in Eastern Europe and immigrants to America typically fried their latkes in schmaltz, or rendered poultry fat, until more healthy oil alternatives were introduced. Some cooks still splurge and use schmaltz because it tastes so darned delectable.
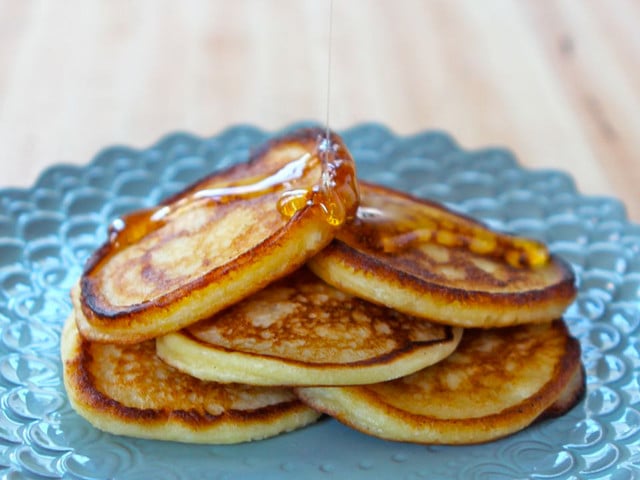
– Chremslach (singular: chremsel) is the Yiddish word for a fried pancake. Potato chremslach are often mistaken for latkes. They are similar to latkes, with one major difference. Instead of shredding the potatoes, as we do with latkes, the potatoes are mashed and made into a thick batter before frying. Chremslach often appear on deli menus as “potato pancakes.” Latkes are thinner and more crispy due to the shredded texture of the potatoes. Chremslach are thicker and fluffier.
– Latkes are traditionally made from potatoes because they were plentiful and easy to obtain for Eastern European Jewish cooks. However, there is no law that says latkes have to be made from potatoes. They can also be made using shredded vegetables, sweet potatoes, or even cheese.
LATKE COOKING TIPS
Okay, now let’s dig into the nitty gritty details! If you’re in a hurry, this video will give you an overview of the process:
– You can shred your potatoes with either a hand grater or a food processor with a grating attachment. Some Jewish cooks swear by the hand grater, saying it makes a big difference in taste. Others revel in the convenience of the food processor. Neither method is “correct,” it’s simply a matter of preference. Using a food processor will cut your prep time dramatically, and will also be easier on your arms and shoulders. For an easier alternative, you can use the bagged hash brown shreds found in the refrigerated section of the grocery store. Last time I checked those products do not have a kosher hechsher (that may have changed though).
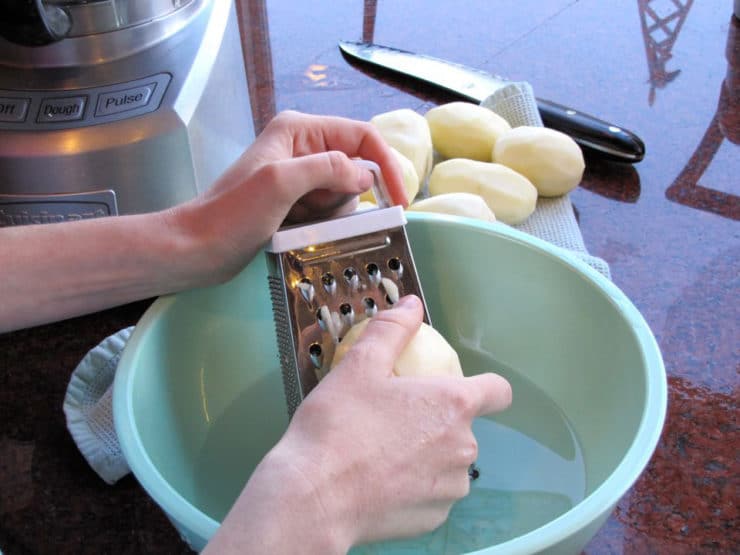
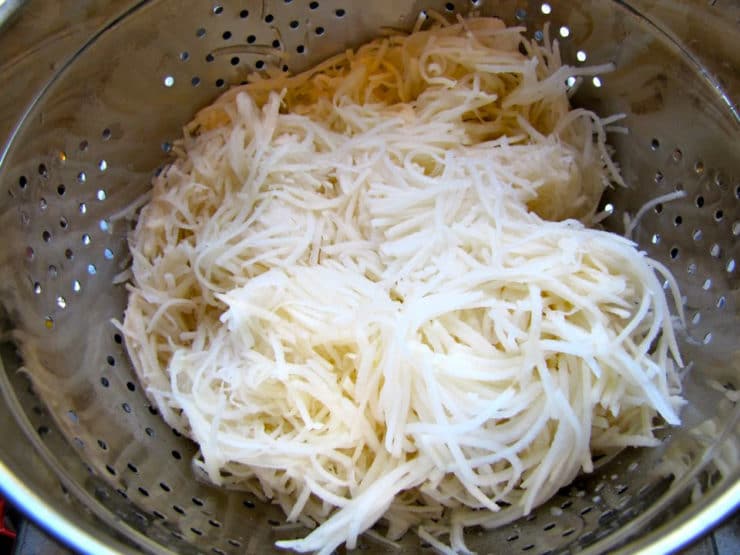
– Some cooks prefer using large shreds of potatoes, while some prefer a finer shred. My preference varies based on the recipe. Finer shreds tend to have a more hash brown-like texture. You can choose whatever texture works best for you.
– After shredding your potatoes, immerse them in cold water to keep them from discoloring. If you’re using a hand grater, you can shred them directly into the bowl of water. Soaking the shreds helps to keep them from turning brown; it also has the added benefit of making crispier latkes. I am not sure of the food science behind why this is, but it works!
– When you’re ready to prepare your latke mixture, drain the potatoes. If you drain the shreds slowly with the bowl tilted, you will see a cloudy white layer that has settled at the bottom of the soaking bowl. This is potato starch. Scrape this starch up and add it to the shreds after you’ve drained them, it will help to bind the latkes together. I often add additional dry potato starch to the shredded mixture (sold by the can at kosher stores year-round and everywhere during Passover) to make sure the latkes don’t fall apart during frying.
– Get as much liquid out of your potato shreds as possible before mixing in the egg and other stuff by wringing them out in a cheesecloth or a tea towel. The less moisture in the shreds, the better your results will be.
– When you’re ready to fry, have a draining/drying rack set up close by with a layer of paper towels underneath. This is where the latkes should drain from the hot oil. I prefer draining them on a rack rather than directly on paper towels, I find they stay more crisp that way.
– The ideal temperature to fry a latke is between 360 and 375 degrees F. The best way to monitor the temperature is to use a deep fry or candy thermometer. If you don’t have one of those, here are two simple methods to test the oil’s temperature:
Drop a small piece of bread into the oil. If it takes 60 seconds to brown, the oil temperature is perfect for frying.
Place a kernel of unpopped popcorn into the oil. When the kernel pops, the oil is hot enough to fry.
Once you’ve fried several batches of latkes you’ll get a feel for how hot the oil needs to be and you won’t need to test it anymore.
– Form your latke mixture into compact patties. I generally use about 3 tablespoons of potato shred mixture per latke, depending on the recipe. I’ve found that this amount makes small/medium sized latkes that fry up extra crispy.
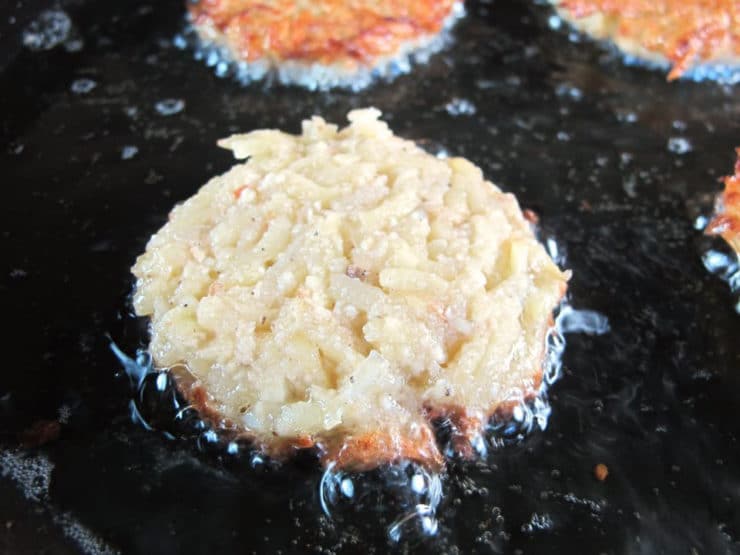
– Start with a “test” latke to determine if the oil is at the right temperature. The latke should take about 2-3 minutes per side to become brown and crisp. If it takes longer than that, the oil is to cold. If it fries faster than that, the oil is too hot. Once you’re happy with your test latke and the oil temp, you’re ready to fry.
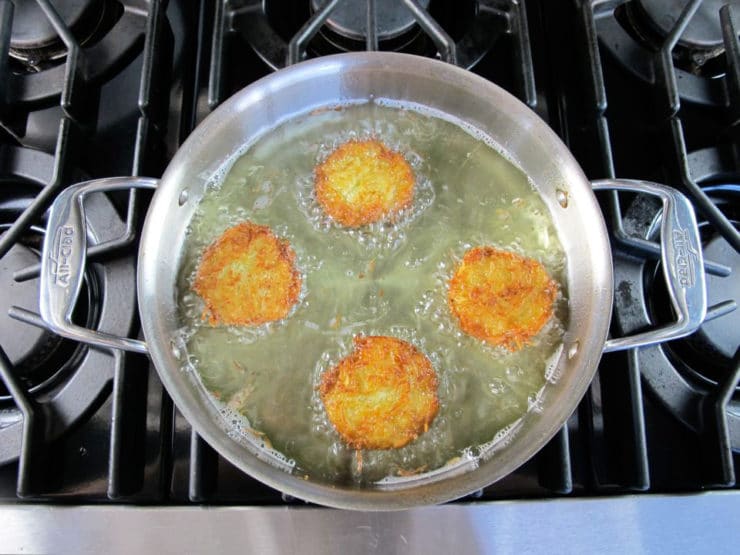
– Fry the latkes in small batches. 4-5 at a time in a large skillet works best. Trying to cook too many at one time crowds the pan and makes the temperature of the oil drop, which will result in soggy latkes. Flip them when you see the bottom turning golden brown around the edges. Give them adequate time to brown– the less you flip latkes the better.
– If your latkes aren’t holding together, stir more potato starch into the mixture, 2 teaspoons at a time, till the batter “holds.” You can also add another egg to the mixture and more flour or breadcrumbs, if needed.
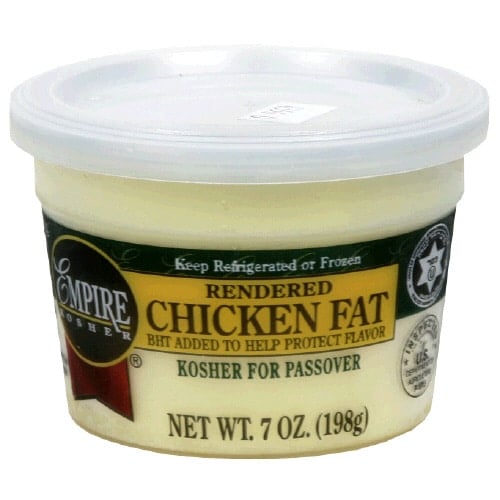
– While olive oil and schmaltz are both traditionally used to cook latkes, they are not necessarily the best choice for modern cooks. Olive oil has a somewhat low smoke point, which means the oil can burn and discolor if it’s kept at a high frying temperature for a long period of time. Schmaltz is delicious, but it’s full of cholesterol. I prefer to cook my latkes in peanut or grapeseed oil, both of which have higher smoke points. Grapeseed is a healthier oil with no cholesterol, while peanut oil is great for frying and adds flavor to the latkes. No matter which oil I use, I like to melt a little schmaltz in to boost the savory flavor. You can purchase schmaltz or make your own – click here for the recipe.
– Always serve latkes hot and fresh if possible. The longer they sit, the less crisp they’ll be.
– If you must make your latkes ahead, fry them 4 hours or less before serving. After allowing the latkes to drain on the wire cooling rack, place them on an ungreased, unlined cookie sheet. When ready to reheat, place in a 375 degree oven for about 10 minutes (7 if using a convection oven) until heated through just prior to serving. A convection oven setting will produce a more crispy result.
– Latkes always taste best just after they’re fried, but serving them fresh is not always a possibility, especially when you’re cooking for a large group. My friend Denise Vivaldo, a chef and food stylist, has made latkes for large catering groups (we’re talking 5,000 latkes in one sitting!). She freezes them until ready to serve, then uses a convection oven to reheat. The dry, circulating heat of a convection oven keeps the latkes crisp and fresh. You would be wise to take Denise’s advice; she’s catered the Academy Awards and cooked for presidents and royalty, so she knows a thing or two about great food!
– To store frozen latkes, fry them and drain the oil, then place them in single layers separated by wax or parchment paper in an airtight sealed freezer bag or Tupperware. When ready to reheat, place them straight from the freezer onto ungreased cookie sheets and cook them 400 degrees F for 10-15 minutes till heated through and crisp (convection oven is best). You can also line the cookie sheets with brown paper to help soak up some of the excess oil. Never refrigerate latkes, it makes them mushy.
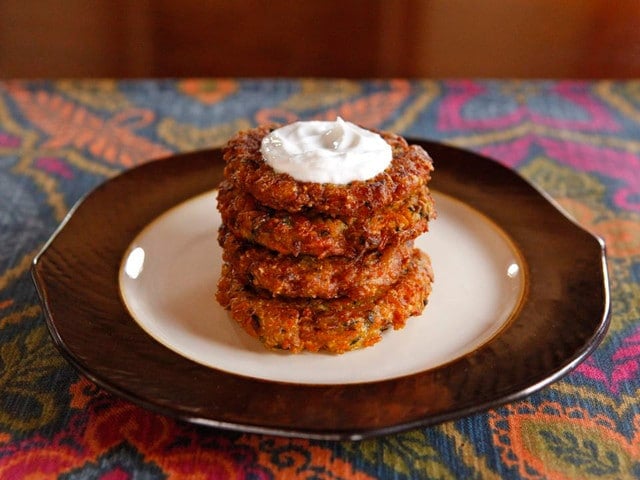
– Latkes can be served with applesauce or sour cream, or both. Some folks top their latkes with smoked salmon or caviar. Often non-dairy sour cream is used to avoid mixing dairy and meat at a kosher meal. Try serving latkes with Greek yogurt for a healthier alternative.
RECIPES
Okay, ready to make some latkes? Here are some great latke recipes (and related potato pancake recipes) to try!
Gluten Free Crispy Yukon Gold Latkes
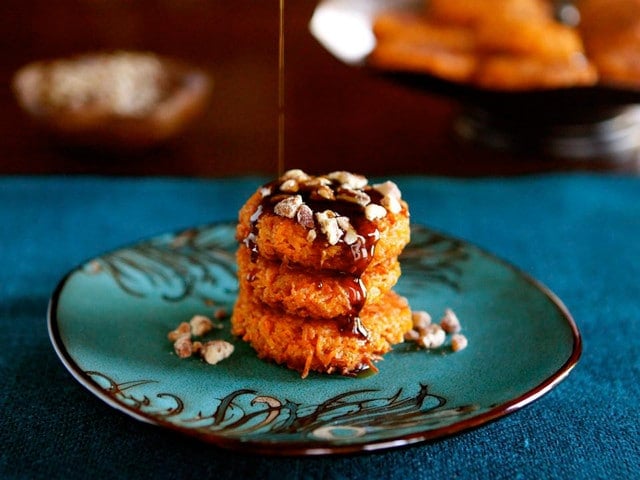
Sweet Potato Latkes with Brown Sugar Syrup
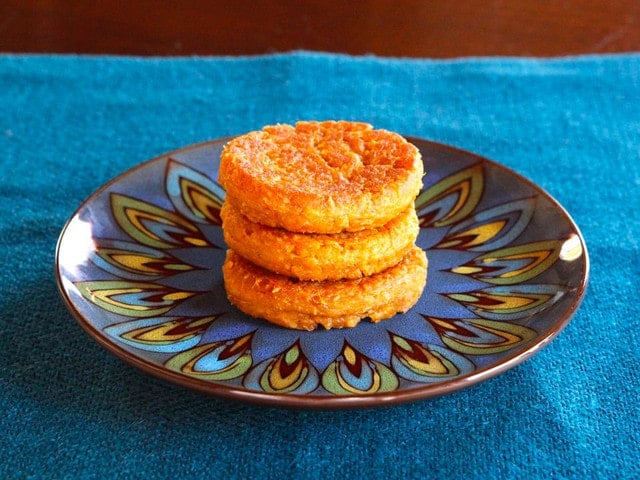
Sweet Potato Coconut Chremslach



The food science why for soaking potatoes makes them crispier – it brings the sugars to the surface. Sugar on the surface – crispier fry! It’s true for french fries, too.