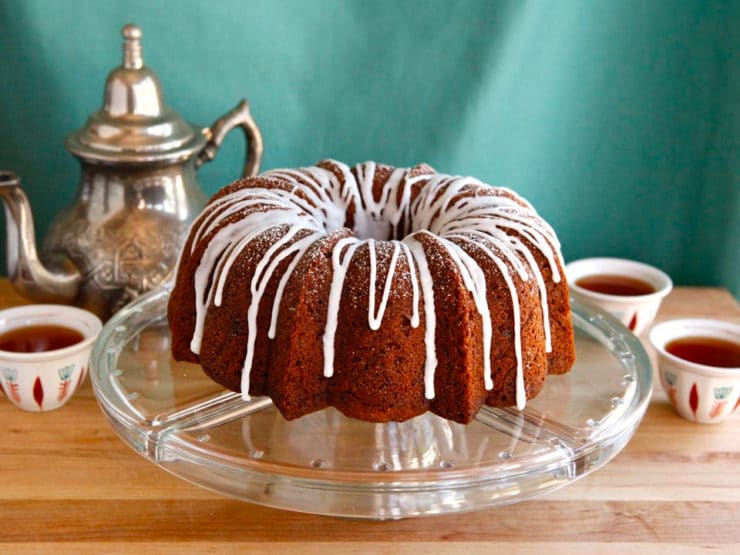
This dessert was one of the very first recipes I posted on my blog. It has since become a holiday favorite for many families! I have updated this post and republished it with new pictures and more detailed recipe instructions. Enjoy!
—
Summer is coming to an end, which means goodbye sunshine, hello holidays! From September through the end of the year, we celebrate some amazing food-filled Jewish holidays. The first is Rosh Hashanah, the celebration of the Jewish New Year signifying the end of the Hebrew calendar cycle. It is the first of what we call the High Holidays (or High Holy Days), a ten-day period that ends with Yom Kippur—the holiest day of the Jewish year. Rosh Hashanah occurs on the first and second days of Tishri, which is the seventh month on the Hebrew calendar. On the Roman calendar, Rosh Hashanah usually occurs during the month of September.
The Rosh Hashanah holiday is a time for reflection. We recognize and admit the things we’ve done wrong over the past year. Let’s face it, nobody’s perfect. Rosh Hashanah allows us to recognize our shortcomings, providing an opportunity to better ourselves through prayer. We are also actively encouraged to repent by seeking forgiveness from the people we have wronged during the previous year. It is not uncommon for Jews to apologize to people they have mistreated so they can start the new year fresh, with a “clean slate.” We are reminded not to repeat these mistakes in the coming year; in this way, Rosh Hashanah is an opportunity to improve the way we approach the world. It’s a holiday that helps us to become better people. And that’s a beautiful thing. 🙂
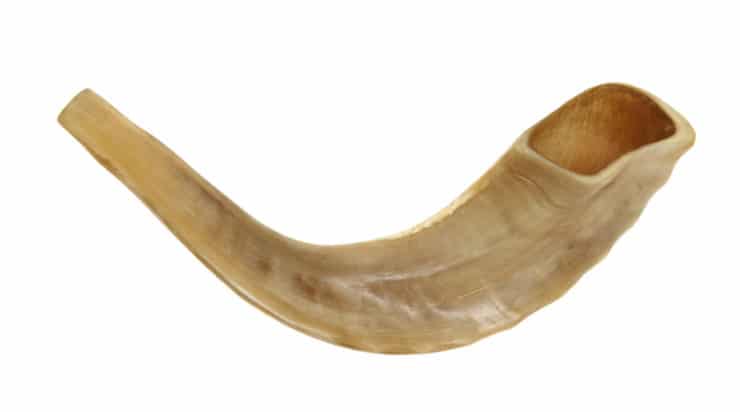
The shofar, a special instrument made from the horn of a kosher animal, is blown on Rosh Hashanah
Jews from different parts of the world celebrate Rosh Hashanah in a variety of ways. Holiday traditions vary according to family background and local customs. A special prayer service is held at synagogue emphasizing both repentance and remembrance. During this service, gratitude is expressed to God for the creation of the world and humanity. The shofar, a special instrument made from the horn of a kosher animal (usually a ram), is blown. Tzedakah, or charitable giving, is also part of the holiday. Good deeds are done in the hopes that God will seal our names in the “Book of Life,” which brings the promise of a happy year to come.
And then, of course, there’s the food. What would a Jewish holiday be without a celebratory meal of epic proportions? (Unless of course it’s Yom Kippur, a fasting holiday.) The Rosh Hashanah meal—or meals, depending on the way you celebrate—are particularly fun, because they feature symbolic foods that signify our hope for a “sweet new year.” We enjoy “new fruit,” a fruit that has recently come into season but we have not yet had the opportunity to enjoy this year (often a pomegranate). The head of a fish is sometimes served, symbolizing the literal translation of Rosh Hashanah, which means “Head of the Year” in Hebrew (on our table it’s strictly symbolic, we don’t eat it). Challah is baked fresh, sweetened with raisins or fruit and braided into a round shape. Apples and challah are dipped in honey, again symbolizing sweetness. In fact, honey is a major ingredient in many traditional Rosh Hashanah dishes, including the famous (or should I say infamous!) Rosh Hashanah honey cake.
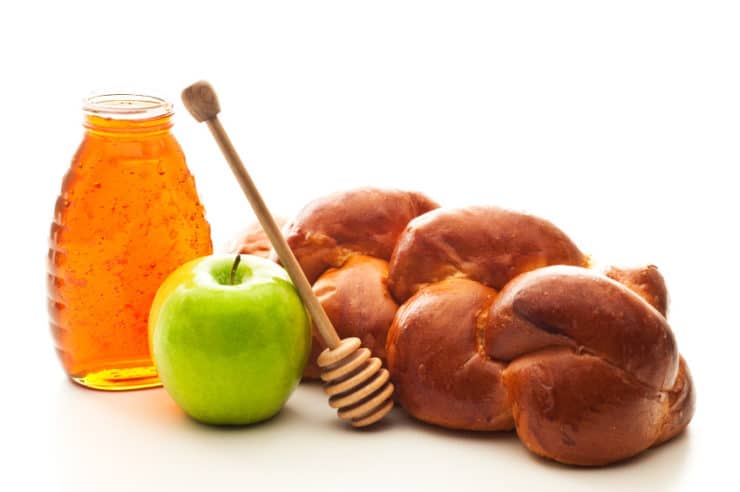
Honey, apples and challah are traditional Rosh Hashanah foods.
I had trouble getting excited about this whole honey cake tradition. At my first few Rosh Hashanah celebrations, the honey cake was my least favorite part of the meal. It’s usually a dry, overly-spiced, overly-sweet cake that sits virtually untouched on the Rosh Hashanah buffet—more like an afterthought than a truly inspiring dessert. I tried many traditional honey cake recipes over the years, but each one seemed more disappointing than the last. I experimented with my own recipe ideas, but it always turned out kind of…well, honestly, kind of blah tasting.
A few years ago, as we were dipping our apples into honey, it occurred to me that maybe I’d been approaching this whole honey cake thing from the wrong perspective. Yes, a honey cake is traditional—but apples are also a traditional Rosh Hashanah food. Why not combine the two flavors into one dessert cake? Around that same time I bought my first Bundt cake pan, so I decided to play around with it and see what I could come up with. After a few failed attempts, I discovered the right combination of ingredients and baked an irresistible Honey Apple Cake. Shredding apples into the batter lends moisture and creates a lovely texture. This recipe is now our Rosh Hashanah tradition. My family enjoys it so much that I often serve it for other cold weather holidays like Sukkot, Thanksgiving and Purim. I’m so excited to share it with you!
Recommended Products:
We are a participant in the Amazon Services LLC Associates Program, an affiliate advertising program designed to provide a means for us to earn fees by linking to Amazon.com and affiliated sites. As an Amazon Associate I earn from qualifying purchases.
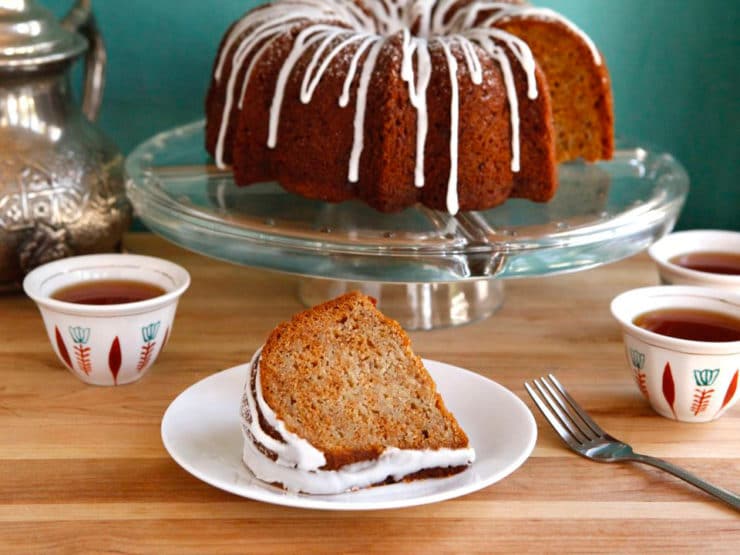
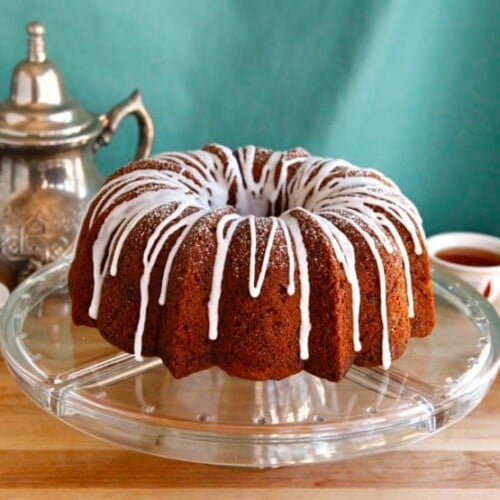
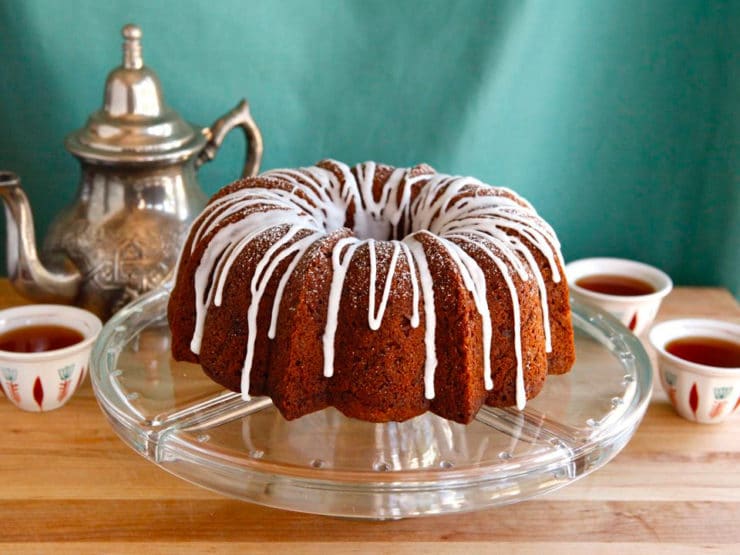
Honey Apple Cake
Ingredients
Cake
- 3 large eggs
- 3/4 cup honey
- 1/2 cup white sugar
- 1/4 cup light brown sugar
- 1 1/4 cups canola oil
- 1 1/2 teaspoons vanilla
- 3 cups all purpose baking flour
- 1 teaspoon baking powder
- 1 teaspoon baking soda
- 1 1/2 teaspoons cinnamon
- 3/4 teaspoon salt
- 1/4 teaspoon allspice
- Dash ground cloves
- 4 Granny Smith apples (peeled, cored, and shredded)
Icing
- 1 cup + 3 tablespoons powdered sugar
- 1/4 teaspoon vanilla
- 1/2 to 2 tablespoons water or non-dairy creamer
NOTES
Instructions
- Preheat oven to 325 degrees F. In a large mixing bowl, beat the eggs until they are frothy. Whisk in the honey, white sugar, brown sugar, oil and vanilla. In a separate medium mixing bowl, sift together the flour, baking powder, baking soda, cinnamon, salt, and spices. Incorporate the flour mixture into the liquid, stir to blend. Fold in the shredded apples and their juice.

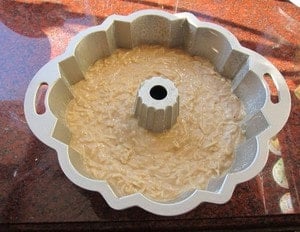
- Spray your Bundt pan with cooking spray, making sure to evenly coat the entire inner surface. Pour your batter into the pan. Bundt pan depths vary, so make sure the batter fills the pan ¾ full or less. Do not fill beyond ¾ or your cake might overflow during baking. Use a spatula to gently push the batter to the outside of the pan, pushing slightly up the walls. This will help to get rid of any air pockets that might interfere with the pretty details of the pan. Smooth the batter on the top so it is flat and even all the way around the pan.

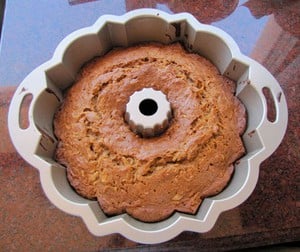
- Bake cake in preheated oven for 75-90 minutes (if you're using a black or dark-colored bundt pan, yours may bake faster - start checking around 50 minutes). When the edges darken and pull fully away from the sides of the pan, and the cake browns all the way across the surface, insert a toothpick deep into the thickest part of the cake. If it comes out clean, it's done. It’s a very moist cake, so it’s easy to undercook it– err on the side of caution and let it bake a little longer if you’re unsure (but don't bake it too long or it will dry out!).

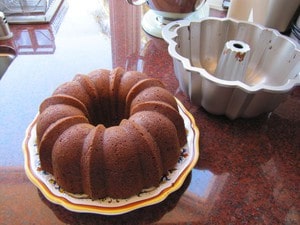
- Let the cake cool for exactly 10 minutes, then invert it onto a flat plate. Tap the Bundt pan gently to release the cake. If your cake sticks, use a plastic knife to carefully loosen the cake around the center tube and sides. Allow cake to cool completely (very important to let it cool before frosting).

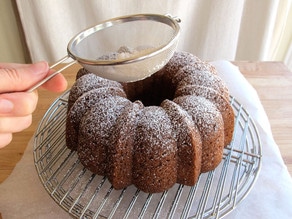
- Now it’s time to decorate your cake. Decorate this cake the same day you serve it; the cake is moist so it tends to “soak up” the powdered sugar, plus the icing looks prettier fresh. To keep things neat, I like to do this part on a wire cooling rack with a piece of parchment paper underneath to catch extra sugar/ drips. You can simply do it on a plate if you prefer. First, put 3 tbsp of powdered sugar into a handheld mesh strainer or sifter. Sprinkle sugar onto the top of the cake by tapping the strainer or sifting to release an even shower of sugar around the surface of the cake.

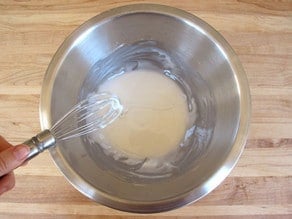
- Next, make your drizzle icing. Sift 1 cup of powdered sugar into a mixing bowl. Add ¼ tsp of vanilla extract and 1/2 tbsp water or non-dairy creamer to the bowl (when I first posted this recipe years ago I used non-dairy creamer, but I actually prefer using water now). Stir sugar and liquid with a whisk or fork to blend. The trick with this icing is to add liquid very slowly - you only want to add until it just comes together. Add additional liquid by half teaspoonfuls, mixing constantly, until the mixture has the texture of very thick honey. You want the icing to be quite thick. When you can pull a spatula through the icing, and it takes a few seconds for the gap in the icing to close again, the texture is right.

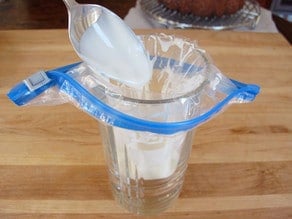
- Place a sealing bag (reusable or disposable) inside a tall water glass, open end facing upward and wrapped around the edge of the glass, so there is an open space for easy filling. Pour the icing into the bag.

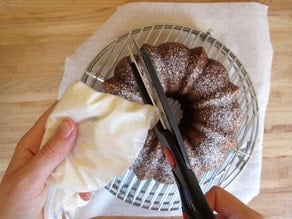
- Close the bag, leaving a small bit open to vent. Guide the icing towards one of the lower corners of the bag. Cut the very tip of that corner off the bag.

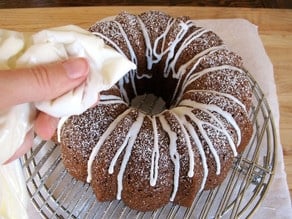
- Drizzle the icing in a zig-zag pattern around the cake by squeezing the bag gently to release the glaze.

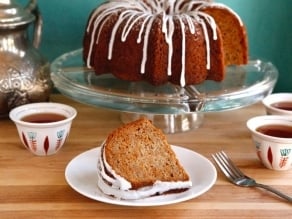
- Allow icing to dry completely before serving—this usually takes about 30-60 minutes. Slice and enjoy!

Any advice on baking time or other alterations to make in mini bundts?
I’ve never cooked this recipe in a mini bundt pan. Typically smaller cakes will bake much faster, but I don’t have a specific timing for you. Perhaps another reader has tried this and can offer some advice here!