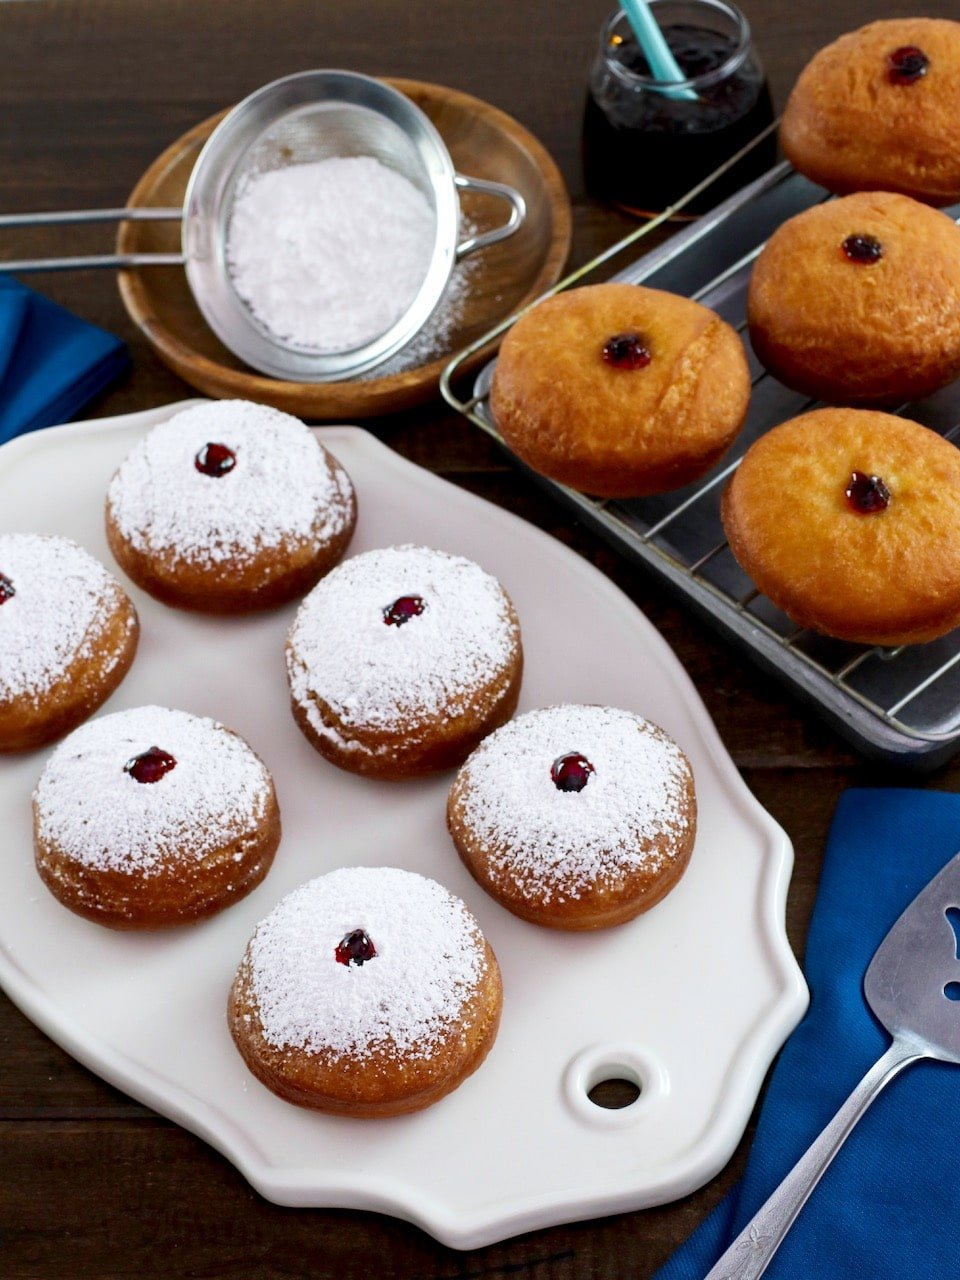
Sufganiyot (pronounced soof-gahn-eeyot) are traditional Hanukkah jelly-filled doughnuts fried in oil. These delectable sweet Israeli treats have a fascinating history. Here I present a step-by-step recipe for perfect homemade sufganiyot. I also share all the secrets for making a truly bakery-worthy confection.
Sufganiyot History
Much like latkes, sufganiyot (singular – sufganiyah) have become synonymous with the Hanukkah holiday. Fried foods, like jelly doughnuts, commemorate the miracle of the menorah oil. However there is quite a bit more to it than that. In his Encyclopedia of Jewish Food, my friend Gil Marks traced the history of jelly-filled doughnuts to a German cookbook first published in 1482 called Kuchenmeisterei – “Mastery of the Kitchen.” The basic recipe was to take two round pieces of bread, put jam in the middle, and deep fry the whole thing in lard.
This heavy sort of treat spread all through Europe, and the Jews wanted to get in on the action – but lard isn’t kosher. So Jewish communities adapted and used schmaltz – goose or chicken fat – to fry them. In Yiddish the doughnuts became known as ponchiks.
Prior to World War II, many Jews left Europe due to rising anti-Semitism, bringing their jelly doughnuts with them. In Israel, there was already a tradition from North African Jews of making smaller deep-fried doughnuts called sfenj. Sephardic Jews had their own fried doughnut traditions for Hanukkah. My husband’s family – he’s half Sephardic – makes these scrumptious doughnut-like treats they call levivot, fried dough drizzled in sweet syrup. When the European Jews came to Israel, their doughnut traditions mingled with the North African and Sephardic traditions.
The Israeli labor union called Histadrut popularized the idea of jelly doughnuts for the holiday. Latkes – the most well known Hanukkah treat – are easy to make at home. However, to make a truly tasty sufganiyot is a lot of work. Most people would rather just buy them at the bakery. That’s what the labor union wanted – to keep people employed throughout the holiday season. Doughnut demand went through the roof, and employment rose to meet that demand. Today sufganiyot is considered a true Hanukkah culinary tradition.

Common Issues When Making Sufganiyot
Yes, sufganiyot are difficult to make. Figuring out a foolproof recipe for sufganiyot has taken me years of patience, trial and error. To be honest, it’s much easier going to the bakery! But many readers have requested a from-scratch recipe through the years, so I made it my mission to develop a reliable and delicious one.
I developed this recipe after copious experimentation. I tried recipes from classic Jewish holiday cookbooks and chefs, some better than others. Several problems popped up along the way… including those on the following list.
- The dough cooks too fast on the outside, leaving the center uncooked.
- Some recipes leave you with a dense texture.
- The dough is delicate and tough to shape.
- They are difficult to fill in a nice, neat way.
I took the best tips learned along the way and combined them to create this recipe. If you follow the steps here carefully, you should end up with some truly delicious sufganiyot!

Food Photography Beauty Shots by Kelly Jaggers

Sufganiyot
Ingredients
Ingredients
- 1 packet active dry yeast
- 3/4 cup lukewarm water or milk divided (use water to make parve)
- 1/4 cup white granulated sugar divided
- 1/4 cup canola oil
- 2 large eggs room temperature
- 3/4 teaspoon vanilla extract
- 18 ounces unbleached all purpose flour (500 grams, roughly 3 3/4 cups, plus 1-2 cups more for dusting rolling surfaces)
- 1 teaspoon salt
- 1 tablespoon vodka, brandy, ouzo, or arak
- 1 1/4 cup fruit jelly or jam (10 ounces, 280 grams) - if using a berry jam, double the amount and strain of seeds and pulp before using (directions below)
- 3 pints oil with high smoke point for frying (48 fluid ounces) - avocado or grapeseed work well
- 1/2 cup powdered sugar for dusting
NOTES
Instructions
Instructions
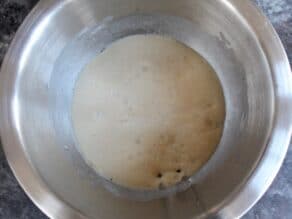
- Pour active dry yeast into a small mixing bowl with 1/4 cup of the lukewarm water or milk and 1 tbsp of the sugar, whisk together to dissolve the yeast and sugar. Wait 10 minutes. The yeast should activate during this time, making it look expanded and foamy. If it doesn’t, your yeast may have expired — make sure you work with fresh yeast before proceeding, or the dough won’t rise.

- If yeast is foamy, whisk in the remaining 1/2 cup of lukewarm water or milk, remaining 3 tbsp granulated sugar, 1/4 cup canola oil, 2 large eggs, and 3/4 tsp vanilla extract. Set aside.

- Fit your stand mixer with the dough hook attachment.

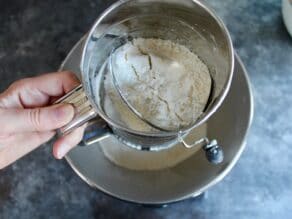
- In the bowl of your stand mixer, sift together 18 ounces of flour and 1 tsp salt so they are well mixed.

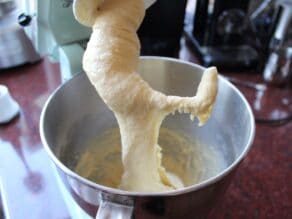
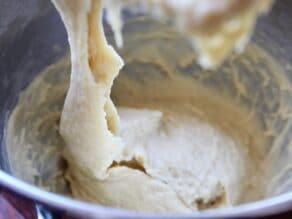
- Pour in the wet ingredients (yeast mixture). Set stand mixer to low speed and mix the wet ingredients together with the dry for 10 full minutes, until a very sticky dough forms. The dough will come together, but will stick to the bottom of the mixing bowl. If the dough seems dry, add a little more water, a tablespoon at a time, until the texture becomes sticky. Alternatively, if the dough seems too wet, add a little more flour.

- Add 1 tbsp of liquor (vodka, brandy, ouzo or arak) and continue to process on low for 2-3 additional minutes until the dough comes together again (it should look sticky but not overly wet). At first, after adding the liquor, it may seem very wet - don't worry, it should continue to come together after 2-3 minutes and return to a more sticky, doughy texture.

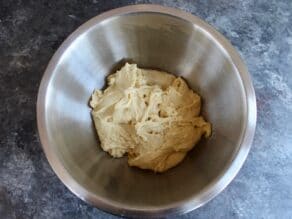
- Grease a large mixing bowl with a little of the cooking oil, then scoop the sticky dough into the bowl.

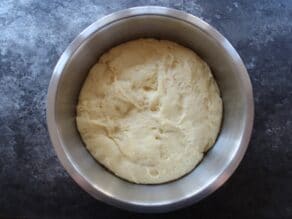
- Cover with a clean slightly damp tea towel and let the dough rise in a warm place for roughly 2 hours until it doubles in size. It may take even longer than 2 hours - go by the size. It should really double in size and look big and poofy.Lightly flour a baking sheet and set to the side.

- Flour a flat surface like a cutting board large enough for rolling out the dough. Take the dough out of the bowl, place it on the lightly floured surface, and flour the top of the dough as well. Use a rolling pin to gently roll the dough out into a rough circle about 1/2 inch thick. Proceed carefully, as you can easily roll it too thin. It should be gently stretched. Make sure you use plenty of flour on top and bottom, loosening the dough as you roll to keep it from sticking.

- Dip your circular cookie cutter in flour lightly, then starting at the outer edge of the dough, cut a circle by pushing down firmly and twisting slightly.

- As each circle is cut, remove it from the larger dough circle, scoop it up with a small spatula, and place it gently on the prepared floured baking sheet. When the dough has no room for circles left, re-roll it to 1/2 inch thickness and cut circles again, repeating the process until you’ve cut as many circles as you can from the dough.

- Lightly dust the tops of the circles with flour. Cover the circles gently with a clean dry tea towel and let them rise for about 45 minutes longer.

- While sufganiyot are rising, add roughly 1 1/4 cups of strawberry jam to a squeeze bottle. If your jam has chunks of fruit or seeds in it, you will want to run it through a strainer before adding it to the bottle to ensure it squeezes smoothly into the sufganiyot.

- If straining the jam, you'll need roughly double the amount (2 1/2 cups) to end up with the proper amount of strained jam.

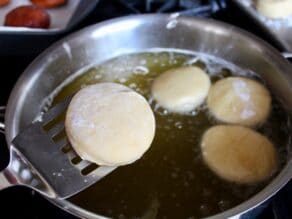
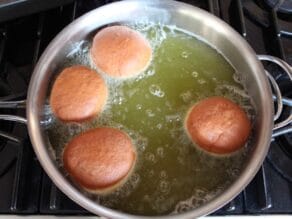
- In a 5 quart sauté pan or 6 quart pot, heat frying oil to 325 degrees F, using a candy or deep-fry thermometer to measure the heat. Be careful not to let the oil get hotter than this or you run the risk of cooking the outside of the sufganiyot while the inside remains raw. The oil should be bubbling very lightly when the sufganiyot are added.Using a small spatula or flat knife, transfer the circles one at a time into the hot oil, flipping them gently as you place them in the oil so that the puffy top side is facing downward into the oil. Transfer up to 4 circles at a time into the oil.

- Let them fry for about 90 seconds, or until golden brown on the bottom. Gently flip them to continue frying on the other side for another 90 seconds (roughly 3 minutes total), until the sufganiyot are nicely browned on both sides. If your oil cools a bit it may take slightly longer.Using a slotted spoon, transfer cooked sufganiyot to a wire rack or a parchment-lined baking sheet to drain of oil. Continue frying in batches of 4 until all of the sufganiyot are cooked.

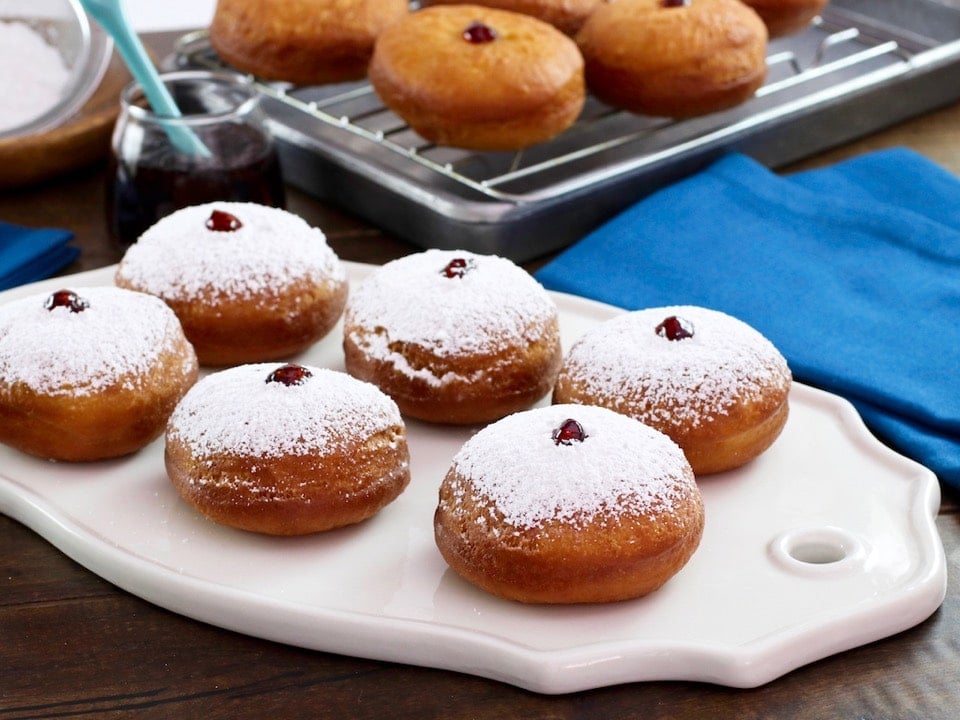
- Wait until the sufganiyot have cooled slightly before starting the filling process - they can still be somewhat warm, but should not be hot. Use a straw to tunnel into each sufganiyot, creating a narrow hollow hole in the top center of the pastry.

- Use the squeeze bottle to squeeze jam into the center of each sufganiyot, just until the jam slightly overflows the hole in the center.

- Dust with sugar just prior to serving. Pour powdered sugar into a mesh strainer. Gently dust each sufganiyot with powdered sugar, coating with a nice layer of white sugar. The jam dots in the center will soak up the sugar, leaving you with a pretty dollop of red jam in a couple of minutes.

- Serve. Sufganiyot are best served fresh; the powdered sugar will soak into the doughnut over time, and it will appear soggy. You can also freeze the sufganiyot; if you do, freeze them after the frying step (before filling). When ready to serve, defrost completely, fill with jelly and dust with powdered sugar before serving.

- Here is what they look like inside, in case you're curious... one reader was. 🙂







I made these for Hanukkah last night- They turned out perfectly! Directions were very easy to follow.
By far the best recipe ever! I stuffed mine with Nutella too.
Second time making these and they are a hit. My grandson loves to share these with his friends and talk about Chanukah. The only thing I do differently is cut them open and we put custard and preserves in them. So delicious. This recipe is a keeper and one to use regularly.