My friend Kelly Jaggers, who also contributes recipes and photography to my website, it a prolific baker and cookbook author. At one point she shared with me her favorite method for making a sourdough starter, and it involved pineapple juice. I asked her to write up the process for my site, which she did – in great detail! I am sharing her pineapple juice sourdough starter recipe below, in case you are interested in trying it out yourself. Use this starter to make any number of sourdough recipes, like this sourdough pita bread.
A special thank you to Kelly Jaggers for sharing her tips for this post.
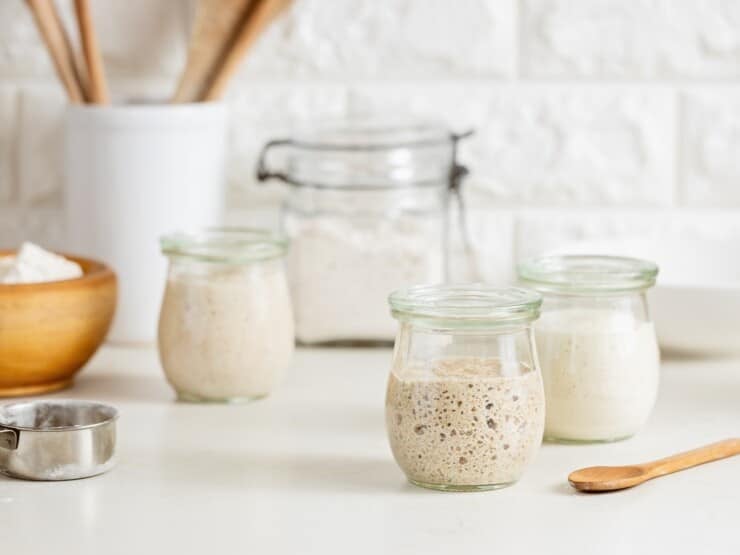
Photo Credits Kelly Jaggers, Shutterstock @melica, @Zagorulko Inka, @Arina P Habich, @Trofimov Denis
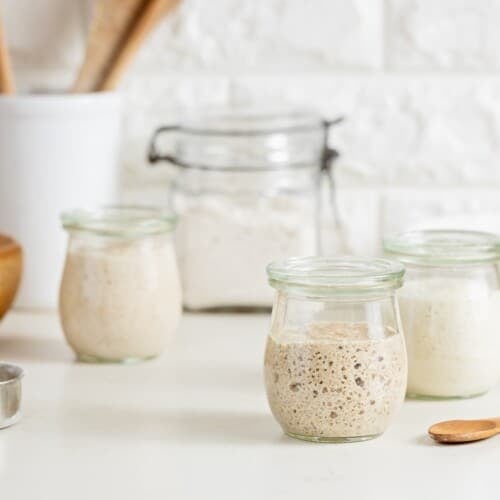
Pineapple Juice Sourdough Starter
Ingredients
- 19 tablespoons bread flour, or more as needed
- 1/2 cup unsweetened pineapple juice
- 9 tablespoons spring water, or more as needed, at room temperature
Instructions
Day 1-2
- On day 1, stir together 3 tablespoons whole wheat flour and ¼ cup pineapple juice in a sterilized glass jar until it forms a thick paste. Cover with a towel, or with plastic wrap with small holes poked into the top, and let stand at room temperature for 48 hours. Stir this mixture every 12 hours.

Day 3-4
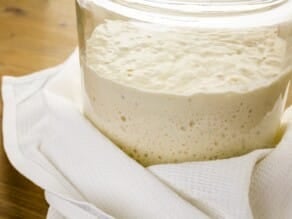
- On day 3, add 3 tablespoons bread flour and ¼ cup unsweetened pineapple juice to the jar and mix well to combine with the previous mixture. Cover and let stand at room temperature for 48 hours. You will start to see some signs of fermentation by day 4 – small bubbles forming in the mixture and on the top and a pleasant yeasty smell. If you do not see any activity or if the mixture smells foul or sweet, you will need to throw the mixture out and start again at day 1.

Day 5
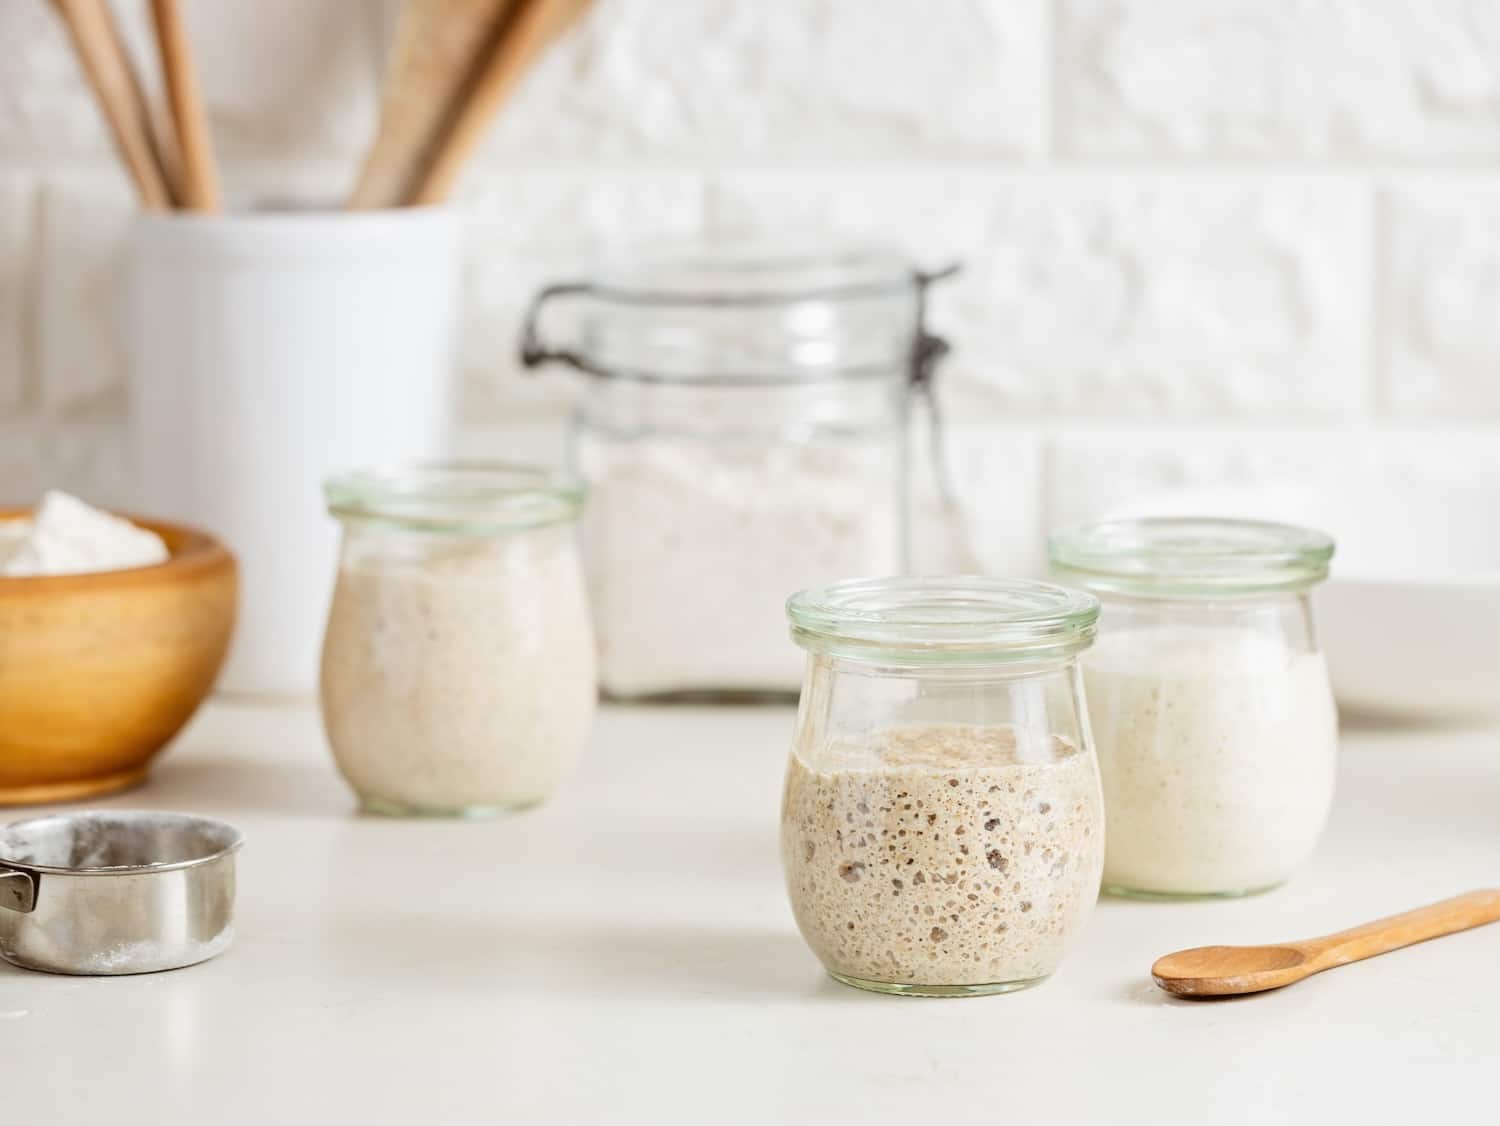
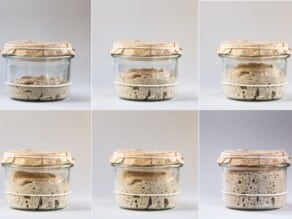
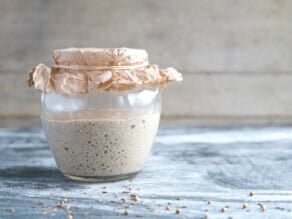
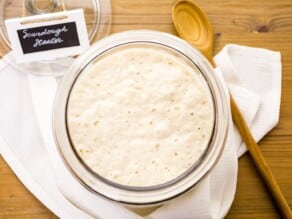
- On day 5, add to the mixture 1/3 cup bread flour and ¼ cup purified or spring water, at room temperature, and stir well. Cover and let stand for 24 hours. You should see the starter expand in the jar. A good way to track this is to use a rubber band – place it at the level of the freshly fed starter. You should see it rise over the rubber band as the starter becomes more active before it falls back to its starting height.

Day 6 and Beyond
- On day 6 (and for days beyond that), discard all but ½ cup of starter. Add ½ cup bread flour and 1/3 cup purified or filtered water, at room temperature, and stir vigorously. Repeat this process every 12-24 hours depending on how hungry your starter is.

Storing Your Starter
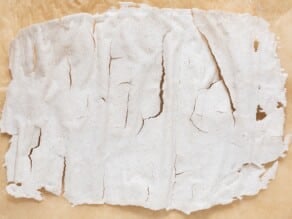
- A heathy starter can be kept at room temperature and fed 1-2 times daily while you are actively baking with it. If you want to delay feeds, or do not plan to bake often with your starter and do not want to waste the discard every day, you can store your starter in the refrigerator and feed weekly – every 7 days feed, as the instructions state for Day 6. When you are ready to use, you will want to keep your starter at room temperature and feed every 12 hours as in Day 6, or until very active, before baking.You can also dry your mature starter for longer storage, or as a back-up should something happen to your active starter. You will want a starter that is at least 3-months old before drying. On a sheet of baking parchment spread a very thin layer of starter that has been fed within 4-6 hours. Leave this out in a well ventilated space at room temperature for 48-72 hours, or until completely dry. You can also use a food dehydrator if you have one. Once dry, break the starter into pieces and store in a sterile glass jar or in a zip top bag in the freezer.

To Build Your Starter for Baking
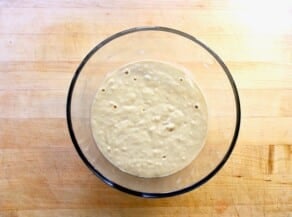
- Most recipes will call for at least 1 cup of active starter, so you will need to plan ahead for sourdough baking by building enough starter for your recipe with enough left for maintaining. 24-48 hours before baking measure 1/2 cup of active starter into a sterilized glass bowl. This should leave you with at least ¼ cup of starter for maintaining your starter. If you are not left with ¼ cup transfer starter from the bowl until you have ¼ cup to feed and maintain.To the bowl add ½ cup bread flour and enough water to match the hydration level called for in your recipe. For 100% hydration use equal parts water to flour. For 50% hydration use 1 part flour to ½ part water, and so on. Feed every 12 hours or until you have the correct volume of starter for your recipe.

Baking with Starter
- Starter is usually ready to use after it doubles in size after a feeding, but your starter will perform better the longer you keep it. Early breads you make may be dense and might need a little commercial yeast to get the right rise. The sour flavor will also develop with time, but feeding a little rye flour from time to time can help bump up the sour flavor.Generally, you will want to bake with your starter when it is hungry to ensure you develop enough Co2 to provide lift, meaning you will want to use your starter 8-12 hours before baking.

Troubleshooting
- If starter is sluggish or not bubbling – Try 1 feeding with ½ whole wheat or rye flour and ½ bread flour. The rye and whole wheat have additional starches and sugars, as well as wild yeasts, that your starter should love. If, after adding the booster you do not see any activity you can add 1 tablespoon of pineapple juice in place of water in the next feed. If neither addition kicks off activity your starter may be dead. Discard and start a new one.If starter has a layer of liquid on top – This liquid, called hooch, is a layer of thin clear or slightly cloudy liquid that forms on top of the starter that is underfed. It is made of alcohol given off as they yeast eats the starches and sugars in the flour. Feed your starter more often to avoid this.How do I know if my starter is hungry? – Does it become active right after feeding, double in volume, then collapse within 4 hours? You may need to feed more often. Another sign is if it develops a layer of hooch between feedings.My starter has mold, is it ok to use? – No. It is best to discard starter that has mold growing on top.My starter overflowed the jar! – First off, congratulations on the active and healthy starter! Scrape down the insides of the jar and transfer your starter to a larger glass container going forward! Do not use starter that has been on the outside of the jar or the counter. Discard this starter.

Leave a Reply