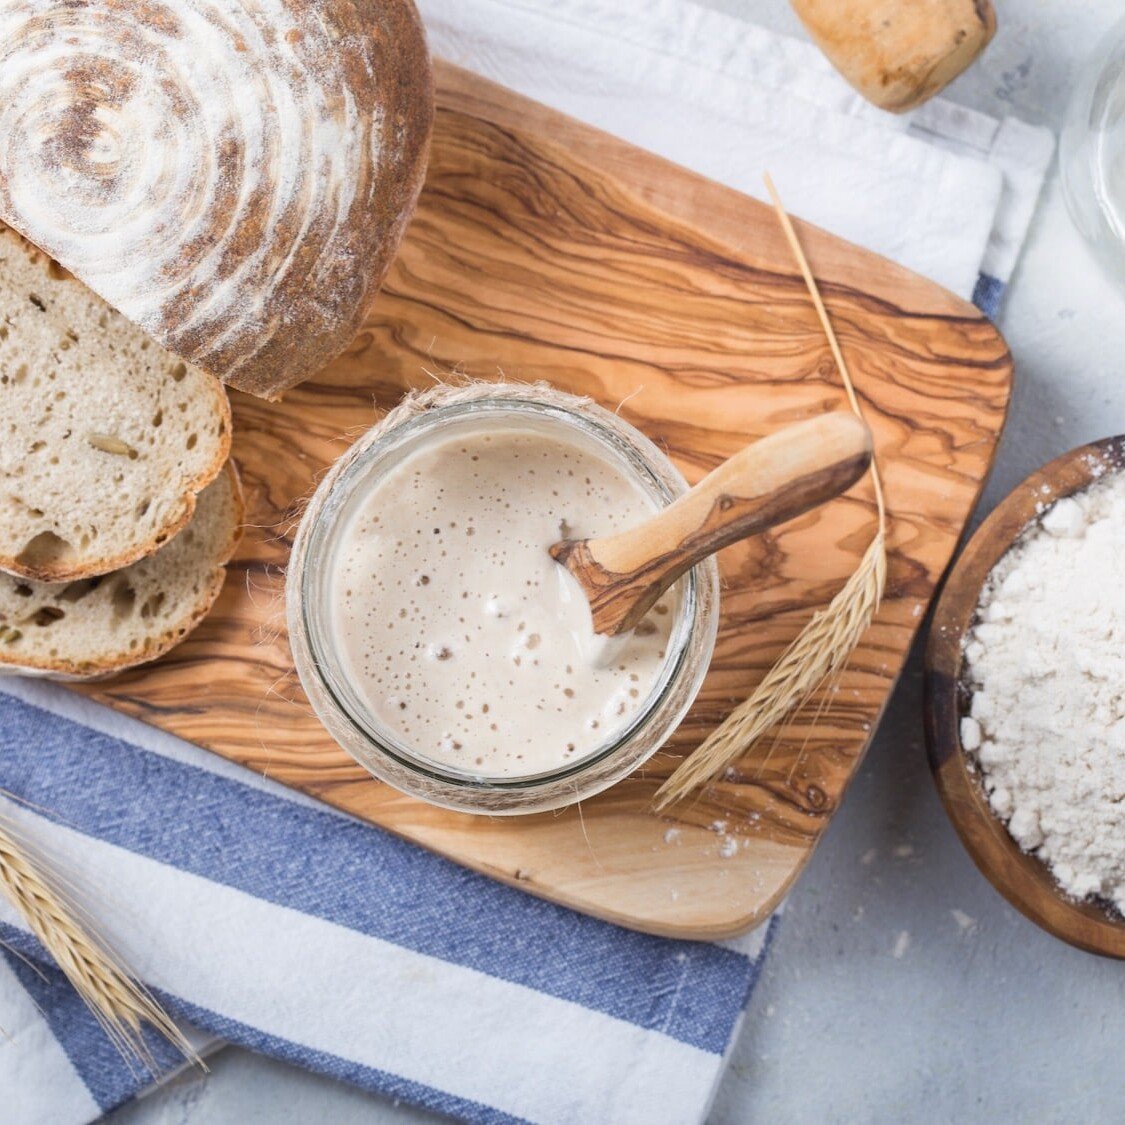
Wondering how to make a sourdough starter? For several years, I have wanted to write about this process on my site. I finally decided to tackle the topic in depth. Making sourdough is an ancient cooking technique that truly connects you to your food. It thrills the senses… the scent of a fermenting starter… the sight of it growing and taking on a life of its own… the feel of soft dough in your hands. And of course, ultimately you’re left with the tangy, slightly sour taste of freshly baked sourdough bread.
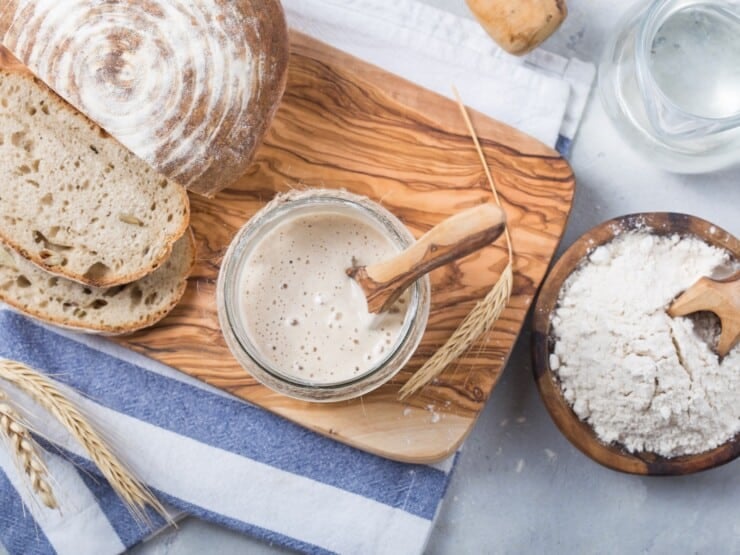
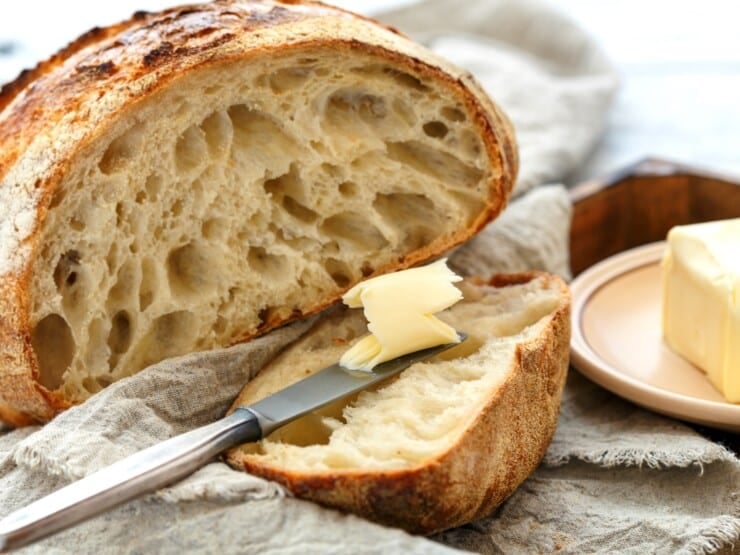
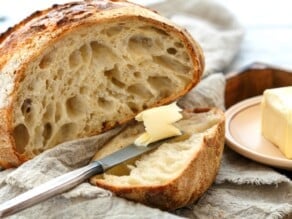
As a California girl, born and raised, I grew up with the sourest of sourdough bread. Bakeries in San Francisco, as well as in my hometown San Luis Obispo, produced lovely, chewy, tangy sourdough bread. I grew up eating it as my afternoon snack, lightly toasted and topped with salty melted butter. To this day, sourdough is my kryptonite. It’s heavenly!
While I love to eat sourdough, it’s something I rarely have time to make. I am currently mother to a very active three year old kiddo (translation – busy and exhausted!), and I have access to many incredible bakeries here in Southern California. Because of this, I don’t often prioritize nurturing a starter in my kitchen. But when I dabble, I really do enjoy the process.
So I thought I would invite my good friend, food history professor Professor Ken Albala, to share his favorite method for creating a sourdough starter. Ken approaches the process simply, much like our ancestors would have made starter.
Important Tips for Making a Sourdough Starter
On the subject of growing a sourdough starter, Ken shares the following:
“In making a starter, many recipes call for precise measurements and strict protocols that can be quite intimidating. It is true that your starter will need a minute of attention every morning, much like a pet, which is why I recommend giving it a name. It is a living community of microbes, after all. But you really don’t need to be so frightfully careful. Bacteria and yeast grow everywhere. They’re on the flour, on your hands, in the air around you. So be circumspect with anti-bacterial soap around your burgeoning colony – it will kill the good bacteria along with the bad.
“I’ve broken down the procedure to its absolute simplest form, and as close to how it would have been in the past. One thing you should keep in mind: the age of a starter is no guarantee of its quality. If someone has kept it going for years, that’s great and means it’s probably a fantastic starter. But if yours doesn’t give you wonderful results, then just try again.
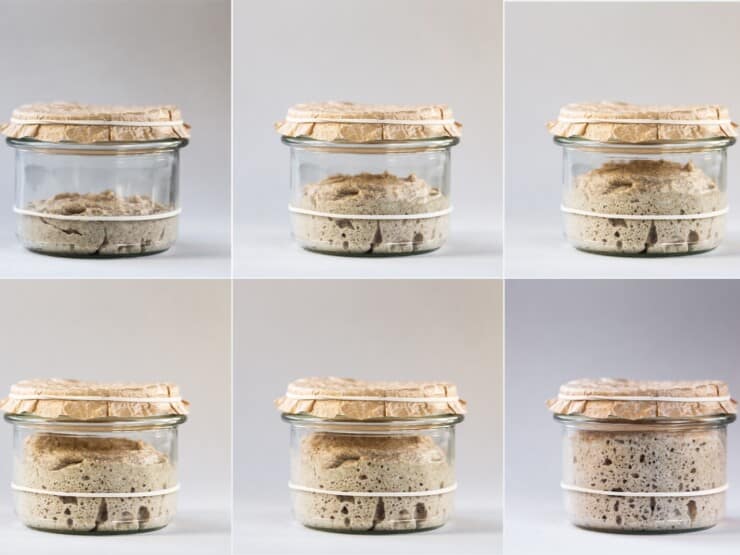
“A sourdough starter is affected by all sorts of extraneous factors. If it’s too cold it will be sluggish, too hot and it may go a bit wild. It will take on a life of its own and can, like people, become fickle, temperamental and sometimes downright ornery. That is, especially after a few days your starter may stink – just like people again. Don’t worry, that’s just the bacteria and yeast learning to live together happily. You’ll know when they do. It will have a delicious aroma. It will make a great companion too.
“As for sourness, the word sourdough is a misnomer really. It’s really just a wild starter or natural levain. Nor is it really wild yeast; it will probably be much the same strains that go into a packet of dried Saccharomyces cerevisiae. But it will be living and working with bacteria like Lactobacillus and many other species. In San Francisco, they can get a wonderfully sour loaf because of the cool fog in which that particular strain of bacteria thrive. It does in many similar places around the world. But where I live just 90 miles away? No way. It’s way too hot most of the year. I can get great lift and wonderful depth of flavor, but super sourness, never.
“Equally as fascinating, if you take a starter from one place to another, it will eventually change and adapt to your local climate and microbial environment. So just let it do what it wants and you’ll be very pleased with the results.”
No matter which method you choose to make a sourdough starter, the end goal is to make some delicious sourdough bread – like this delicious Sourdough Pita Bread recipe, also shared by Ken. If you don’t have a starter yet, I recommend jumping right in with this method from Ken (below). Or, you can try the Pineapple Juice Starter Method from Kelly Jaggers found here.
A special thank you to Professor Ken Albala for sharing his tips for this post.
Photo Credits Kelly Jaggers, Shutterstock @melica, @Zagorulko Inka, @Arina P Habich, @Trofimov Denis, @Sokor Space, @SMarina
Sourdough Starter
Ingredients
Basic Sourdough Starter Ingredients
- 3 cups bread flour (higher in protein than all purpose)
- 3 cups bottled spring water (do not use tap water, which may contain chlorine, which kills bacteria)
- More flour and water, as needed, indefinitely
- A bit of rye flour, spelt, or other flour (optional – to vary the starter's diet)
NOTES
Instructions
To Make Sourdough Starter
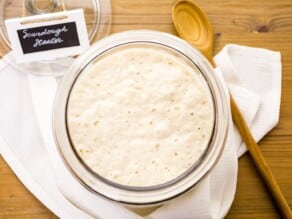
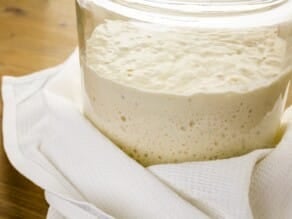
- Mix 1 cup flour and 1 cup bottled spring water in a capacious clay bowl (Tori uses a glass container). Place a cloth over the bowl, and if you like put in a wooden spoon, which you’ll leave there for mixing. Leave it right on the counter. After a day add another tablespoon of flour and another of water. Continue every morning doing exactly the same. After a week, you will see bubbles form and a heady aroma begin to develop. It may be ready, but usually I find 2 weeks of feeding is about right, and the bowl may be filled with starter by now. So make sure you have a bowl that’s big enough. You have added 48 tablespoons, or 3 cups worth, of flour and water, making roughly 4 cups total.

- You will never need to throw any starter away. If a dark liquid forms on top, you can pour it off if you like, there’s nothing wrong with it. But it looks a little dingy. Just add fresh water if you do so.Also, if you are so inclined, switch in rye flour for a day or two– whole wheat, spelt, or any other kind of flour. The starter seems to like a varied diet.

- When you’re ready to bake, name your starter and proceed with a bread recipe, or make pancakes, pita, whatever you like. Just continue feeding your starter until it replenishes in about a week, and bake again.

I’m confused by the math. The recipe states that after 2 weeks, you have used 3 cups each of flour and water. But if you add 1TBL each of flour and water for the 14 days, you’ll have used just under 2 cups each, not 3 cups.
FYI, I’m on Day 5 of the recipe. The mixture bubbled nicely after 1 day with a heady aroma (didn’t take 1 week) but seems to be slowing down. Is this normal? I used King Arthur bread flour and bottled water as instructed, fyi.